


Before beginning, start with fresh escarole. You’ll want to thoroughly rinse it to remove any dirt or debris. Escarole often carries a bit of soil from the garden, so make sure to clean each leaf thoroughly. Once rinsed, set the escarole aside on a clean towel to dry.
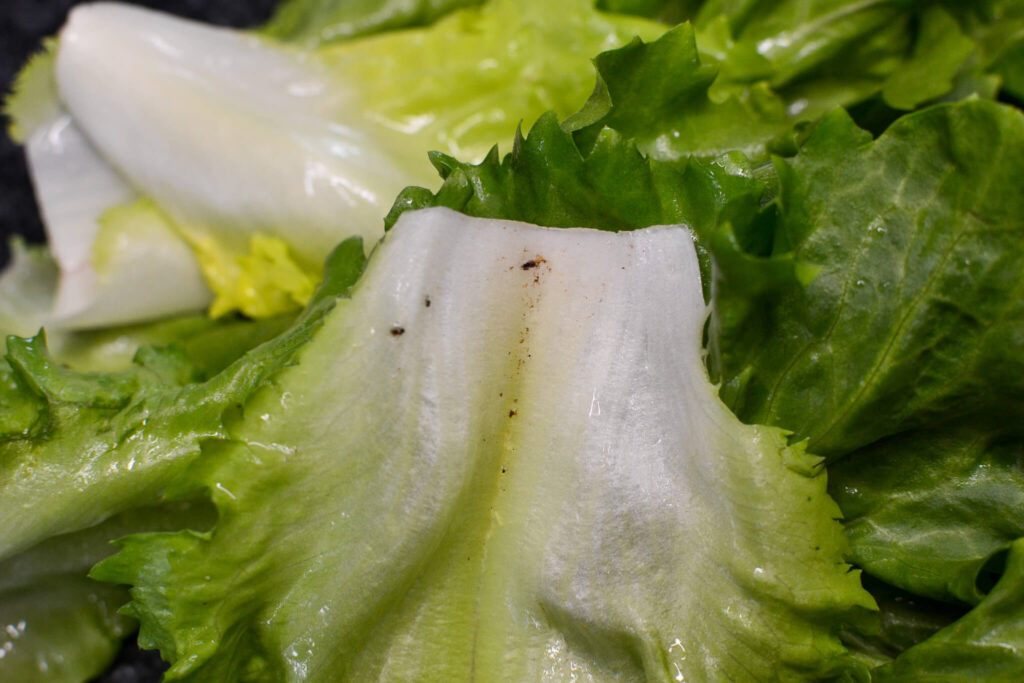
This first step ensures you’re working with clean, crisp greens that will cook properly without any gritty texture. Make sure to remove any damaged or tough outer leaves as you prepare the escarole.
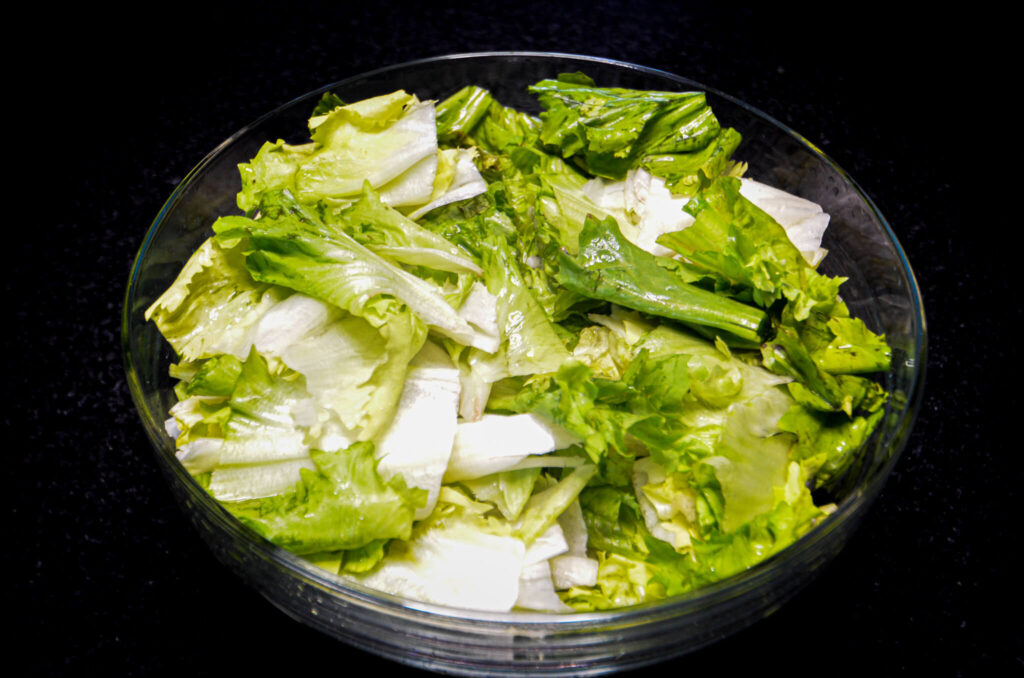
After making sure the escarole is clean, cut it into thirds. The leaves of escarole are large and tough, which can make them hard to eat in their whole form. By cutting the escarole into smaller sections, you’ll find it easier to eat and to cook with. Smaller pieces cook more evenly and faster, making your preparation process smoother.

Once the escarole is cleaned, it’s time to boil it briefly. This step helps soften the greens while retaining their structure and bitterness. Drop the escarole into boiling water for just 1-2 minutes, making sure to stir gently. You’ll notice the color will deepen slightly, and the texture will become more tender.
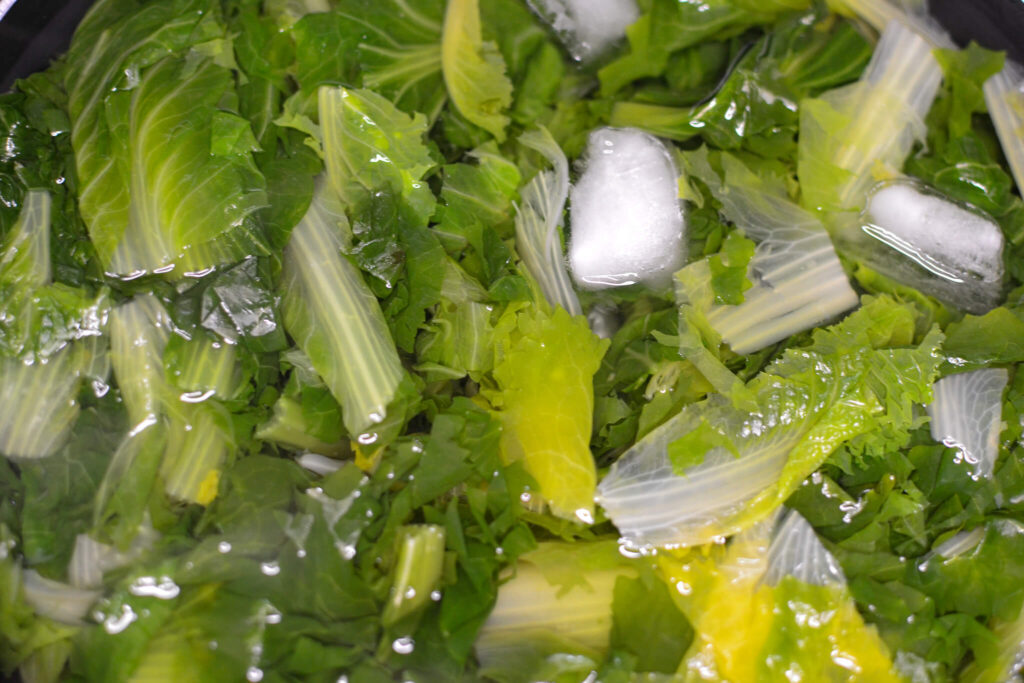
This is crucial for achieving the perfect balance of flavors, as escarole tends to have a slightly bitter taste that softens when it’s blanched. After boiling, immediately transfer the escarole into ice-cold water to stop the cooking process.
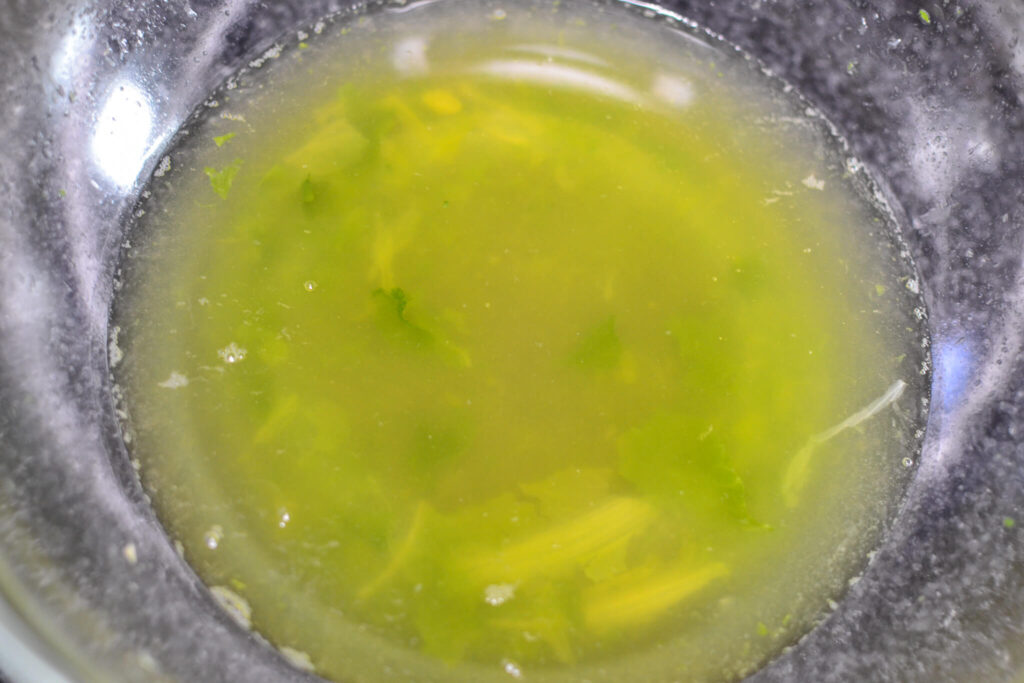
An important step in preparing this recipe is ensuring the escarole isn’t too wet when served. Allow the escarole to cool for about 10 minutes after boiling. This cooling period is essential because escarole tends to hold a lot of water, which can make squeezing out the excess quite a challenge. Attempting to do this while the escarole is still hot can be difficult and might even lead to pruned hands, as I’ve personally experienced – it’s not only tedious but can also be painful.

Once the escarole is properly squeezed and excess moisture removed, set it aside in a bowl or on a cutting board. Allow the escarole to rest while you prepare the next steps. This is a great time to get your other ingredients prepped and ready to go. The escarole should be soft, yet firm enough to hold its shape when mixed with the pancetta, garlic, and other flavorful additions. By setting the escarole aside, you’re giving it a moment to cool and finish draining while focusing on the remaining steps.
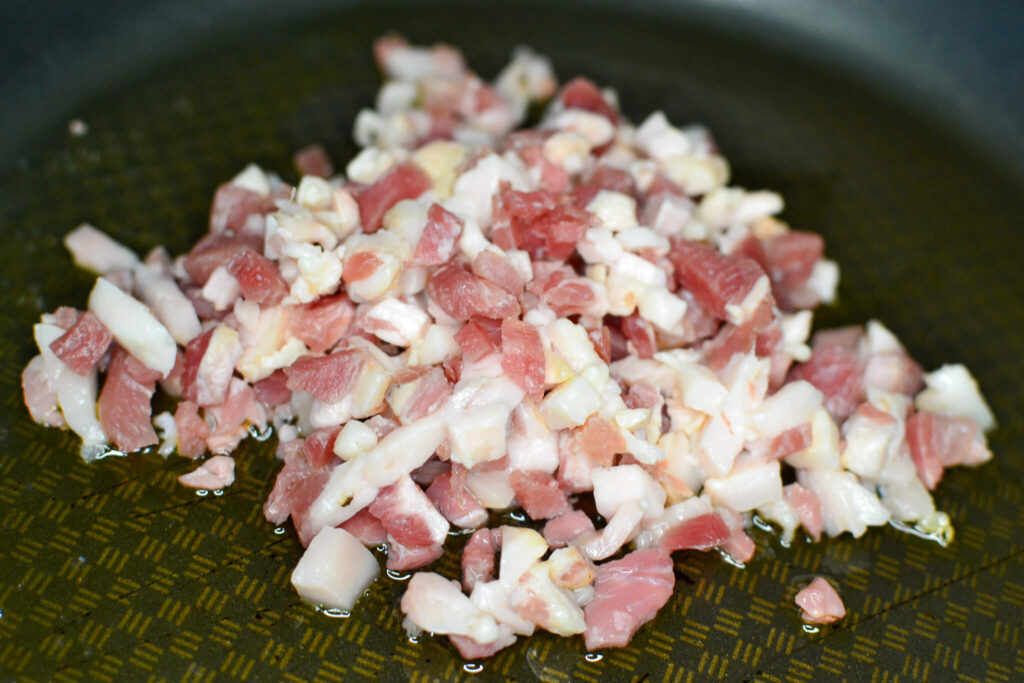
Heat a small amount of olive oil in a pan over medium heat, then add the pancetta. As it cooks, the pancetta will release its fat and crisp up. This process should take about 4-5 minutes, depending on the size of the pancetta pieces. Stir occasionally to prevent burning, ensuring the pancetta becomes golden and crispy. The rendered fat creates a flavorful base for the other ingredients, allowing the garlic and escarole to absorb those rich, savory notes. Once the pancetta is crispy, it’s ready for the next stage.
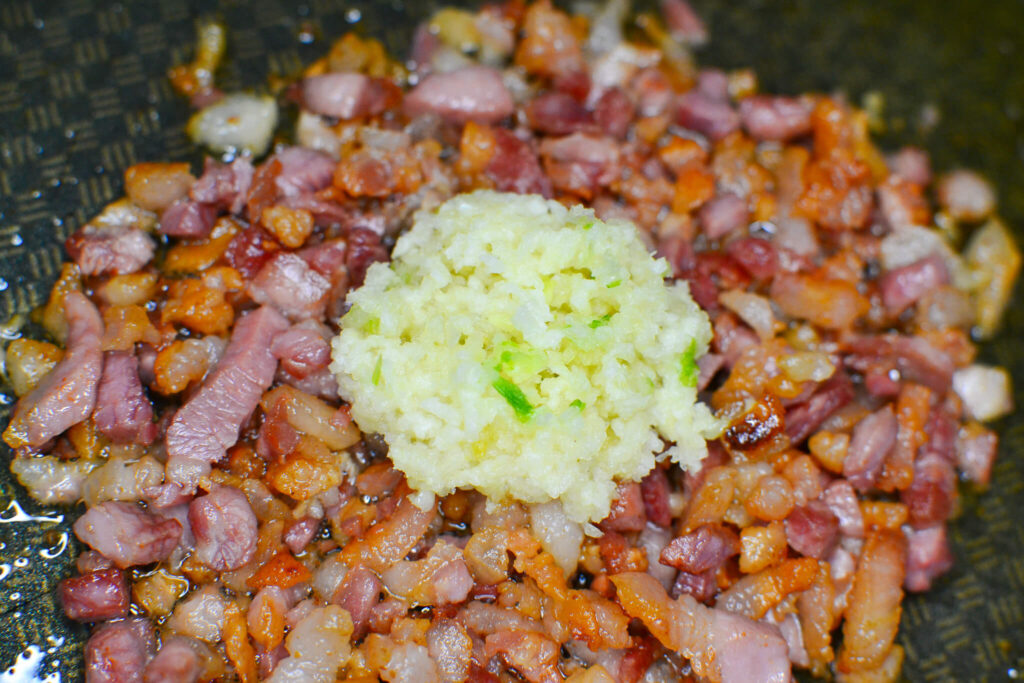
Once the pancetta is crispy and golden brown, it’s time to add the minced garlic. Stir the garlic into the pancetta and let it cook for 1-2 minutes. Garlic releases its full flavor when sautéed in hot fat, so it will quickly infuse the dish with a fragrant, savory aroma. The garlic should become slightly golden, but be careful not to burn it. This step enhances the pancetta’s richness, giving your Utica Greens a robust and aromatic base.

After the garlic has cooked, it’s time to add a burst of heat with the cherry peppers. Add the peppers directly into the pan and stir to incorporate them with the pancetta and garlic. Cherry peppers bring a delightful tanginess and heat to the dish, balancing the bitterness of the escarole. You can adjust the number of peppers based on your heat preference. Stir for another minute, allowing the peppers to soften slightly and infuse the dish with their spicy flavor.
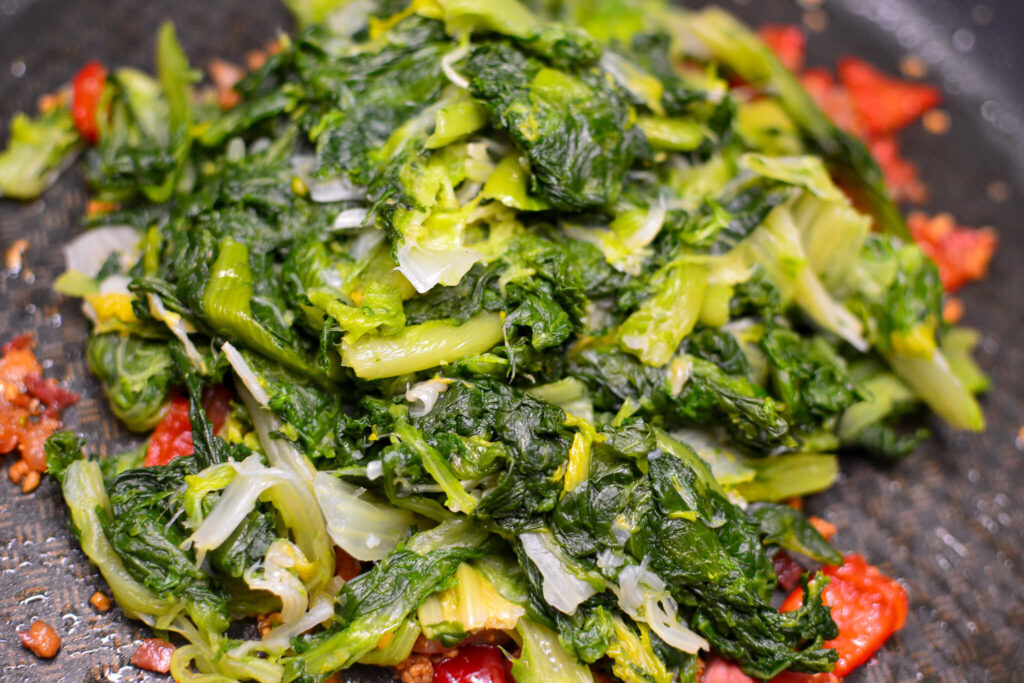
Now it’s time to bring everything together by adding the escarole back into the pan. Stir the cooked escarole into the pancetta, garlic, and cherry peppers, ensuring everything is evenly mixed. The heat from the pan will allow the escarole to absorb all the savory flavors, while the ingredients combine into a cohesive, flavorful mixture. Keep stirring gently for 2-3 minutes, letting the escarole heat through and continue to absorb the aromatic oils from the pancetta and garlic.

To give your Utica Greens the perfect texture and a slight crunch, it’s time to add the breadcrumbs. Sprinkle the breadcrumbs over the escarole mixture and stir gently. The breadcrumbs will soak up some of the fat and juices from the pan, giving the dish a hearty, satisfying consistency. The breadcrumbs also help bind everything together and add a crispy element when the dish is broiled. Make sure to distribute them evenly so every bite has a bit of crunch.

Sprinkle a generous amount of Parmesan cheese over the escarole and breadcrumbs. This cheese adds a rich, salty flavor that complements the other ingredients. It will melt slightly into the dish, adding depth and creaminess. The Parmesan also helps to create a golden, crusty top when the dish is broiled. For the best result, use freshly grated Parmesan cheese for a more pronounced flavor and smooth texture.

Once all the ingredients are combined, it’s important to season with salt and pepper. The salt will bring out the natural flavors of the escarole, pancetta, and garlic, while the pepper will add a touch of heat. Taste the mixture before adding more seasoning, as the pancetta and Parmesan already contribute saltiness. A few twists of freshly ground black pepper will add a slight bite that balances the richness of the dish.

To finish off your Utica Greens, sprinkle an additional layer of breadcrumbs on top and place the pan under the broiler. Broil for 2-3 minutes, or until the top is golden brown and crispy. This step gives the dish its signature crispy texture on top, with a delicious, toasty flavor. Keep a close eye on it, as the broiler works quickly. Once the breadcrumbs are perfectly browned, remove the pan from the oven, ready for the final touches.

After broiling your Utica Greens, you may notice some breadcrumbs have piled up on top, creating a heavier crust. To avoid an overly crunchy texture, gently remove any excess breadcrumbs from the top of the dish. This will help maintain the perfect balance of crunch and flavor. The remaining breadcrumbs should have absorbed the savory oils and cheese, providing a delightful, crispy topping without overwhelming the dish. Carefully garnish with additional Parmesan cheese for a final touch before serving.
Top it off with extra parmesan cheese and serve this traditional side dish. Feel free to make this for your loved ones and share a piece of Utica with them!


Protagonist, Cassius Green


In the 1980s, Joe Morelle created “Greens Morelle” in Utica, New York for the Chesterfield Restaurant. Over the years, the name has evolved and is pronounced in various forms, from “Italian Greens” to “East Utica Greens” down to just “Utica Greens”. Even Guy Fieri teamed up with a Upstate New York native Anne Burrell to share their version of greens, calling it Turning Greens, inspired by the landmark Turning Stone Casino.
This dish has grown into a cherished appetizer or side in Utica, showcased in numerous local eateries with minor tweaks to the recipe. Among these, my top pick is Georgios Village Cafe. They offer two versions of the dish: The Village Greens and Georgios Greens, with the main difference being the inclusion of potatoes in one version. For those looking to save room for the main course, opting out of the potato version might be wise. If you find yourself in the Utica area, a visit to Georgios Village Cafe in New Hartford to try their greens is highly recommended.
A word of caution regarding the cherry peppers in the recipe: it suggests using between 5-7 peppers, but leaning towards 5 is advisable.
Overdoing it with the cherry peppers can overpower the dish, making it less enjoyable for everyone. I learned this the hard way during a Christmas dinner that left my grandma less than thrilled. To avoid similar mishaps, it’s better to use fewer cherry peppers.