
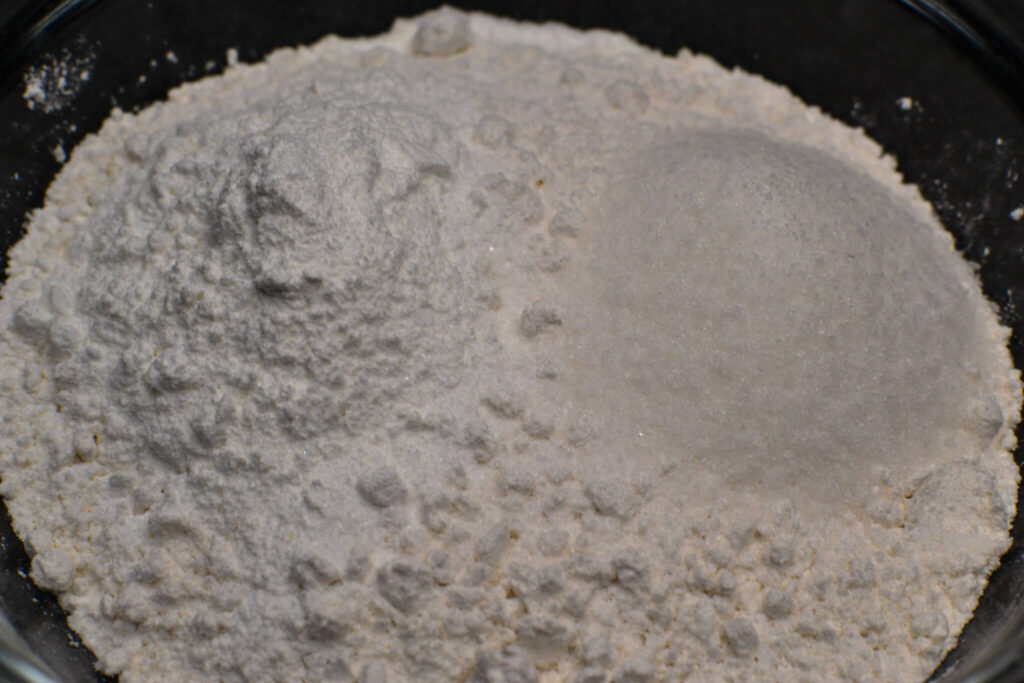
Every waffle begins with the basic dry ingredients. This is like the skeleton of your waffle—giving it structure.
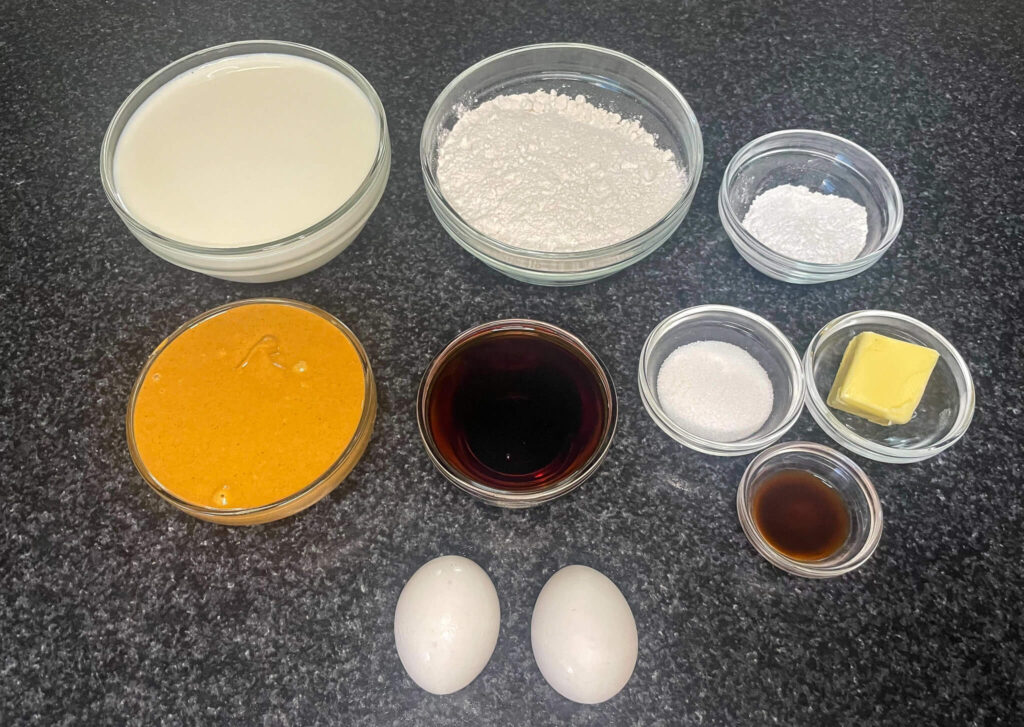
What you’ll need here is flour, sugar, baking powder, and a pinch of salt. Flour’s the main player. It’s like the base of a pizza; without it, there’s no waffle. Sugar isn’t just there to sweeten things up. It also helps give your waffles a nice golden color when they cook.
Baking powder is the magic stuff that makes your waffles puff up instead of being flat like pancakes. The salt? It’s a sneaky ingredient. While you might not taste it directly, it helps make everything else taste better.
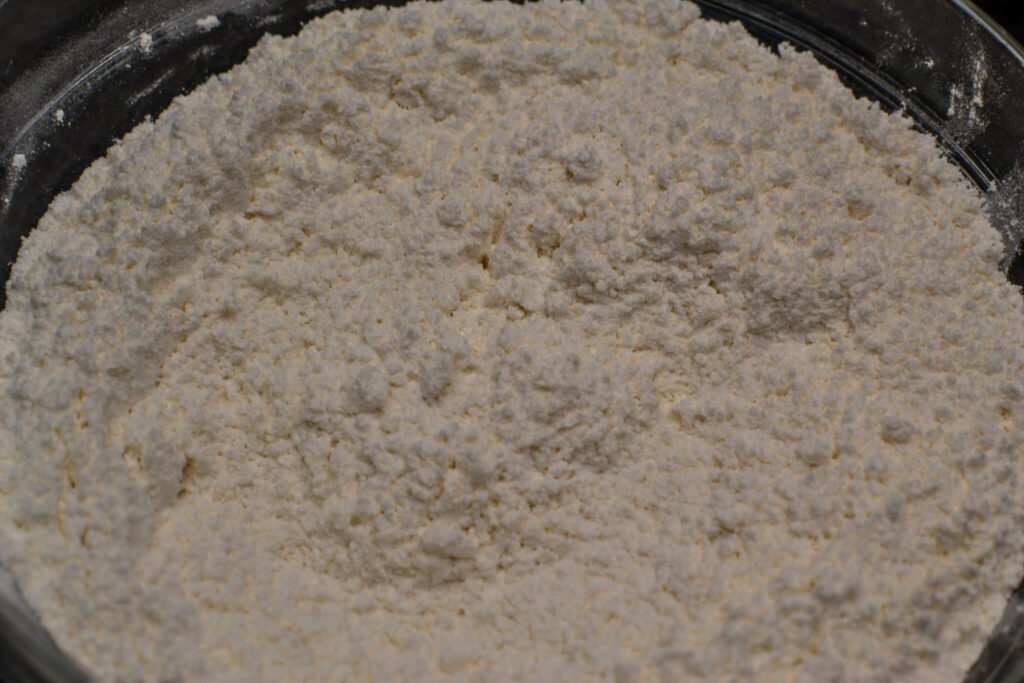
Whisking together ingredients like flour, baking soda, sugar, and salt ensures a uniform distribution of each component throughout the mixture. This uniformity is essential in baking to guarantee that each portion of the dough or batter has an equal amount of leavening, flavor, and structure.
By integrating these dry ingredients evenly, the end result avoids inconsistencies like overly salty patches or areas without adequate leavening. Additionally, the process aerates the mixture, introducing tiny air pockets that can contribute to a lighter, more desirable texture in the finished baked goods. In essence, this step ensures consistency in both flavor and texture
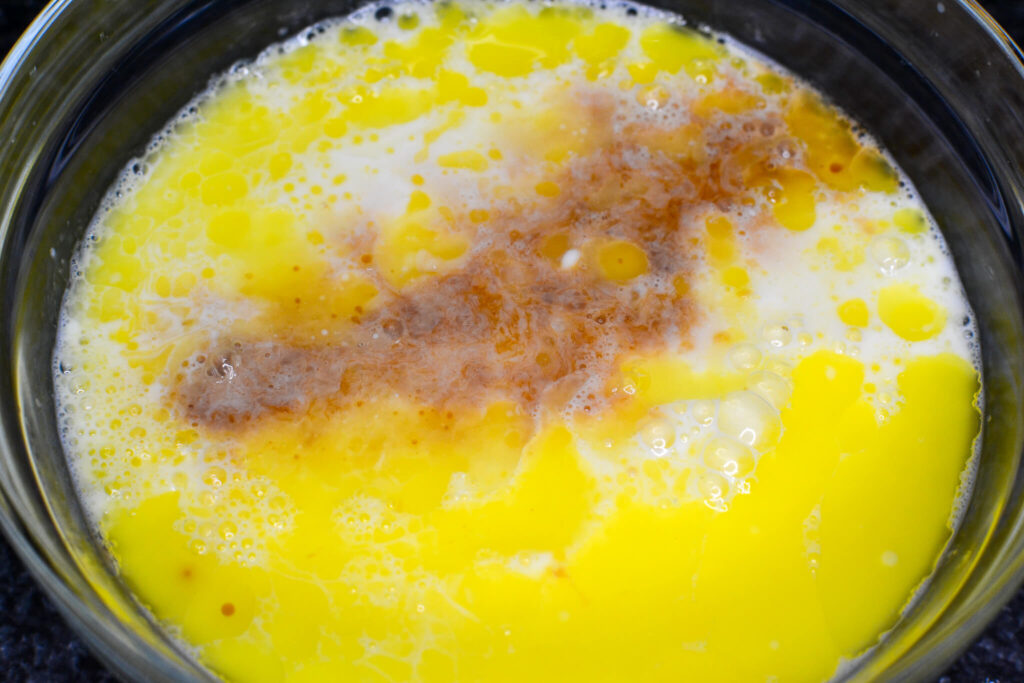
After the dry stuff, we move to the wet ingredients. Think of this as the glue that holds everything together. Here, we’re talking about milk, eggs, and some melted butter or oil. Milk’s job is to help mix everything smoothly. Eggs help hold all the ingredients together, and the melted butter or oil gives the waffle a tasty, soft inside.
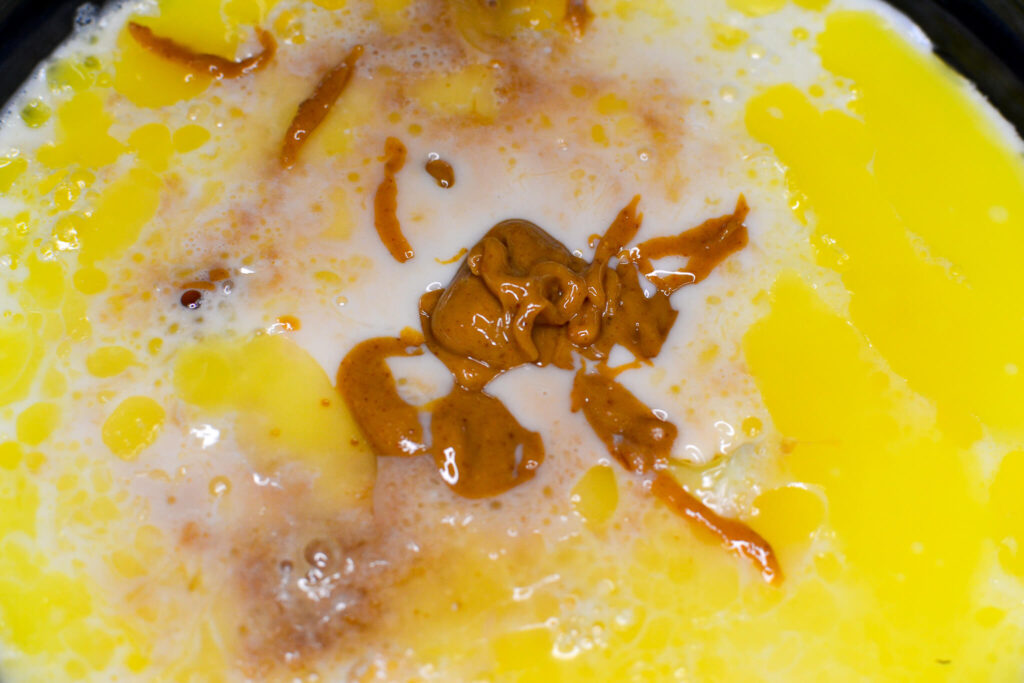
Now, for the exciting bit: peanut butter! It elevates a basic waffles to delectable…well, peanut butter waffles
Adding 1/2 cup of peanut butter to the wet ingredients of a waffle batter imparts a pronounced peanut butter flavor to the waffles. Peanut butter, with its creamy and dense texture, seamlessly integrates when mixed with the wet components of the batter. As waffles are cooked in a waffle iron, the heat ensures the peanut butter melds with other ingredients, allowing its rich, nutty essence to infuse throughout.
The specified quantity, 1/2 cup, is significant enough to ensure that its flavor is distinct and resonates in every bite. This inclusion elevates the typical waffle taste, introducing a savory and nutty twist that stands out, especially when complemented with traditional toppings like maple syrup
Peanut butter’s usually thick, so here’s a tip: if you warm it up a little bit (not too much, just a tiny bit in the microwave), it mixes easier with everything else.
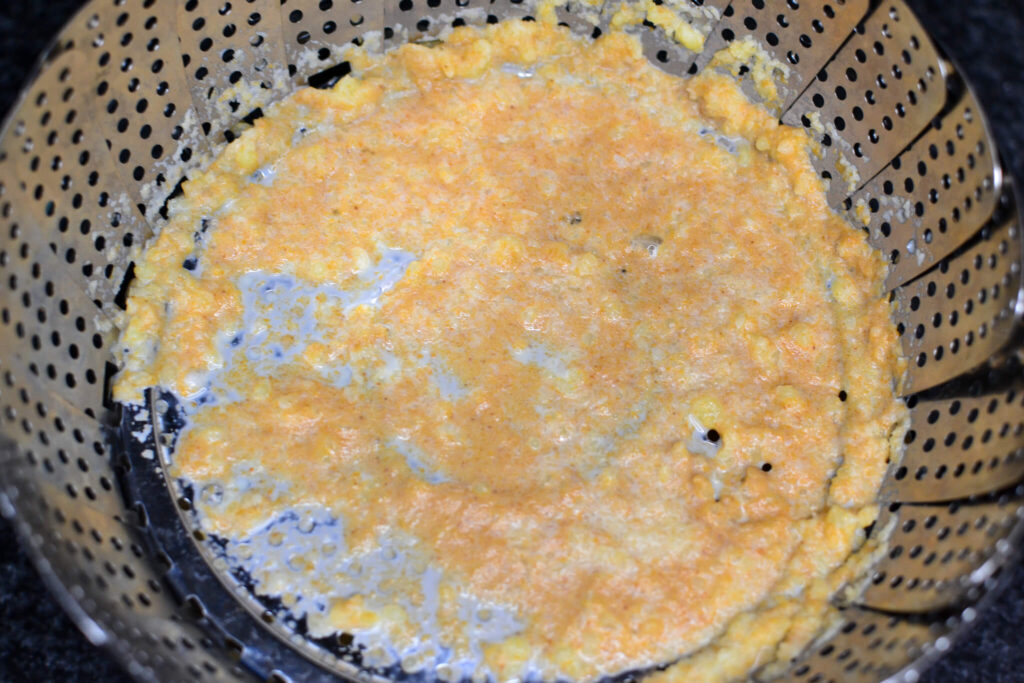
Using a strainer when making peanut butter waffles batter might initially seem unusual, but there’s a logical reason behind it, especially when dealing with peanut butter that hasn’t incorporated well into the mixture.
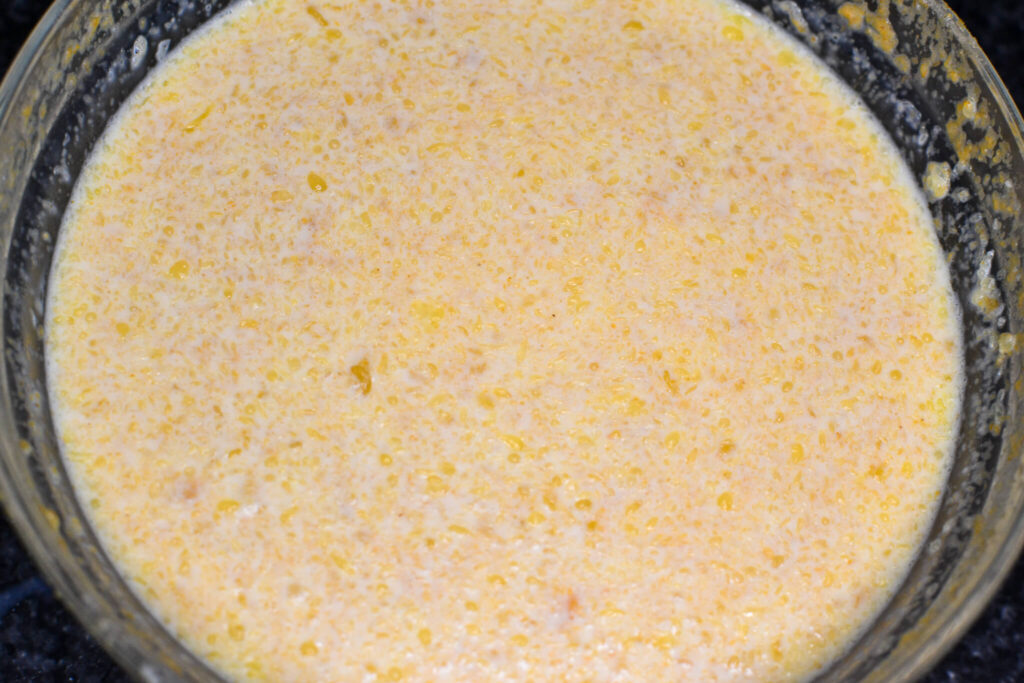
Consistency is crucial in waffle batter. Ideally, the batter should be smooth with no large lumps, ensuring even cooking and a uniformly textured waffle. When adding ingredients like peanut butter, which can be thick and occasionally stubborn to mix, you might end up with chunks that refuse to blend in. These chunks, when cooked, can create uneven spots on the waffle, making some areas denser than others.
Now, a strainer comes in handy to address this issue. Passing the batter through a strainer can help sieve out the larger peanut butter lumps that haven’t mixed in properly. This step ensures a more uniform batter, which in turn guarantees waffles that are evenly cooked and textured. Remember, a good waffle has a harmonious blend of crispness on the outside and soft fluffiness on the inside, which can be compromised by unincorporated peanut butter bits.
Unblended peanut butter can affect the overall flavor distribution for the peanut butter waffles. In places with large peanut butter chunks, the taste can be overwhelmingly nutty, while other parts might lack that desired peanut flavor. Straining helps in achieving a balanced flavor throughout the waffle.
While it might take an extra step, using a strainer to ensure all peanut butter is well incorporated into the batter can be a game-changer. It not only promises better texture but also a consistent taste, elevating the entire waffle-eating experience.

Pour the dry stuff into the bowl with the wet stuff. Now, here’s where you need to be a bit careful. You want to stir everything together, but don’t go too wild. A good mix is key. Overdoing it can make your waffles tough. You want them soft and fluffy.

Integrating dry ingredients into wet ones when crafting peanut butter waffles batter is a pivotal scientific dance in baking. The wet environment activates the leavening agent, typically baking powder, initiating a release of carbon dioxide gas which contributes to the batter’s rise and fluffiness.
Meanwhile, the flour interacts with the moisture, forming gluten—a protein network providing structure. However, the presence of fats from peanut butter can mitigate gluten’s toughness, ensuring a tender waffle. Carefully blending these ingredients achieves a balance: sufficient gluten development for structure, yet restrained enough to preserve tenderness, all while ensuring an even distribution of flavors, particularly the richness of peanut butter.
Start with the primary ingredient: peanut butter. Smooth, creamy peanut butter works best as it offers a consistent base. I recommend using Ted’s Peanut Butter because…well, it’s my favorite.
However, if you like a bit of texture, crunchy can be used too. Next, you’ll want a liquid to thin it out to sauce consistency. Depending on the intended use and flavor preference, this could be water, milk, or even coconut milk for a tropical twist.
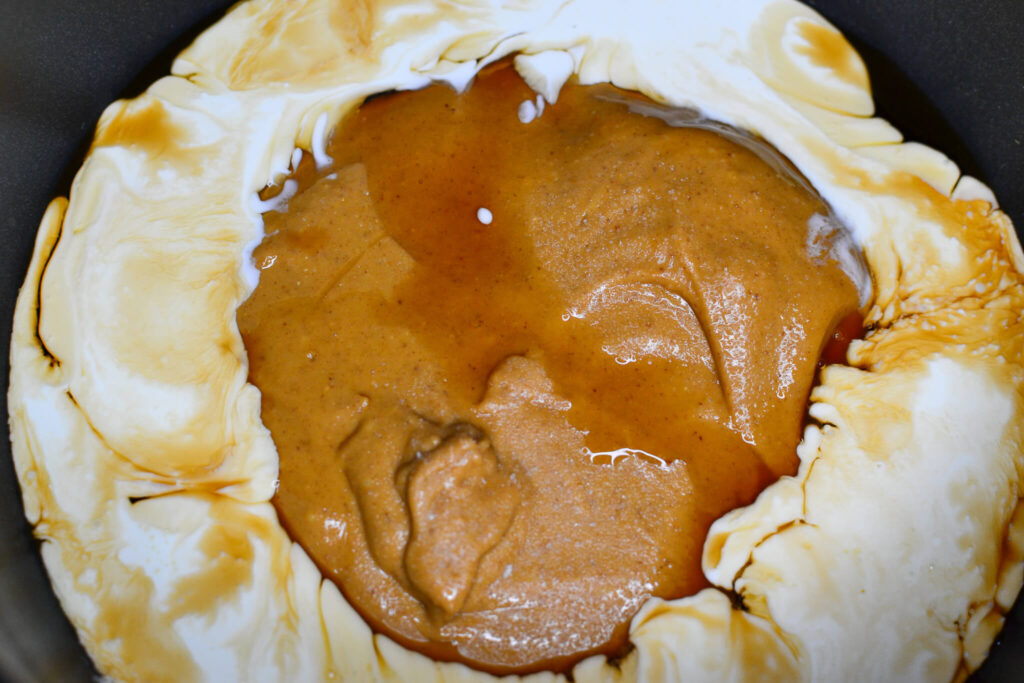
Now, onto the actual making. In a saucepan over low to medium heat, add a cup of peanut butter. As it begins to melt and become more fluid, gradually add your chosen liquid, stirring continuously to avoid any lumps from forming. The trick is to add the liquid little by little until you achieve your desired consistency. Remember, it’s easier to add more liquid later than to correct an overly thin sauce.
For added depth and flavor, consider infusing your sauce with ingredients like soy sauce, honey, or even chili flakes. Soy sauce offers a salty, umami kick, honey introduces a sweet contrast, and chili flakes give it a spicy edge. Adjust these additions based on the dish you’re pairing the sauce with.
I went with maple syrup.
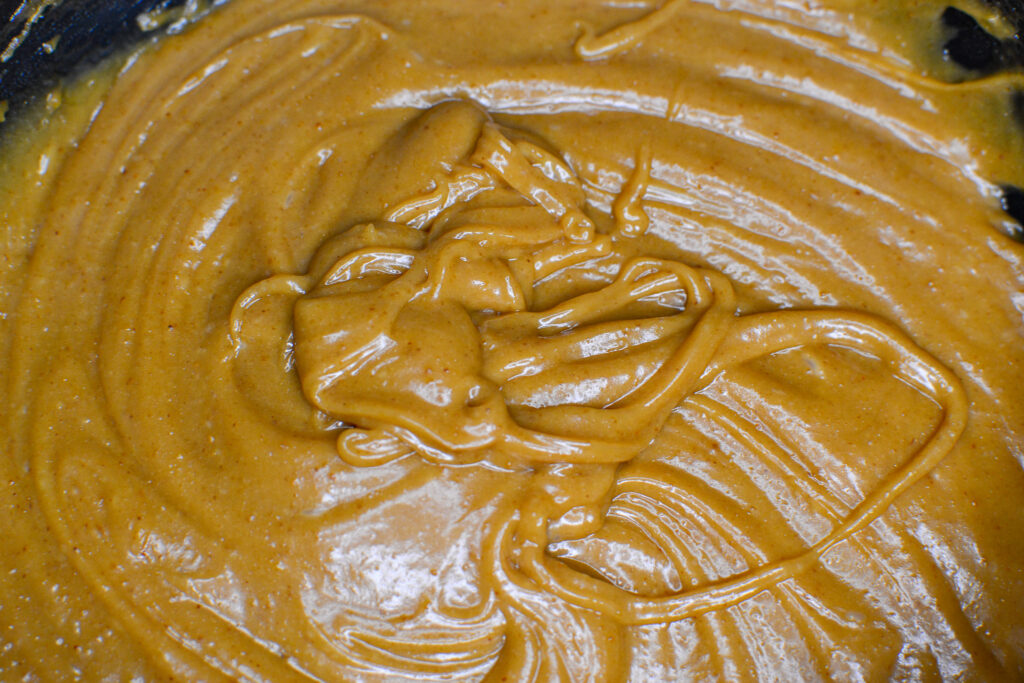
Whisk the peanut butter sauce until it achieves your preferred consistency.
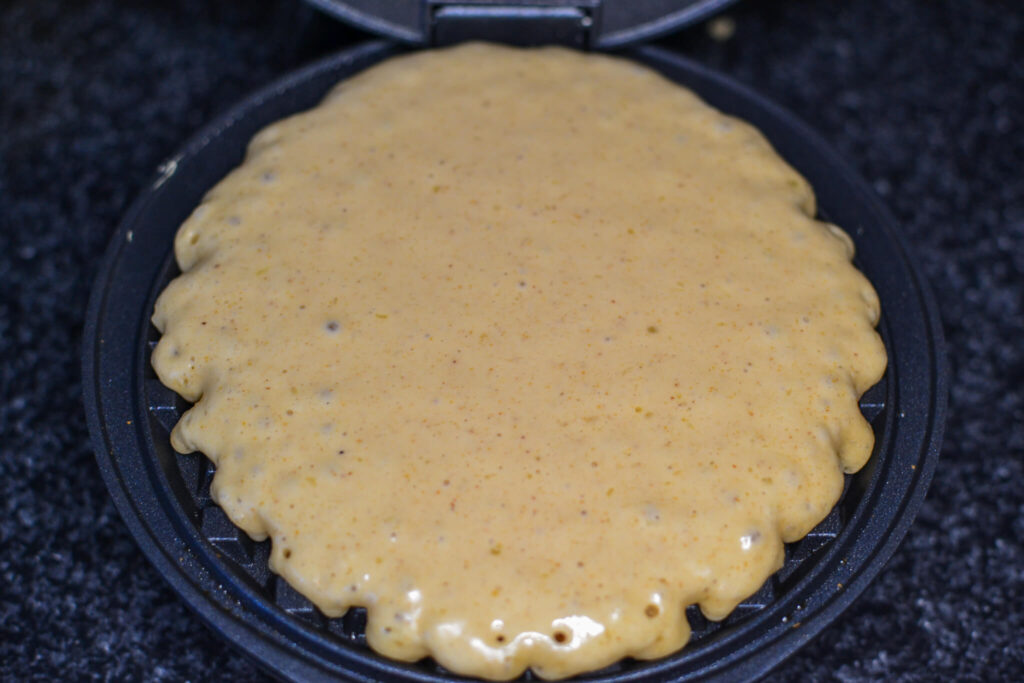
Begin with a preheated waffle iron. This step is crucial because a well-heated iron ensures that the batter immediately starts cooking upon contact, setting the stage for a crisp exterior.
Most waffle irons come with an indicator light which signals when they’re sufficiently hot and ready for action. Once the waffle iron is ready, lightly grease its surfaces using non-stick spray, melted butter, or oil. This prevents the waffle from sticking and aids in achieving that golden-brown finish.
Now, pour the prepared waffle batter onto the center of the iron. Be mindful not to overfill, as the batter will spread and could overflow from the edges when the iron is closed. Once the batter is in place, close the waffle iron lid. As the waffle cooks, steam will start to release. This is a good sign, indicating that the moisture in the batter is turning to steam and puffing up the waffle.
I just use the basic Cuisinart Waffle Maker, but maybe some day I’ll upgrade.
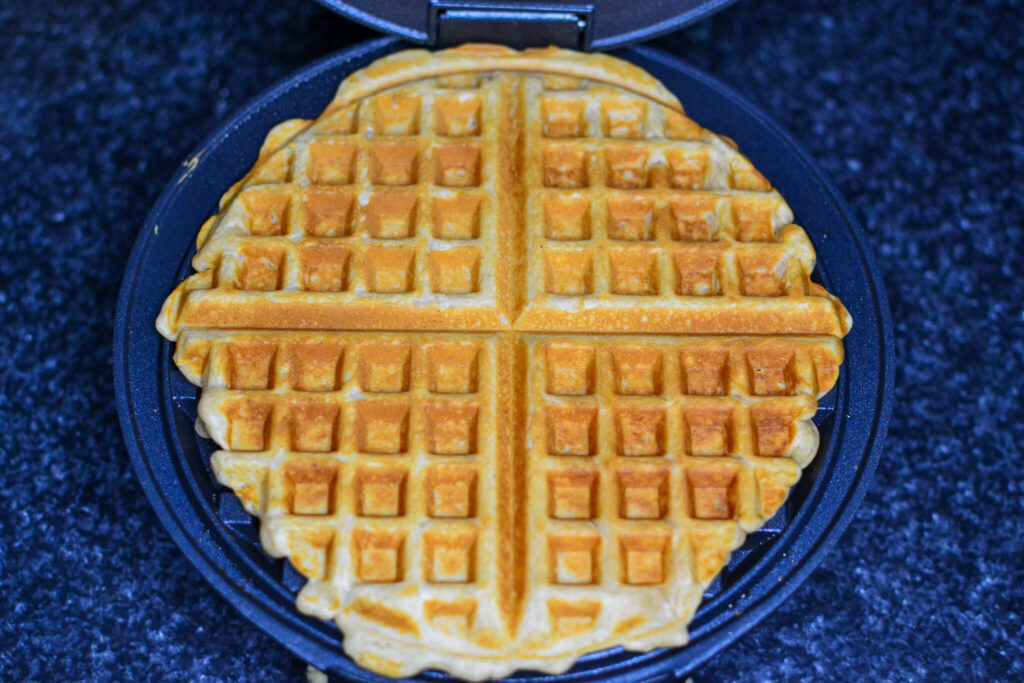
The cooking time will vary depending on the specific waffle iron and how browned and crispy you prefer your waffles. Generally, when the steam significantly reduces or stops, it’s a hint that the waffle might be ready. Once cooked to your liking, carefully lift the waffle out using a fork or spatula.
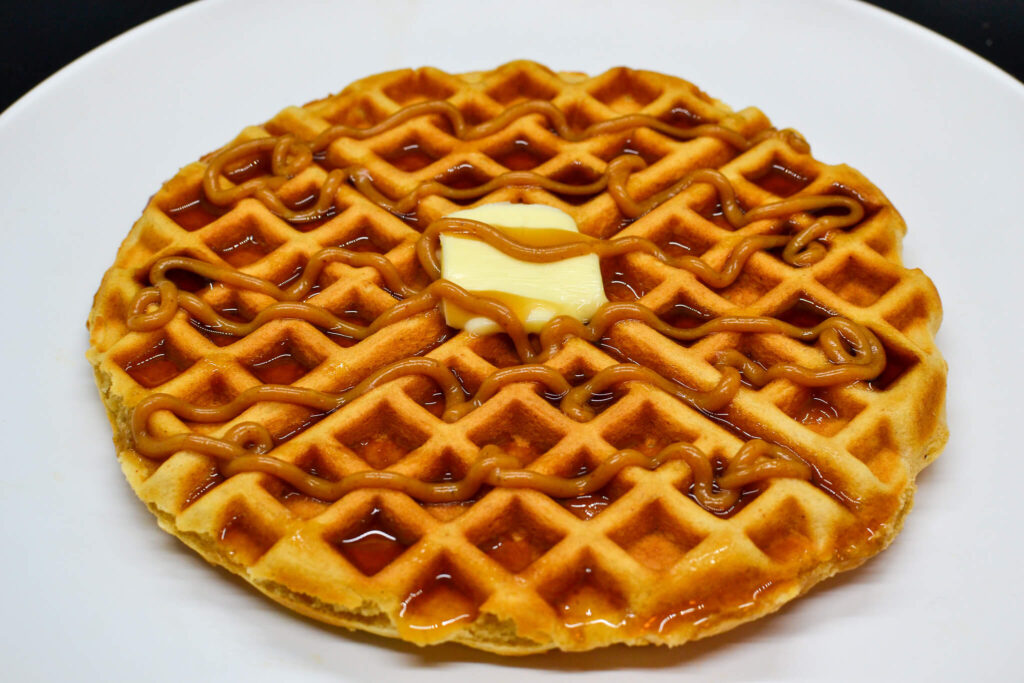
Begin by drizzling the warm, luscious peanut butter sauce over the freshly cooked waffle, letting it seep into every groove. The creamy, nutty richness perfectly complements the waffle’s crisp texture. Then, for a touch of sweetness, pour a generous amount of maple syrup on top. Its natural sugary notes harmonize with the peanut butter, creating a symphony of flavors.
Enjoy!


Eleven’s Love For Waffles