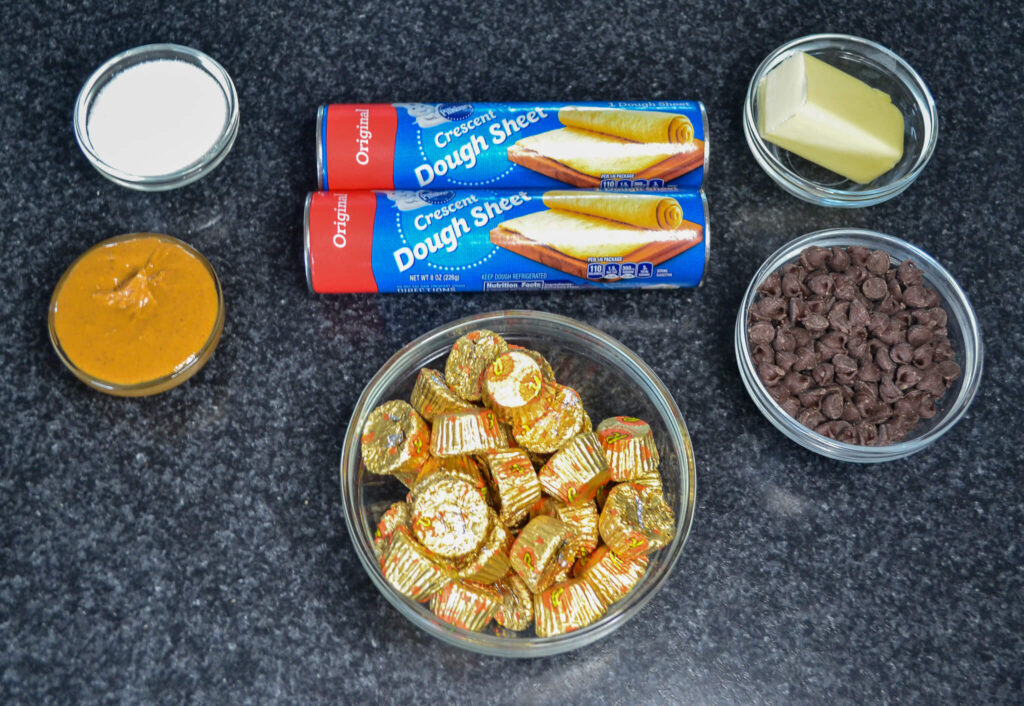


It’s important to get the most tedious step out of the way, and that is to get all of your peanut butter cups out of each individual wrapper.
Mini Reese’s Peanut Butter Cups are wrapped in a foil wrapper for a few reasons.
Firstly, the wrapper helps to protect the candy from damage during transportation and handling, ensuring that it remains intact and free from contamination. Secondly, the wrapper also helps to preserve the freshness and flavor of the candy, preventing it from drying out or becoming stale.
Additionally, the wrapper makes it easier to handle and consume the candy, as it provides a protective barrier between the chocolate and the consumer’s hands. Finally, the foil wrapper also serves as a convenient and recognizable form of packaging that makes the candy easily identifiable on store shelves and in vending machines.
In 2020, Reese’s released their Mini Peanut Butter Cups, which offers a conveniently unwrapped and smaller version famous candy. The main difference between Reese’s Miniatures and Reese’s Minis is their size. Reese’s Miniatures are small, bite-sized candies that are slightly larger than Reese’s Minis.
The miniature peanut butter cups typically about 1 inch in diameter and contain a mixture of different flavors, including milk chocolate, dark chocolate, white chocolate, and peanut butter. The Minis, on the other hand, are even smaller and more bite-sized, with a diameter of about 0.5 inches. They are only available in the classic milk chocolate and peanut butter flavor combination.
For this recipe, make sure you get the miniature ones, the ratio of dough to candy is crucial, and that half of an inch can make a difference!
For this recipe, we’re using Pillsbury’s crescent dough sheets. These dough sheets are made from the same recipe as Pillsbury’s classic crescent rolls, but they come in a rectangular shape that can be used for a variety of baking applications. They are a versatile ingredient that can be used to create a wide range of sweet and savory dishes, from appetizers and main courses to desserts.
The convenience of the pre-rolled dough makes it a popular choice for busy home cooks who want to save time without sacrificing flavor or quality. Additionally, the flaky and buttery texture of the crescent dough sheets make them a favorite for creating delicious homemade pastries, such as turnovers and Danishes.
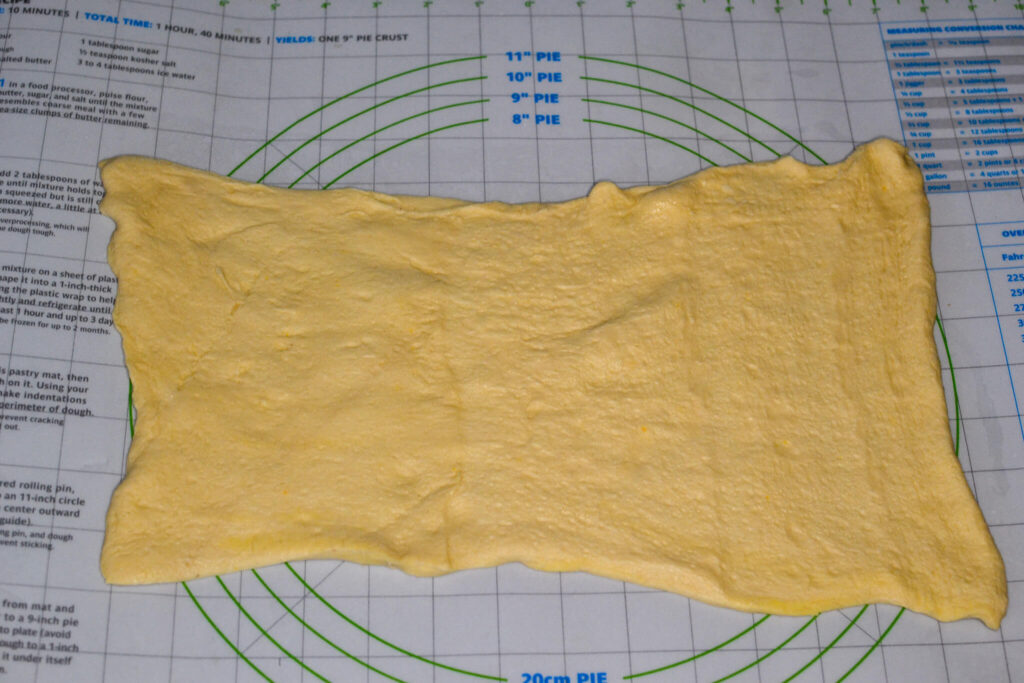
Cutting your crescent dough sheets into even squares is definitely a tricky part. I am so dreadfully bad doing stuff like this, I even used a baking mat underneath and they still aren’t proportionally great.
The goal is to get 18 squares, which on the second sheet I was able to get somewhat handily…with the help from my wife.
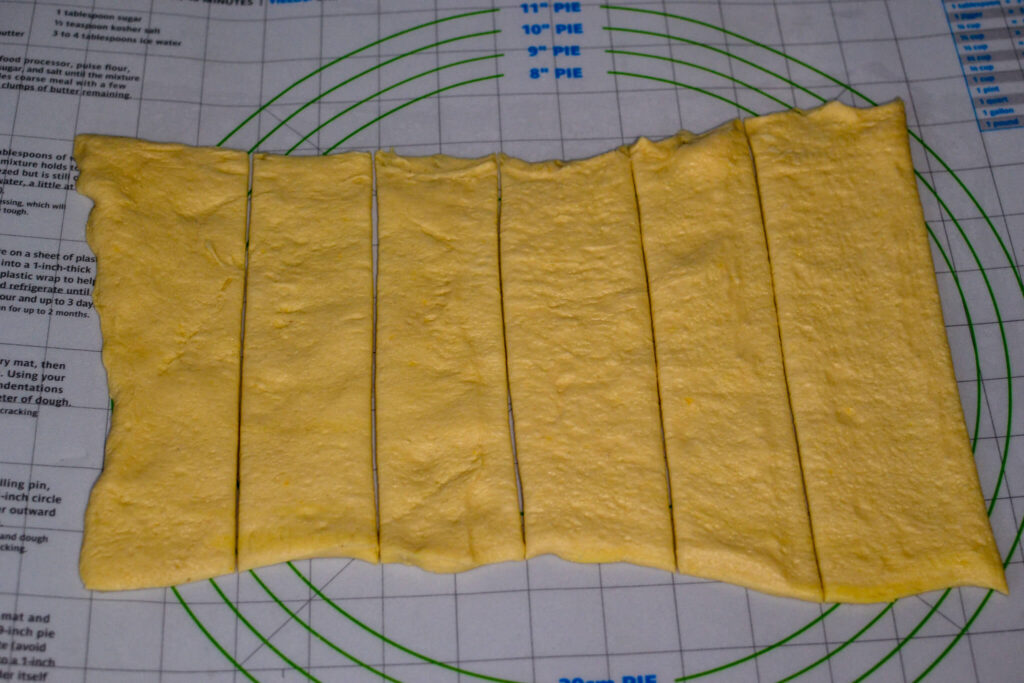
Start by cutting the dough into the columns first. This will start you off on the right path, and I was able to cut them into 6 reasonable sheets. Now, simple math will tell you to cut these into 3 rows in order to get your 18 squares.
How hard could it be?
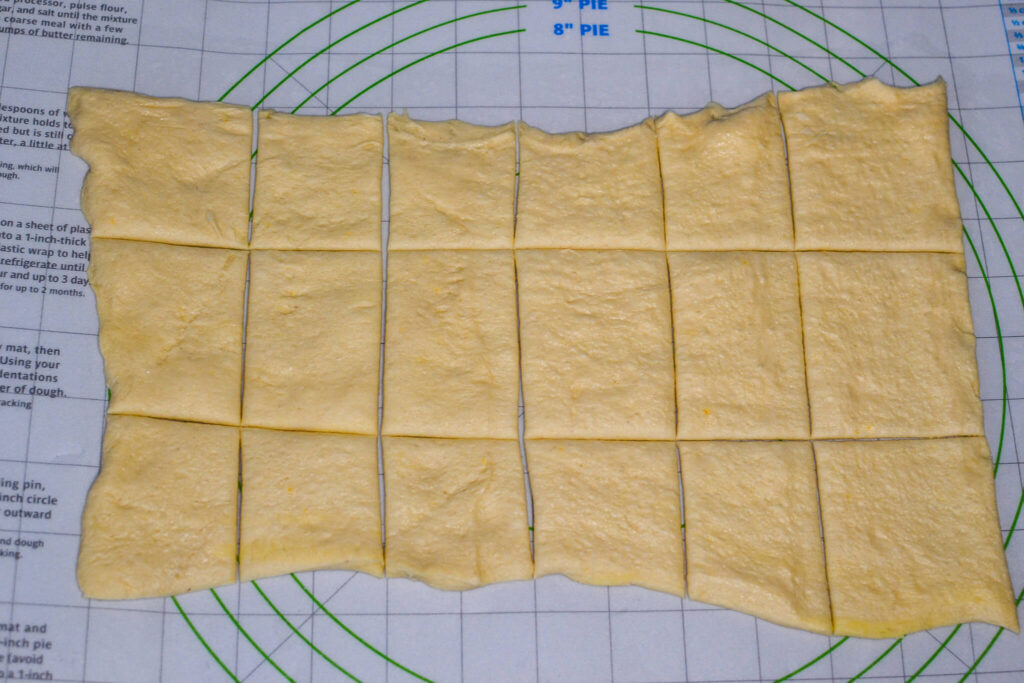
Well, the middle just seems so much bigger than the rest.
Is it disheartening? Yes.
But, it’ll work…onward we move.
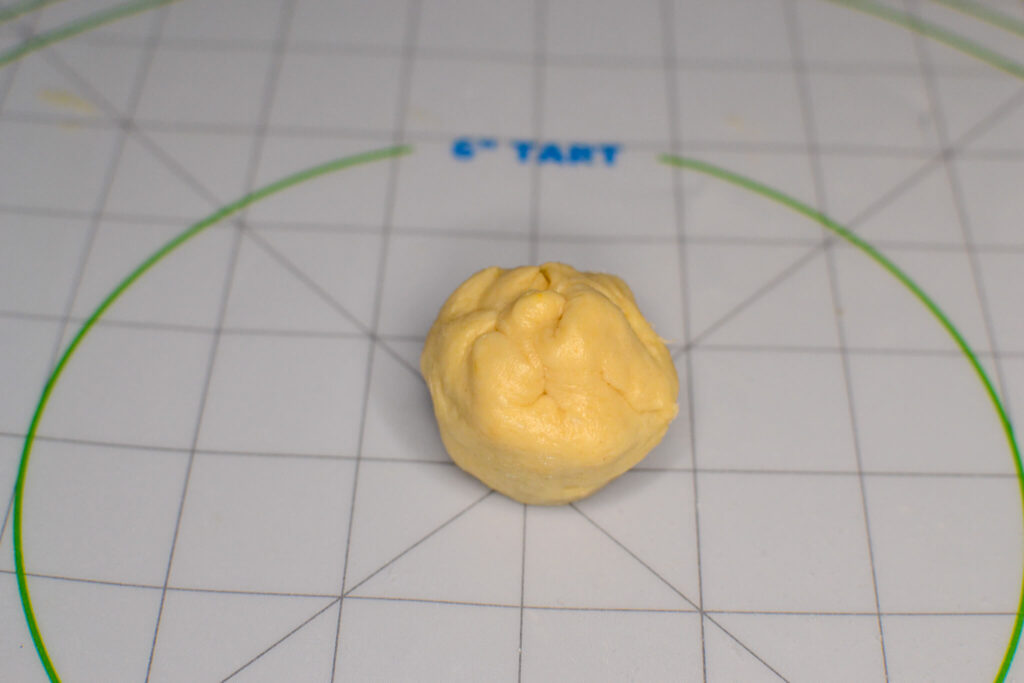
Next you will need to stuff each square of dough with 1 single peanut butter cup. Ideally the dough should be somewhat tight against the candy so that the ratio is balanced, so if there are any bigger pieces of dough (you know, like the middle row from mine), don’t hesitate to trim some dough off.
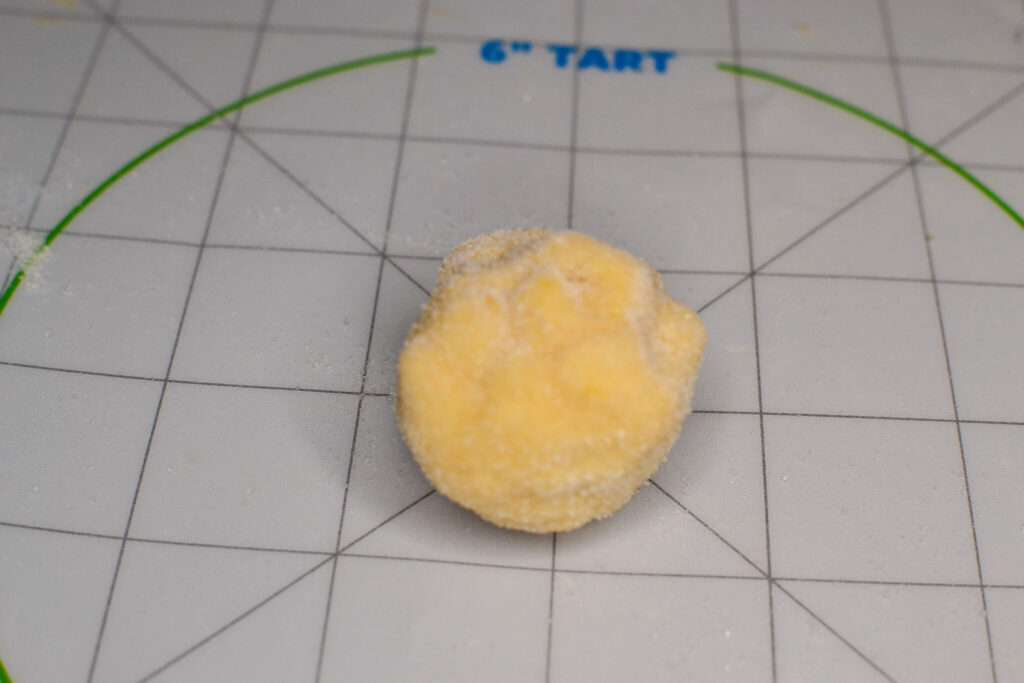
Once you’ve stuffed your candy filled dough, roll it in the granulated sugar and fully coat it.
Rolling the dough balls in sugar is an important step when making monkey bread for several reasons. The sugar adds sweetness to the bread, making it a delicious and indulgent treat. As the bread bakes, the sugar melts and creates a sticky and caramel-like glaze that coats the dough balls, giving them a golden-brown color and enhancing their flavor.
This glaze also helps to hold the bread together, making it easier to pull apart and creating a satisfying texture. Lastly, the sugar adds a pleasant crunch to the exterior of the bread, creating a nice contrast to the soft and fluffy interior.
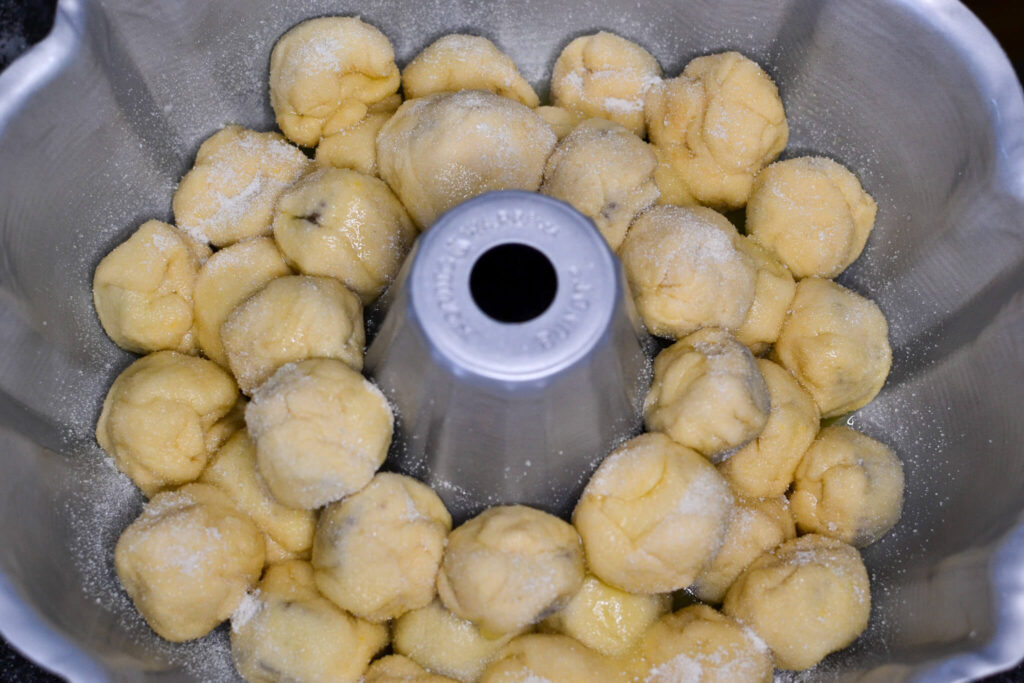
When preparing monkey bread and arranging the dough balls, a Bundt cake pan is the go-to choice. The pan’s unique shape lets you place the dough in a ring, making for an attractive display, ideal for brunches or parties.
The Bundt pan’s design, with its tall sides and central tube, ensures even heat distribution for uniform baking and thorough cooking. The tube aids in air circulation, aiding the dough to rise, resulting in a fluffy texture.
Also, the Bundt’s tall sides and center tube help to distribute heat evenly throughout the dough, ensuring that it bakes evenly and cooks all the way through. The tube also allows air to circulate around the dough, helping it to rise properly and creating a light and fluffy texture.
The non-stick surface of the Bundt pan also simplifies removing the bread after baking, preventing sticking.
Before placing your dough balls in the pan, spray it well with non-stick spray to prevent sticking.
When you add the balls to the pan, you will:
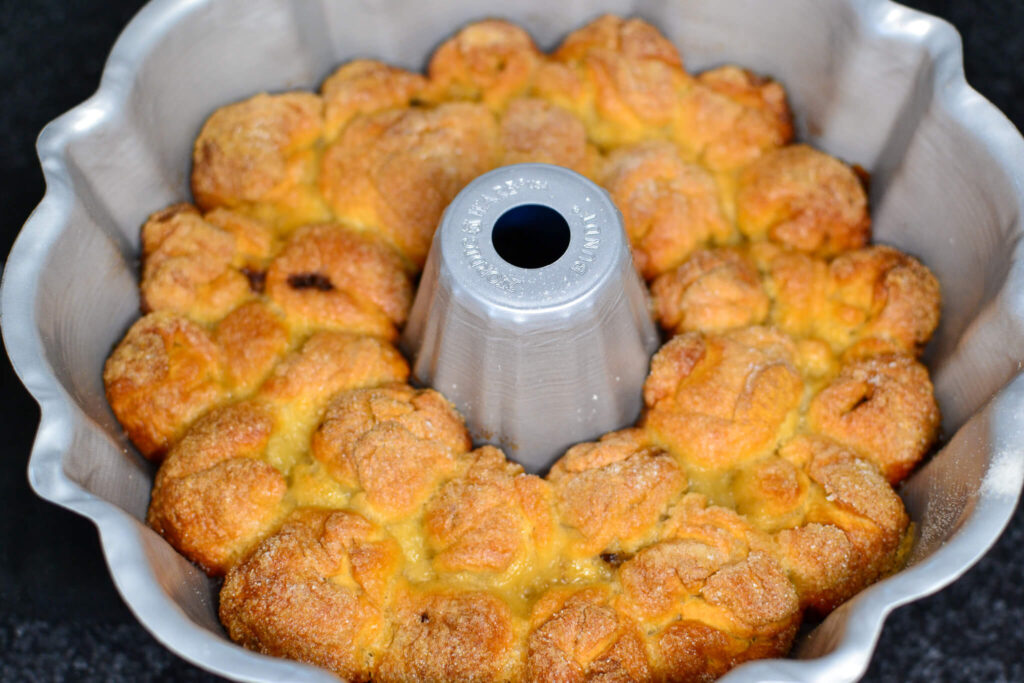
Bake your monkey bread at 350°F for 30 minutes. Remember, the top of the bread is at the bottom of the pan, where the crust normally is. Don’t base the doneness on the dough’s color. Avoid baking over 30 minutes to prevent it from becoming too crunchy.
While baking, prepare the garnish:
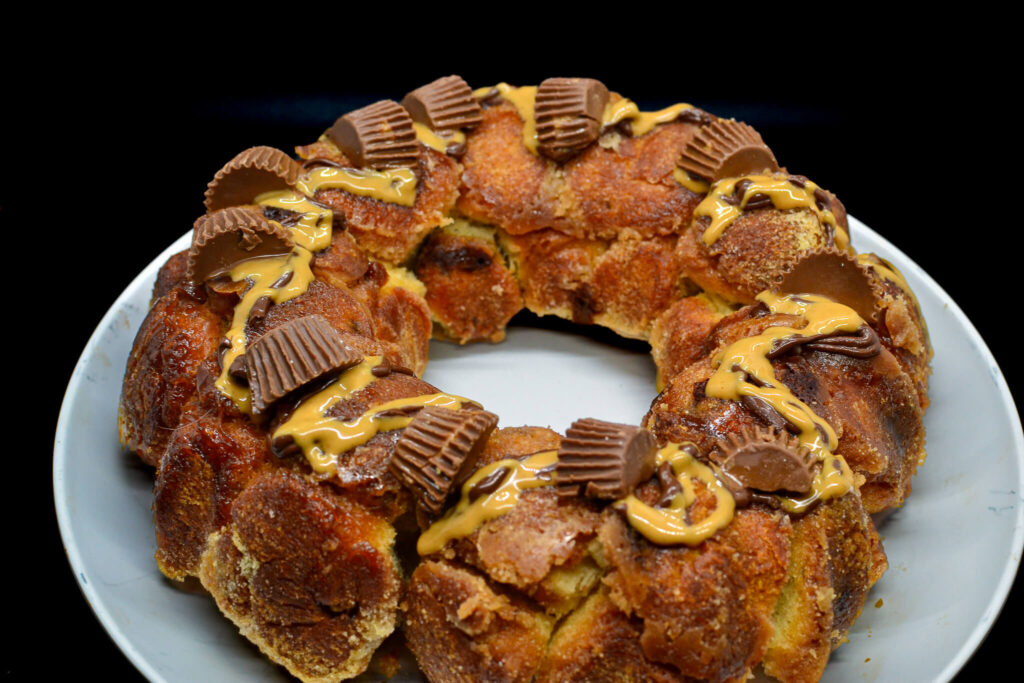
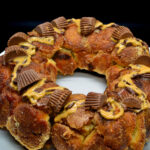
Garnish the top of the peanut butter cup monkey bread, a delight for peanut butter lovers, with some melted chocolate, peanut butter, and a few more mini Reese’s cups. This final step elevates the peanut butter monkey bread, making it an irresistible treat.
Enjoy!


The origins of the name “monkey bread” are not entirely clear, and there are several theories as to how it got its name. One theory is that the bread’s appearance, with its irregular shape and pieces that can be pulled apart like monkey fingers, resembles the way monkeys eat their food.
Another theory is that the name comes from the idea that making the bread is a playful, fun activity that is similar to the way monkeys play with their food. Yet another theory is that the name is a mistranslation of the Hungarian word “máglyarakás,” which means “bonfire stack,” but was misheard as “monkey bread” by American soldiers stationed in Hungary during World War II. Regardless of its origins, the name “monkey bread” has stuck and has become a beloved treat enjoyed by many around the world.
Reheating monkey bread is easy and can be done in several ways:
No matter which method you choose, be sure to keep an eye on the bread while reheating to avoid overcooking it. Reheated monkey bread may not be as fresh as when it was first baked, but it should still be delicious and enjoyable.