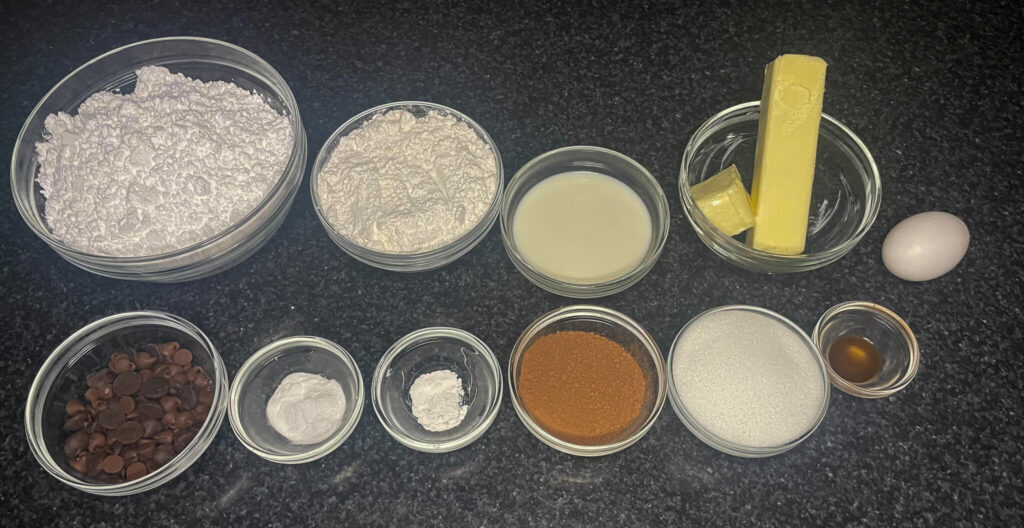


Begin your half moon cookie recipe by using a measuring cup to measure the following dry ingredients.
Once measured, place a sifter over a large mixing bowl and pour the dry ingredients into it. Sifting not only helps in breaking down any lumps but also aerates the mixture, which is crucial for making the cookies light and fluffy. It also aids in combining the ingredients evenly. Gently tap or shake the sifter, allowing the dry ingredients to fall into the mixing bowl.
After sifting, take a whisk and further mix the ingredients together. This extra step ensures that the baking soda and baking powder are evenly distributed throughout the flour, which will contribute to uniform rising and browning of the cookies. Once well-mixed, you are ready to proceed with your recipe by combining the dry mixture with the wet ingredients as instructed.
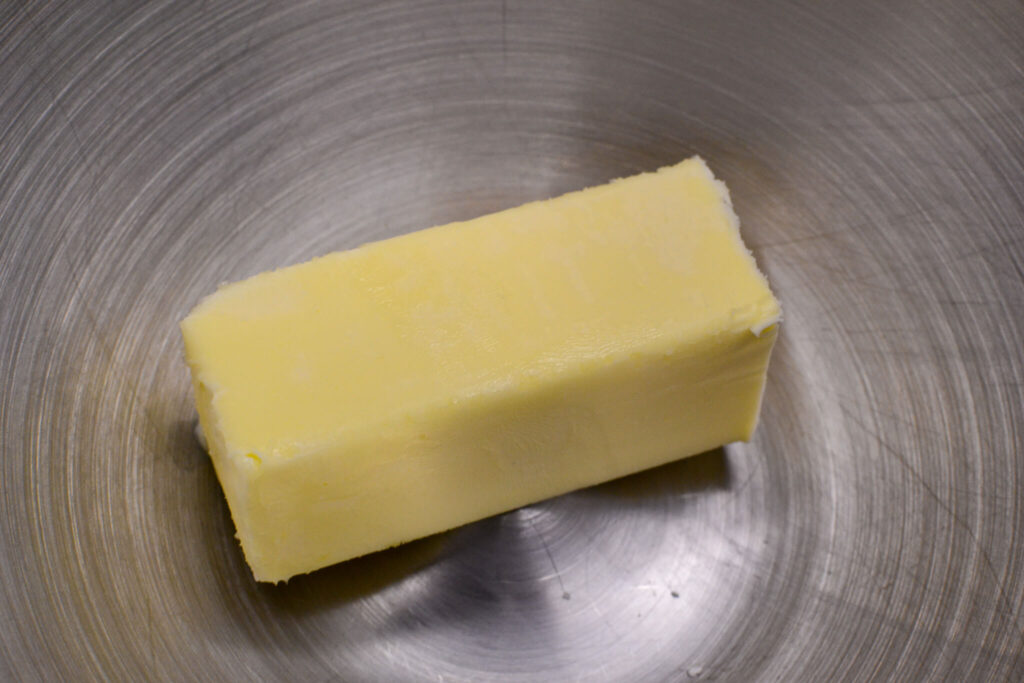
Begin with the wet ingredients by putting 5 tablespoons of softened butter into your mixing bowl.
Starting with room temperature butter is crucial for the creaming process as it significantly impacts the texture and overall outcome of baked goods. When butter is soft and pliable at room temperature, it can be efficiently creamed together with sugar to create a network of air pockets, which is vital for achieving a light, tender texture in the finished product. Cold or melted butter won’t achieve the same effect; cold butter won’t aerate well and melted butter will lead to a dense mixture.

Creaming butter is a crucial step in many baking recipes, and it sets the foundation for the texture and structure of baked goods such as cookies and cakes. The process begins with softening the butter to room temperature, ensuring it’s pliable yet not melted. Once softened, the butter is beaten using a stand mixer or a hand mixer on medium speed until it becomes smooth and creamy.
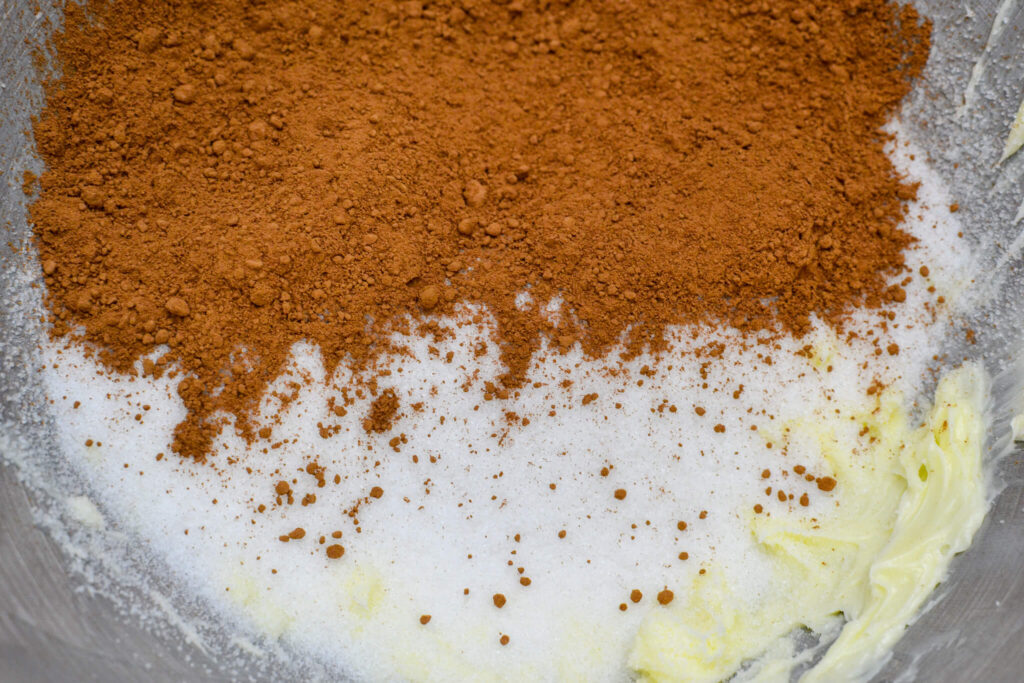
Once your butter is creamed, add 3/4 cup of sugar, and 1/4 cup of cocoa powder.
Before adding cocoa powder to the butter and sugar mix, it’s best to sift it to get rid of any lumps and make the mix smoother. When mixing, use a low speed to stop the cocoa powder from making a mess and to keep the light texture from creaming the butter and sugar. Also, remember to stop now and then to scrape down the bowl’s sides with a spatula, making sure everything is mixed well.
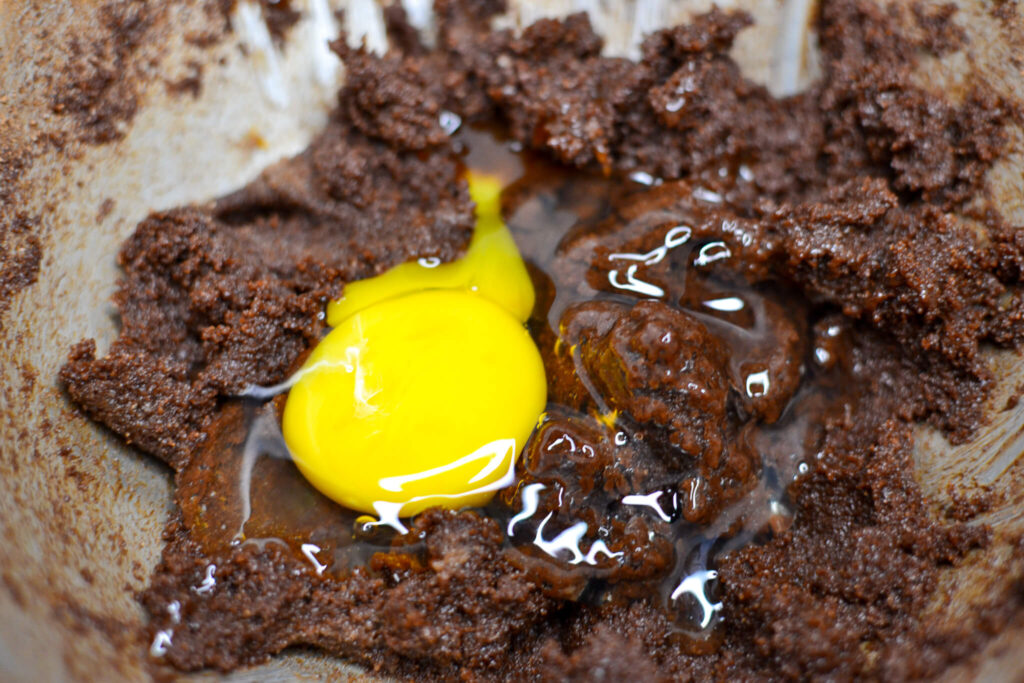
Next, add 1 egg to the mix of butter, cocoa, and sugar.
Adding eggs to a mix of butter, sugar, and other ingredients is an important step in many baking recipes. Eggs help in different ways, including improving the texture, structure, and taste of the baked item. They help mix the ingredients better, especially because the lecithin in egg yolks helps blend water and fat together smoothly.
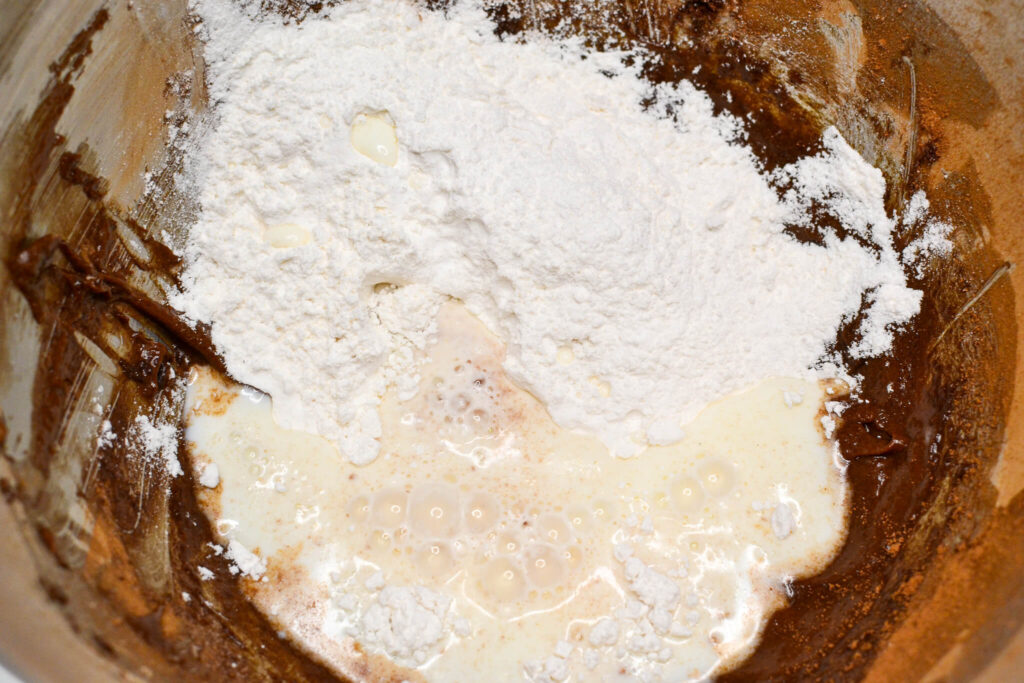
To finish the cookie batter, you’ll mix in the dry ingredients and 1/2 cup of milk. Start by slowly adding part of the dry ingredients to the wet ones, mixing them gently. It’s important to add the dry mix little by little to avoid over-mixing, which can make the cookies tough.
After adding some of the dry ingredients, pour in a bit of the milk and mix it in well but gently, to make sure it’s evenly mixed. Keep alternating between adding dry ingredients and milk, mixing gently each time. This method helps keep the batter smooth and free of lumps.

Try not to eat too much of the half moon cookie batter. It’s truly addicting.
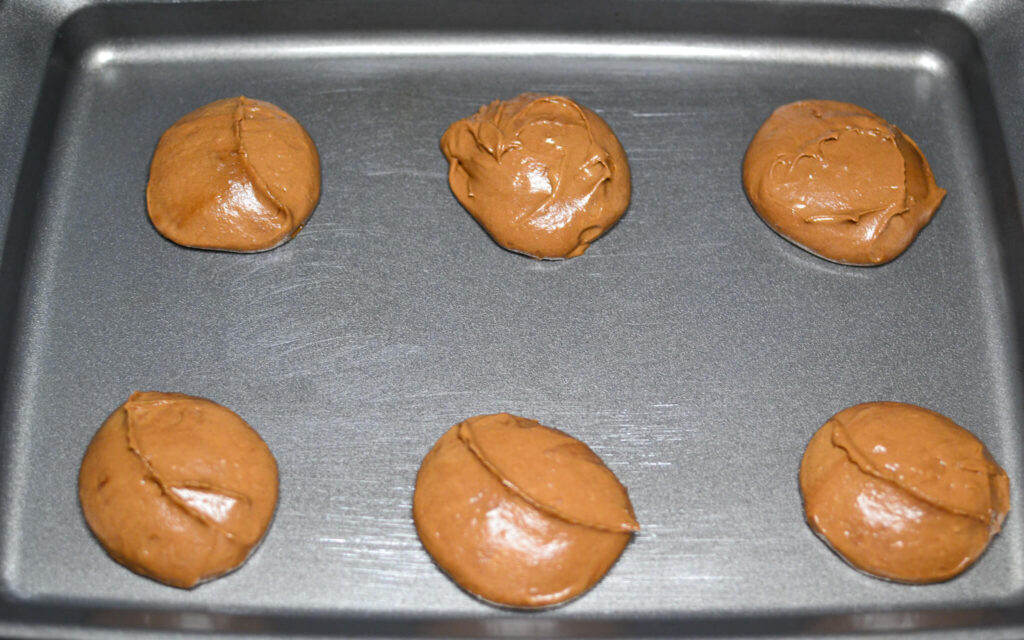
Preheat the oven to 350 degrees and start scooping out your batter into cookie-sized portions onto baking sheets lined with parchment paper. Although, I hardly ever use baking sheets with parchment paper because I am a rebel.
Using a scooper with a lever helps to quickly make cookie portions that are all the same size, making baking more efficient and accurate. After scooping all the batter onto the baking sheets, they’re ready to go into the oven. This gets you closer to having homemade cookies that look professional.
Bake at 350 degrees for 12 minutes.
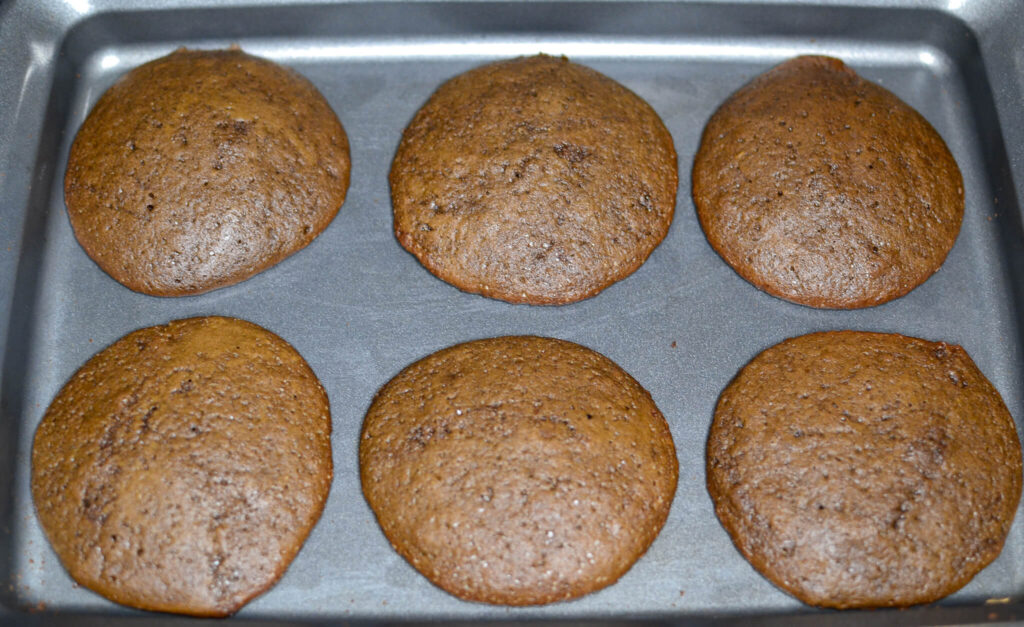
Let the cookies rest on a wire rack to cool completely as you begin to make your chocolate and vanilla frosting.

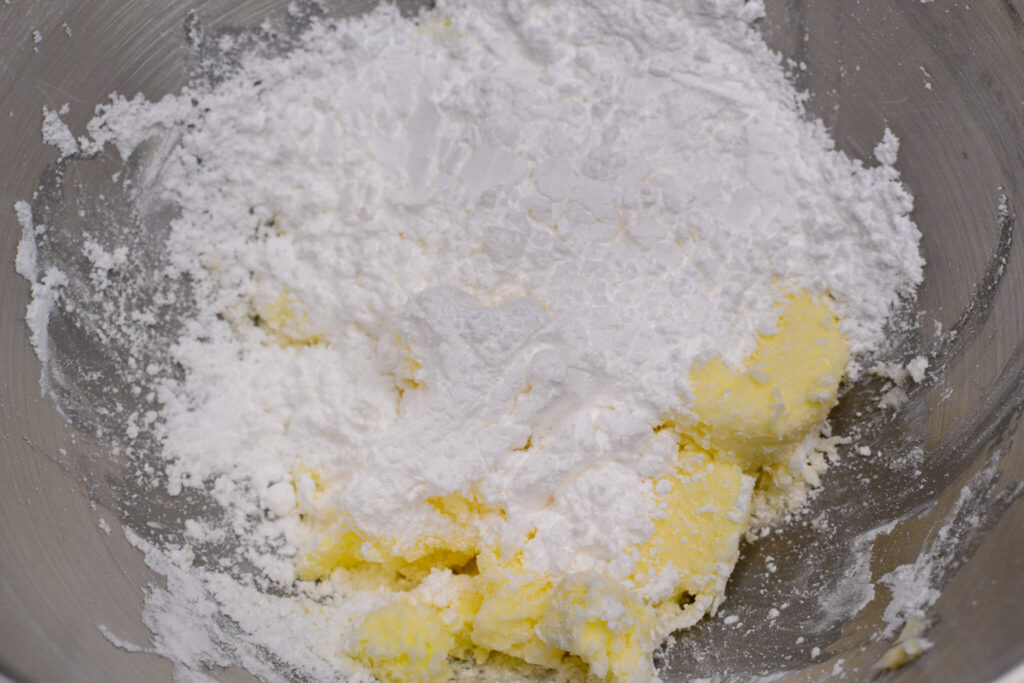
Starting with room temperature butter is key for a smooth texture when making vanilla buttercream. In a mixing bowl, cream the butter on medium speed using an electric mixer until it becomes soft and creamy, which usually takes about 1 to 2 minutes. Once the butter reaches a soft, pliable consistency, gradually add the confectioners’ sugar, a bit at a time, while continuing to mix on low speed to prevent a sugar cloud. This gradual incorporation helps to achieve a smooth, lump-free texture.
After all the sugar has been incorporated, add a splash of vanilla extract for that classic, aromatic flavor, blending it well into the mixture. If the frosting appears too thick, slowly drizzle in milk or cream, a tablespoon at a time, mixing continuously until you attain the desired consistency.
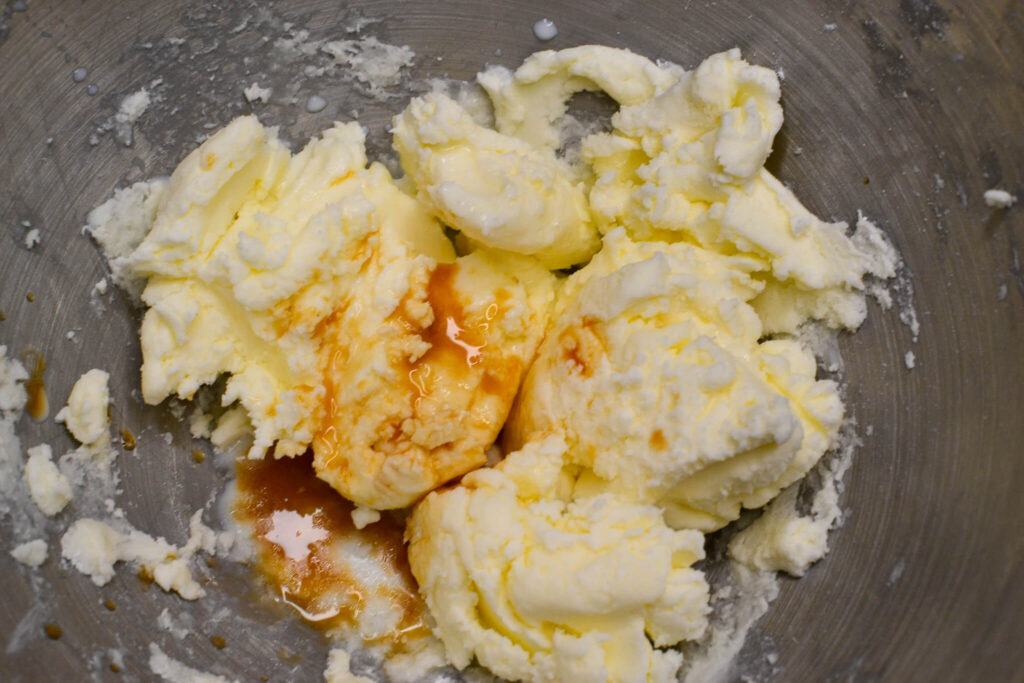
Be cautious with the liquid, as a little goes a long way. Once the frosting reaches a smooth, spreadable consistency, increase the mixer speed to medium-high and beat for an additional 3 to 5 minutes to incorporate air, which will make the frosting light and fluffy.
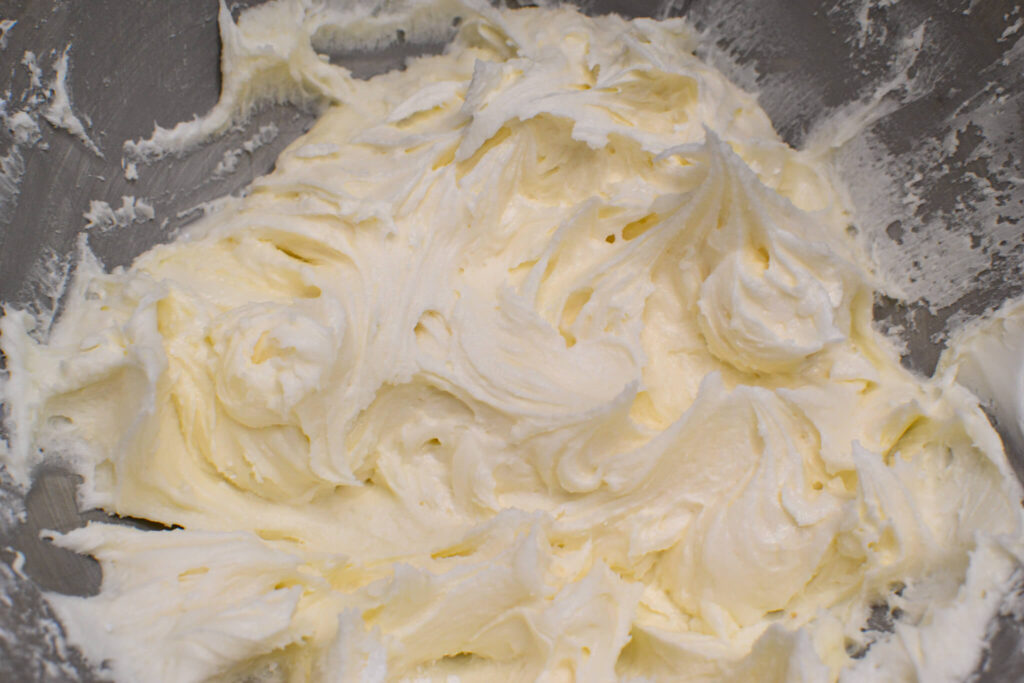
Taste the vanilla frosting to make sure it’s not too sweet and has the right balance of vanilla and butter flavors. It should be a smooth mix of sweet, rich, and vanilla tastes.
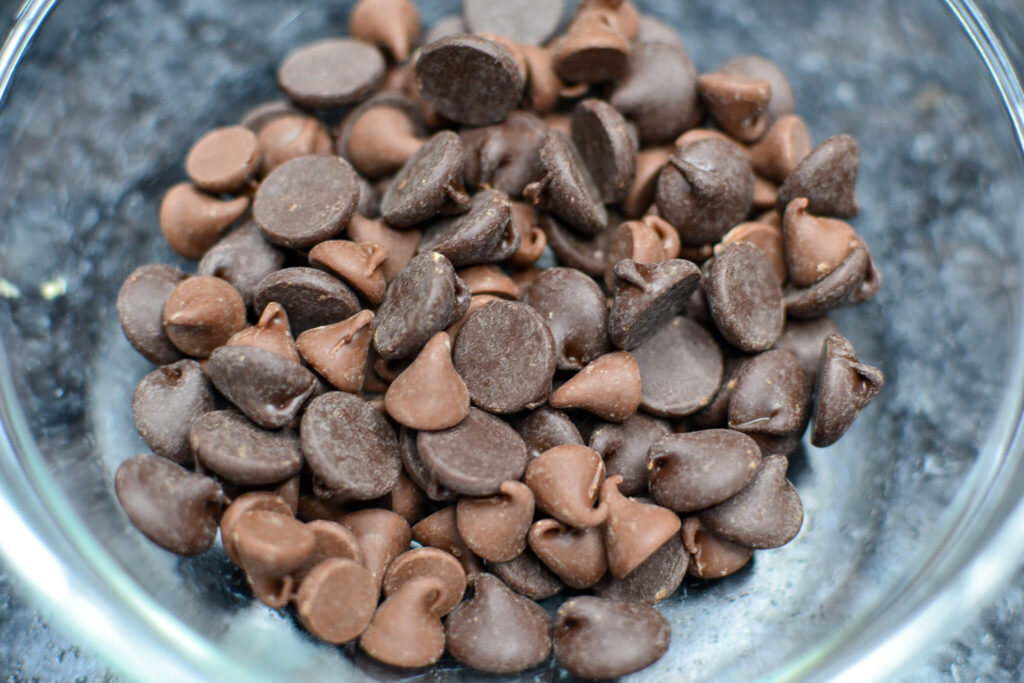
Using both bittersweet and semisweet chocolate together can improve the taste and texture of chocolate dishes. Bittersweet chocolate, which is rich and strong, works well with the sweeter, milder semisweet chocolate. This mix gives you a good balance of sweet and bitter flavors and makes the chocolate taste richer, which is great for fancy desserts.
The blend of these chocolates also melts better. Each type melts well on its own, but together, they create a smooth, shiny finish perfect for frostings, ganaches, or any recipe that needs melted chocolate. The different amounts of cocoa and sugar in these chocolates help them melt evenly, making this combination versatile and useful for many chocolate recipes.
By balancing the flavors and improving how the chocolate melts, mixing bittersweet and semisweet chocolate makes many chocolate-based dishes taste and look better. This is why many experienced bakers and chocolate makers prefer this combination.
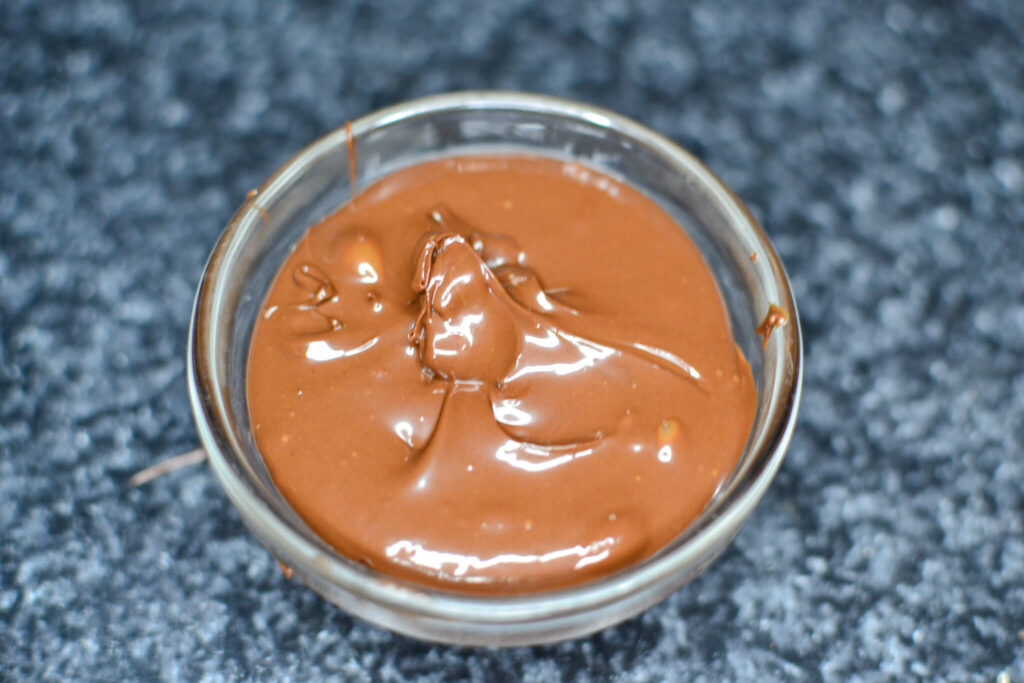
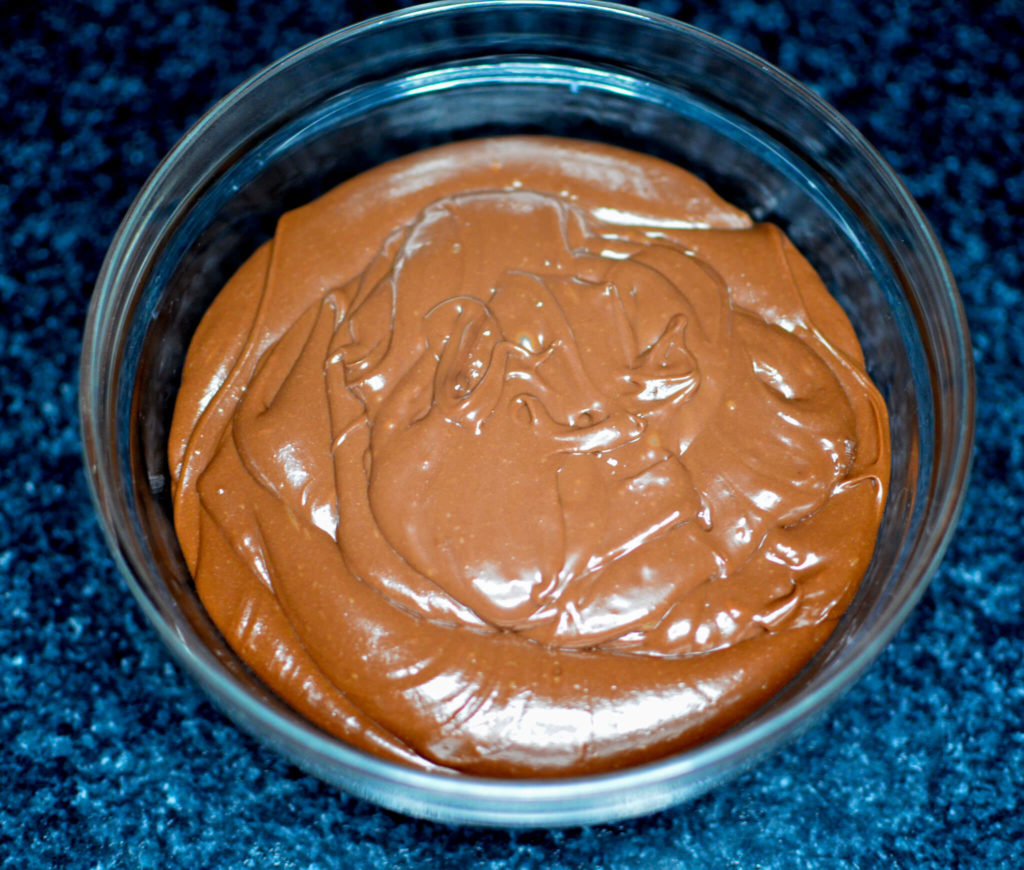
Melted chocolate usually has a stronger and more genuine chocolate taste than cocoa powder. This is because chocolate bars contain cocoa solids and cocoa butter, and sometimes extra sugar and milk solids, which give them a complex flavor. Cocoa powder has a strong chocolate taste too, but it doesn’t have the same rich and full flavor that you get from melted chocolate.
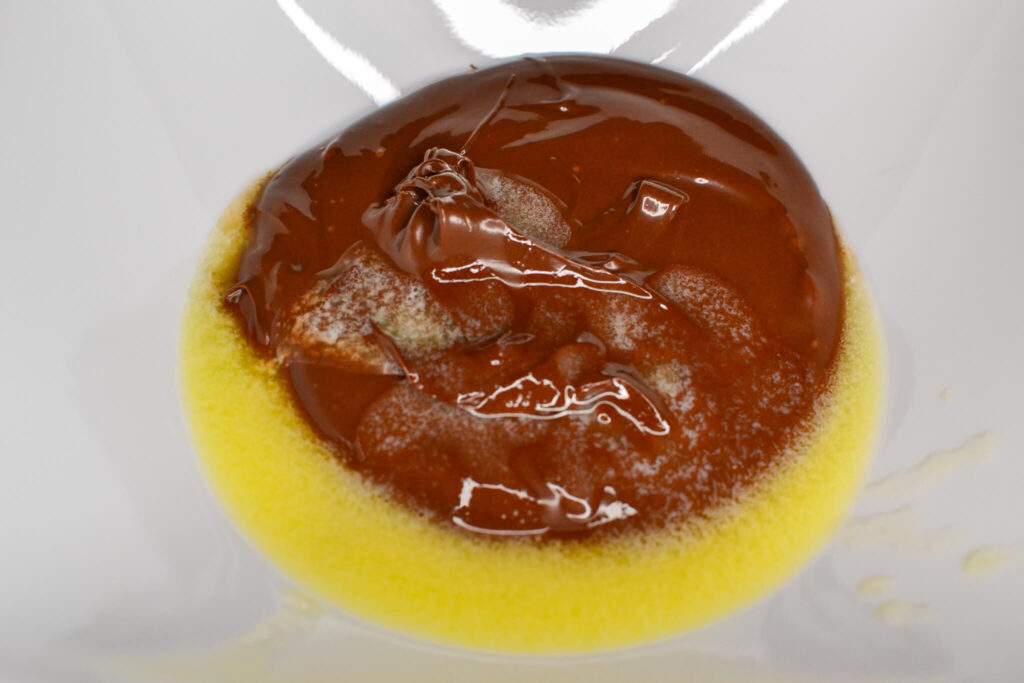
Adding butter to melted chocolate is a crucial step that greatly improves the frosting’s texture, taste, and ease of spreading.
Add 1 tablespoon of melted butter to the melted chocolate, which will ensure a smoother, easily spreadable consistency but also adds a subtle richness and stability to the chocolate frosting
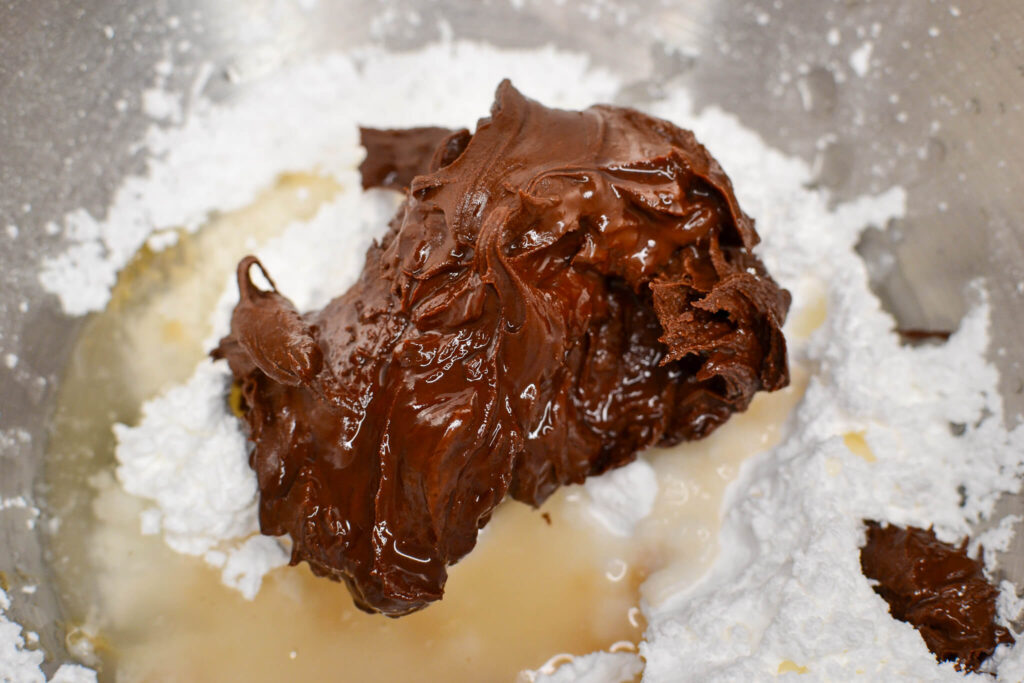
Once the chocolate and butter is mixed, combine:
This combination ensures a well-balanced frosting that you will need to restrain yourself from eating as you prepare to frost the cookies.
Place the chocolate frosting alongside the vanilla frosting as you commence the process of frosting the cookies, aiming for a seamless method of application.
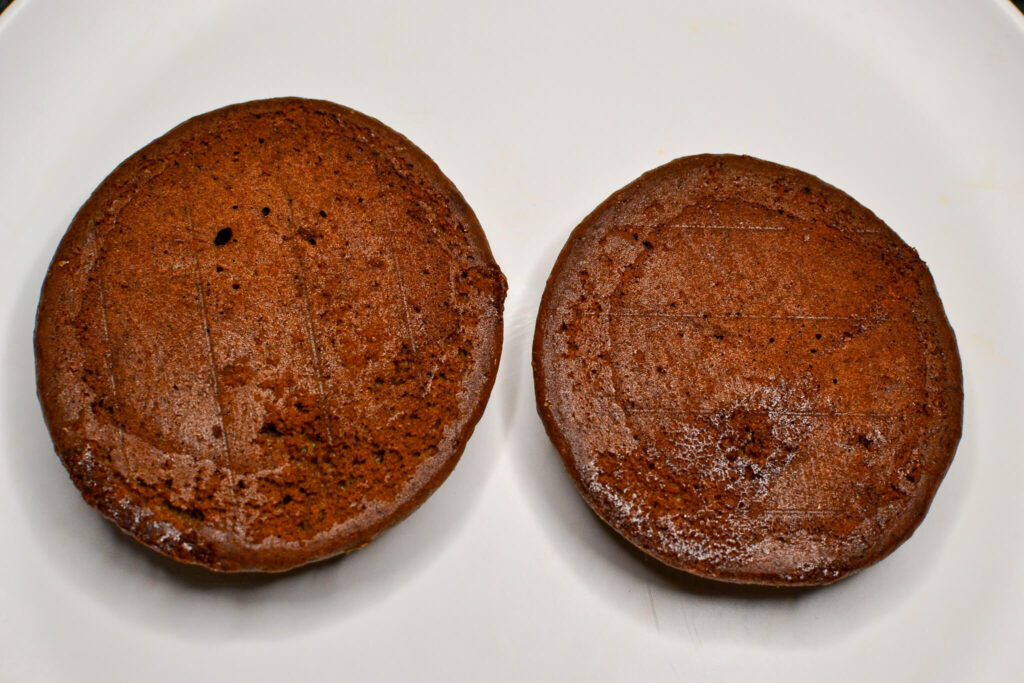
Half Moons usually have a domed top because of how they spread and rise in the oven. Frosting this domed top evenly can be tricky, as the curved surface might not hold the frosting well or provide a flat area to work on. However, the cookie’s bottom is typically flat, as it sits against the baking sheet while baking.
If you turn the cookie upside down and use the flat bottom side for frosting, it offers a more level and even surface. This makes it easier to apply the frosting smoothly, whether you’re going for the classic black and white design or any other pattern. Frosting on a flat surface allows for more controlled spreading, reducing the chances of an uneven or sloppy look. It also makes it easier to create clean lines or edges between different frosting colors, which is important for a well-made half-moon cookie.
Frosting adheres better to the flat surface, giving the cookie a neater appearance and ensuring the frosting stays put as it dries. Frosting the flat side instead of the rounded one can save time and give a more professional finish, making the frosting process for half-moon cookies much easier and more enjoyable.
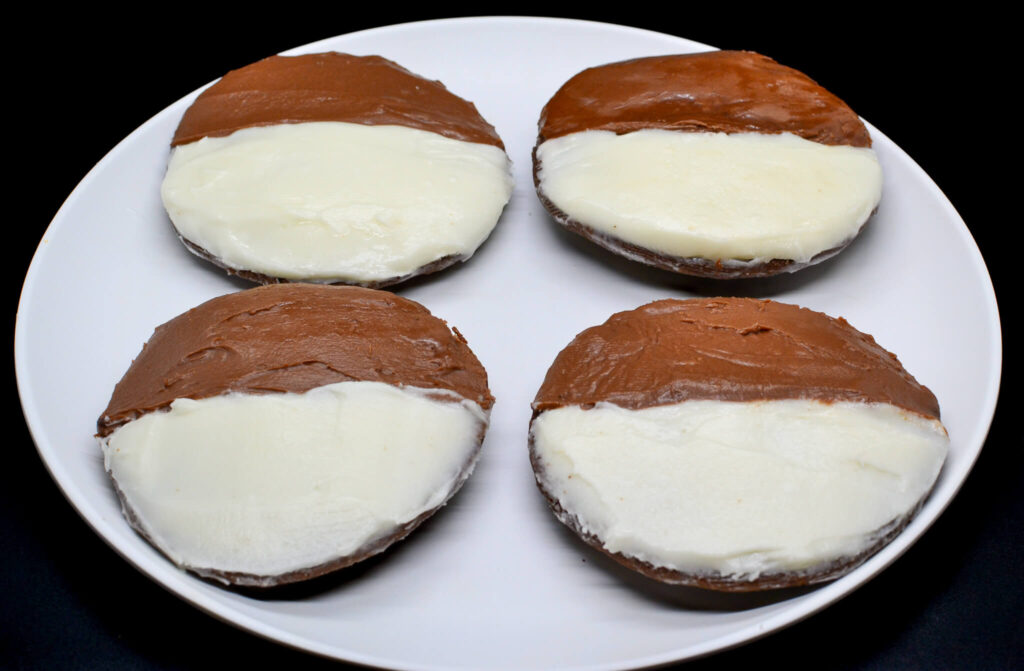
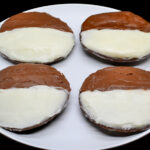
With that said, begin frosting half the cookie with the vanilla frosting, and the other with the chocolate frosting.
The vanilla and chocolate frosting halves provide a delightful contrast in flavors. When you bite into the cookie’s soft, cake-like texture, you taste the sweet vanilla and the rich chocolate frostings, either separately or together, depending on how you eat it.
This cookie is a simple pleasure that doesn’t need a special occasion to enjoy. Enjoyed with a cup of coffee or milk, it offers a comforting experience, perfect for a relaxed afternoon snack or a casual gathering with friends.
Enjoy!


White Swan vs. Black Swan

This recipe draws from the original recipe of Hemstraughts Bakeries, renowned for their half moons in the New York region.
In 1920, Harry B. Hemstrought crafted his famous Halfmoon recipe in what began as a small bakery on Genesee St. in Utica, New York, Hemstrought’s highly sought-after secret recipe has been passed down by their bakers for generations. Each Halfmoon is crafted with the perfect mix of smooth chocolate fudge and buttercream frosting atop a soft ‘cake-like’ cookie bottom for a unique texture with an irresistible taste.
Thy are a classic dessert treat that is enjoyed by many people and can be found in bakeries and cafes throughout the New York area. Hemstrought’s is a well-established brand that has been producing half moons for many years and is known for its high-quality products and commitment to tradition.
Want to try one for yourself? Check out their online store where you can ship some to your home.
Half Moons and Black and Whites, while similar, have distinct characteristics that differentiate them.