


Begin by heating a tablespoon of olive oil in a large skillet over medium heat. The choice of olive oil is crucial as it adds its own subtle flavor that complements the ingredients.
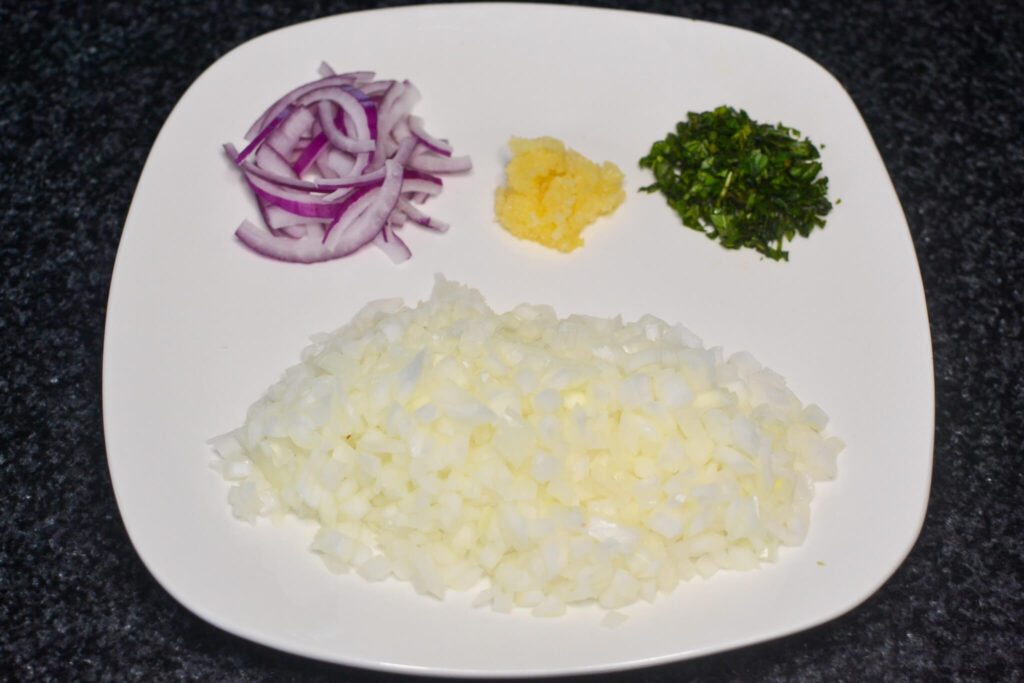
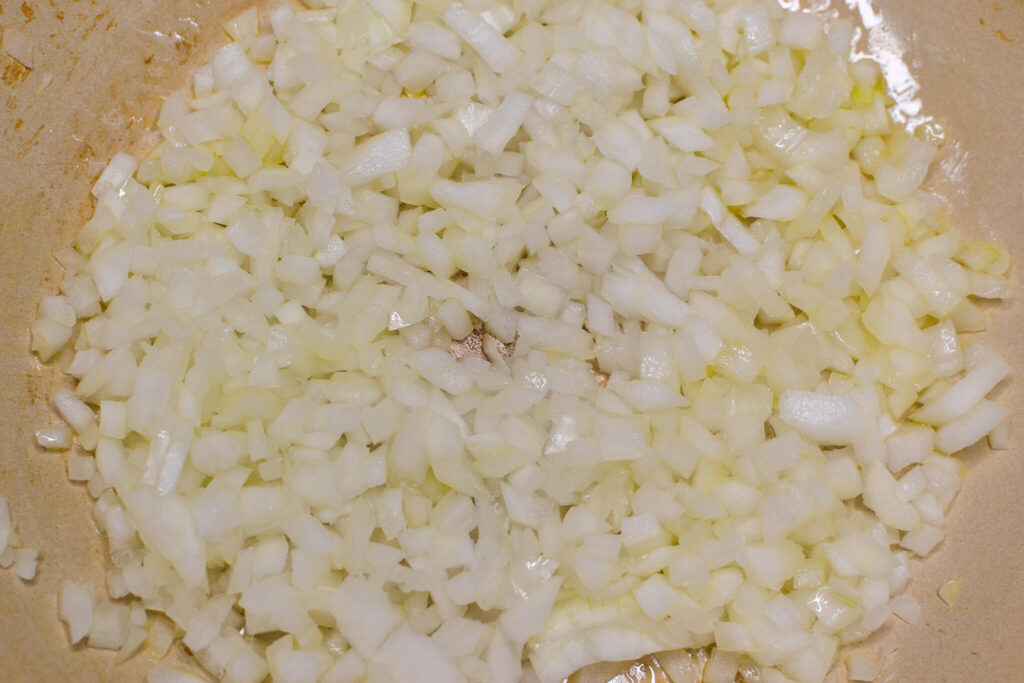
Add diced white onions and cook them until they become translucent and fragrant, stirring occasionally. This should take about 5-7 minutes. Cooking the onions first allows their natural sugars to caramelize slightly, creating a sweeter, more flavorful base for your sauce.
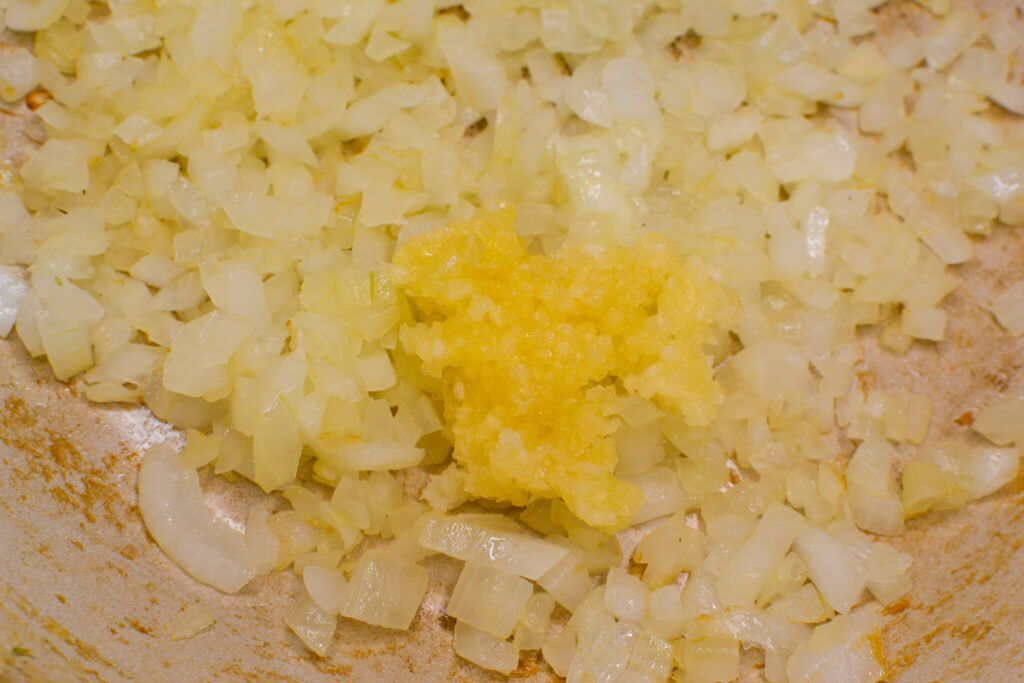
Once the onions are ready, add minced garlic to the skillet. Cook for about 1-2 minutes until the garlic is fragrant, being careful not to let it burn. The aroma of garlic will fill your kitchen, indicating that it’s releasing its flavors into the oil and onions.
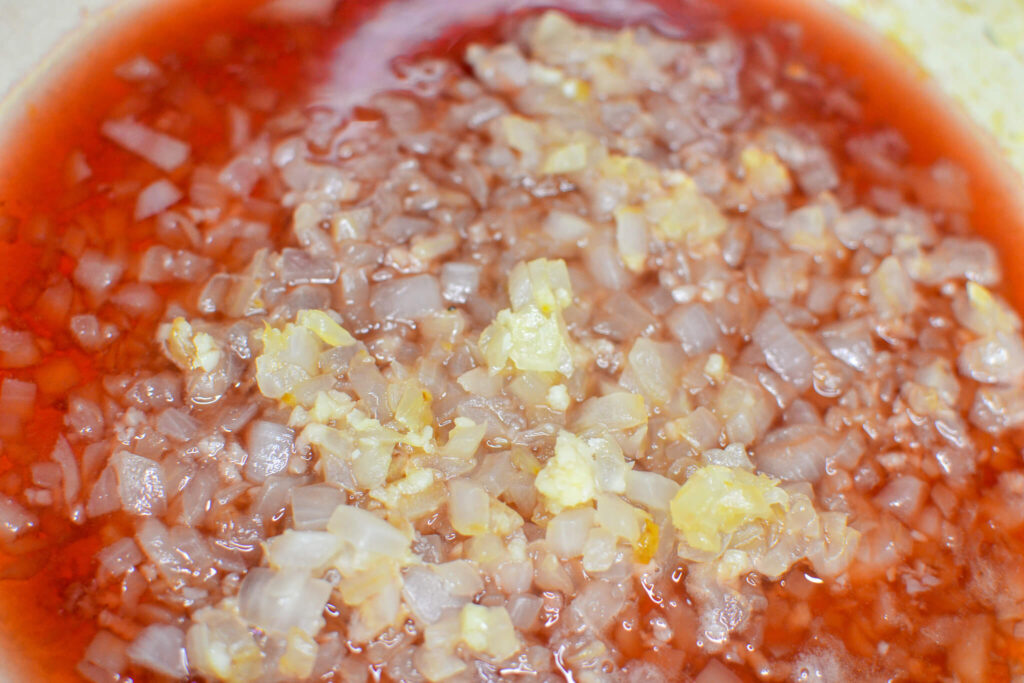
Pour in half a cup of red wine, stirring to deglaze the pan. Deglazing with red wine not only helps lift the browned bits from the bottom of the pan, which are packed with flavor, but also adds acidity and depth to the sauce.

Allow the wine to simmer and reduce by half, which should take about 5 minutes. This reduction intensifies the flavor and adds a rich depth to your sauce. The alcohol will mostly cook off, leaving behind a robust flavor that pairs wonderfully with the tomatoes.
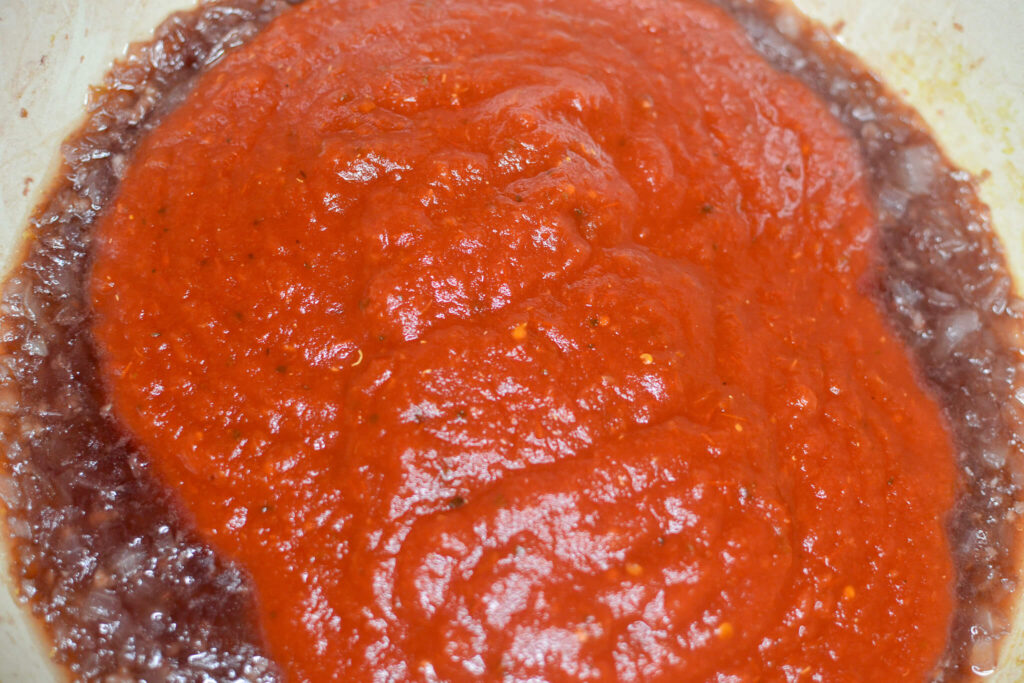
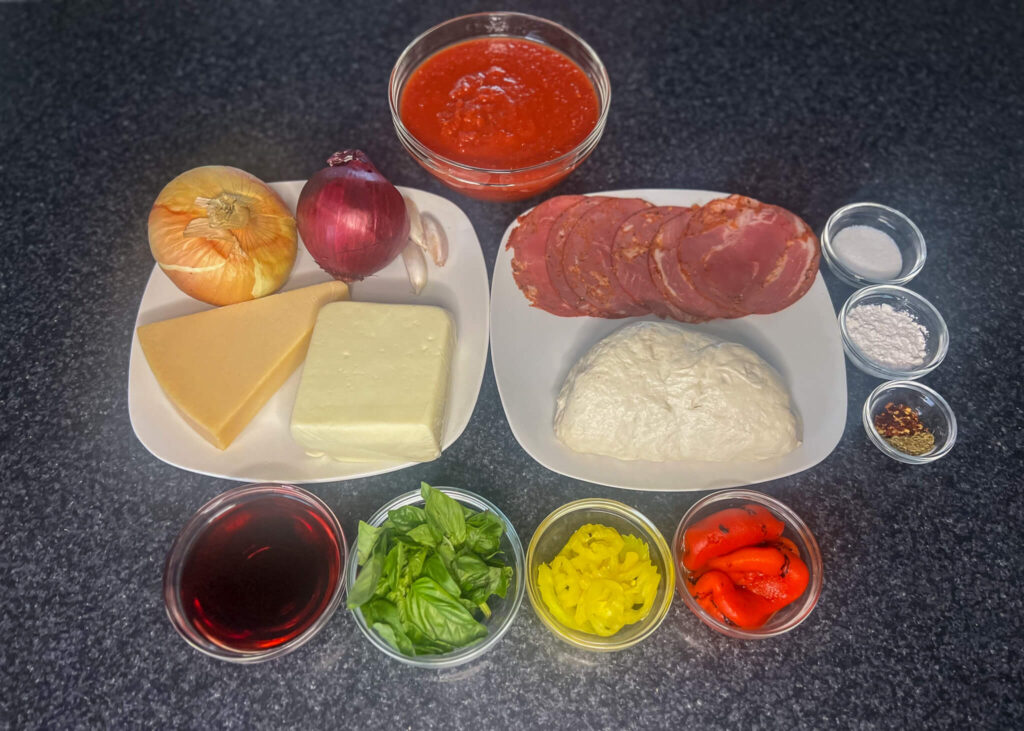
Add a can of crushed tomatoes to the skillet, stirring to combine with the onions, garlic, and reduced wine. Bring the mixture to a gentle simmer. Crushed tomatoes are preferred for their texture and natural sweetness, which balance the acidity of the sauce.
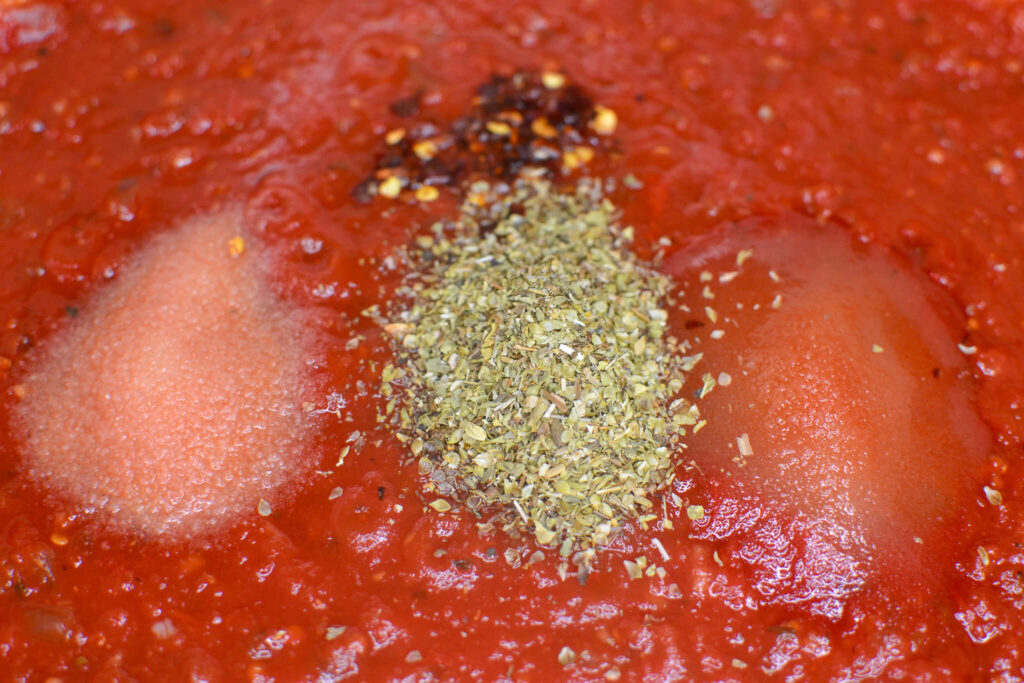
Season with a teaspoon of salt, a teaspoon of sugar, a teaspoon of dried oregano, and a pinch of crushed red pepper. The sugar helps balance the acidity of the tomatoes, while the oregano and red pepper add complexity and a subtle heat. Adjust the seasoning to your taste, remembering that the flavors will meld and intensify as the sauce cooks.
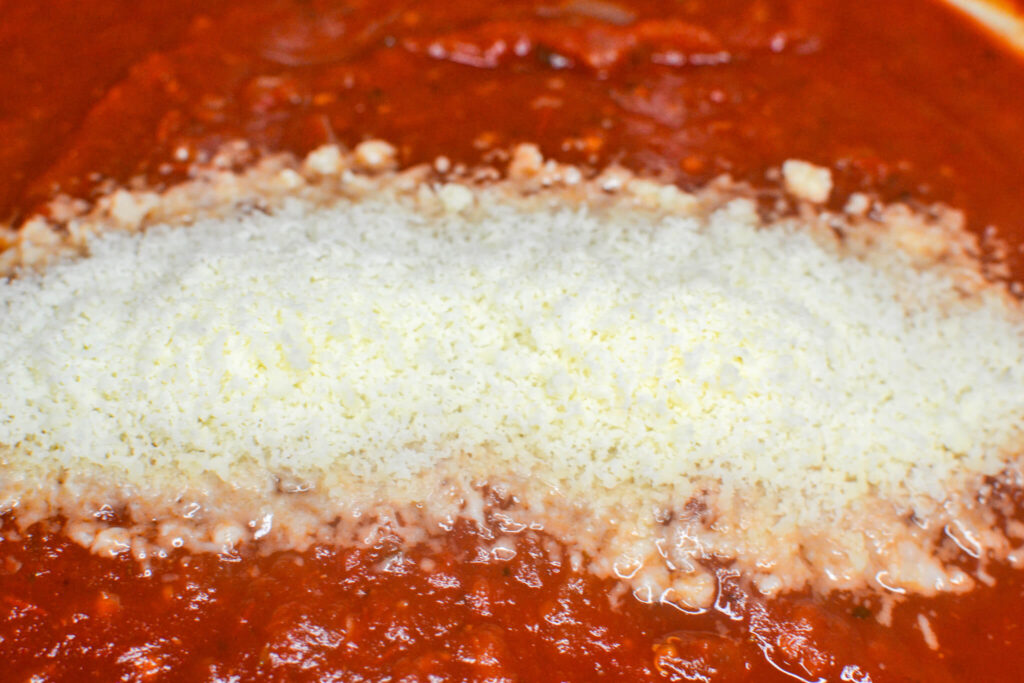
After the sauce has simmered for about 15-20 minutes and thickened to your liking, stir in a quarter cup of freshly grated Parmesan cheese. This adds a savory umami flavor that enhances the overall taste.
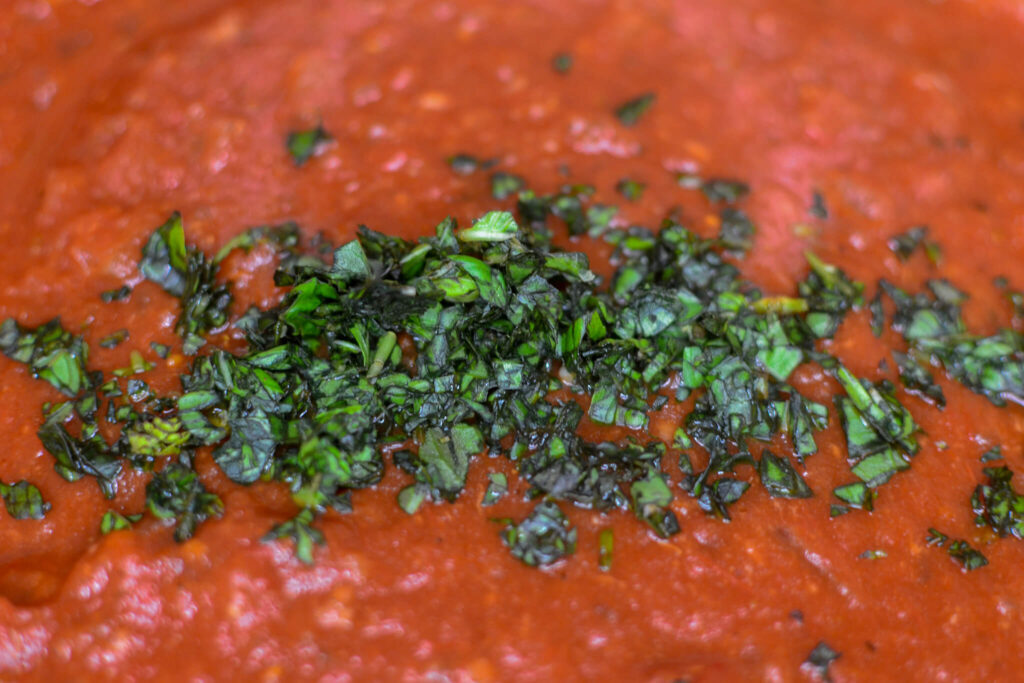
Finally, add a handful of chopped fresh basil leaves. The basil brings a fresh, herbal note that lifts the sauce and makes it taste vibrant and delicious.
The dough is the canvas for your pizza masterpiece. Whether you’re using store-bought or homemade dough, here’s how to prepare it for the perfect bake.
Lightly dust a clean work surface with flour. This step is crucial to prevent the dough from sticking and makes it easier to roll out.
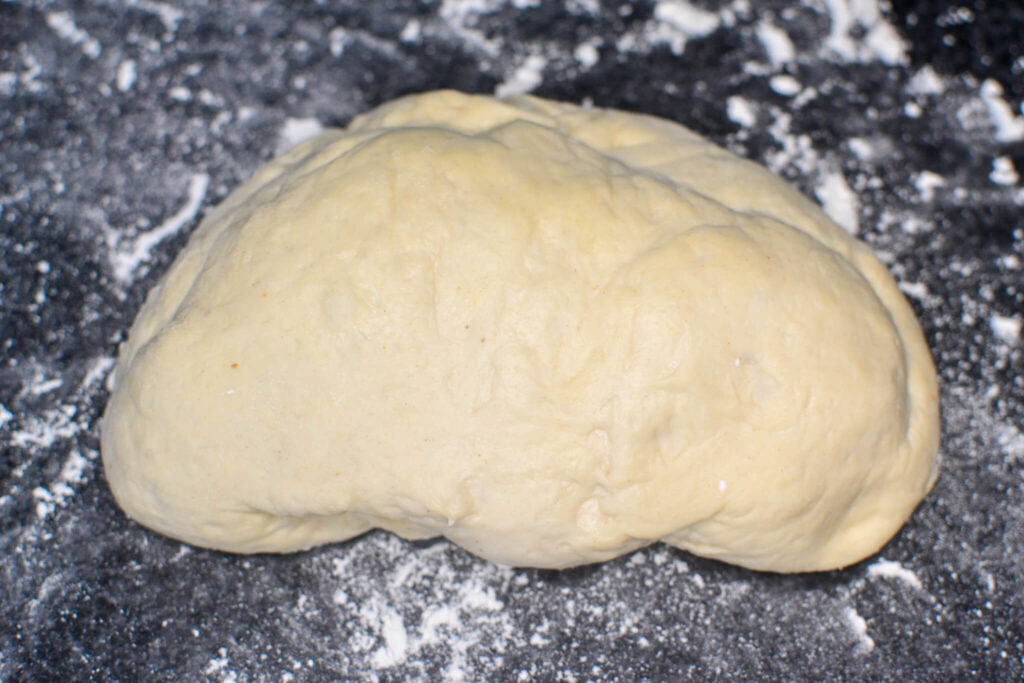
Place your dough on the floured surface and use a rolling pin to roll it out to your desired thickness. For this recipe, I’m using Spanos dough, which you can buy either raw dough or shelled.
This dough is praised for its elasticity, flavor, and ability to create a perfect pizza crust when baked. The ingredients ensure a rich and slightly yeasty flavor, contributing to a delicious pizza base that is easy to work with and ideal for various pizza styles, from thin crust to thick, depending on how it is rolled and baked.
The difference between the dough and the shell lies in their preparation and use. The dough refers to the raw, uncooked mixture of ingredients that needs to be proofed, rolled out, and baked. Purchasing Spanos pizza dough means you get this raw dough ready for shaping and topping. On the other hand, the shell is the dough that has already been rolled out and pre-baked or partially baked, providing a ready-to-use pizza base that only requires adding toppings and final baking. While the dough allows for more customization in the thickness and shape of the pizza crust, the shell offers convenience and saves time in the pizza-making process.
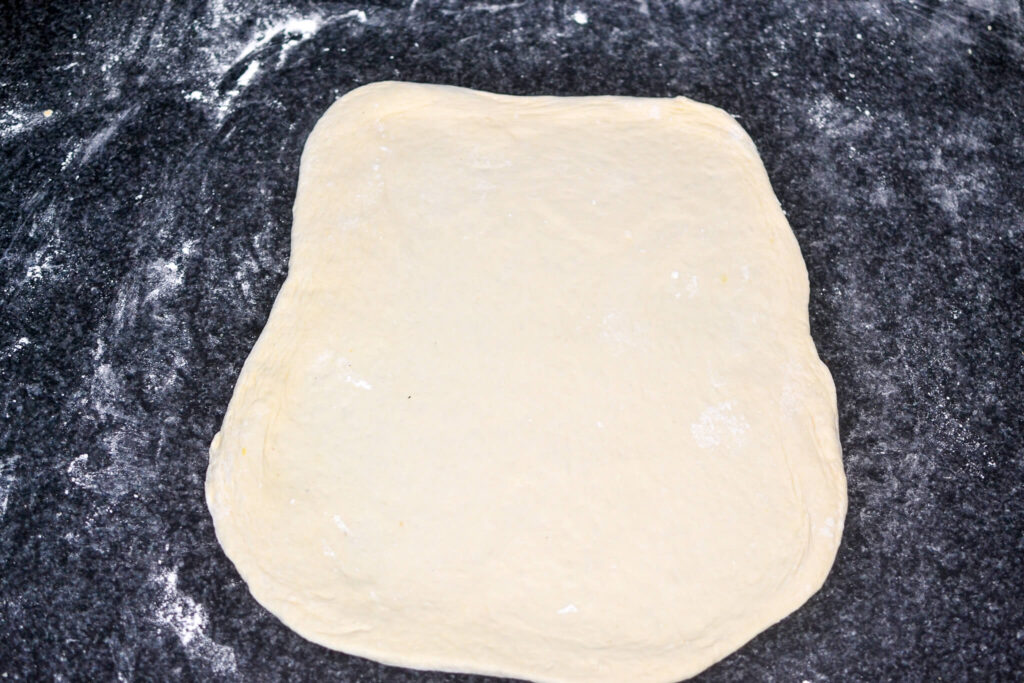
For a traditional pizza, aim for about a quarter-inch thick. Be patient and gentle to avoid tearing the dough. If the dough springs back, let it rest for a few minutes to relax the gluten before continuing to roll it out.
Preheat your oven to 475°F (245°C) and place your pizza stone inside to heat up. The stone should be very hot before you place the dough on it, which helps achieve a crispy crust.
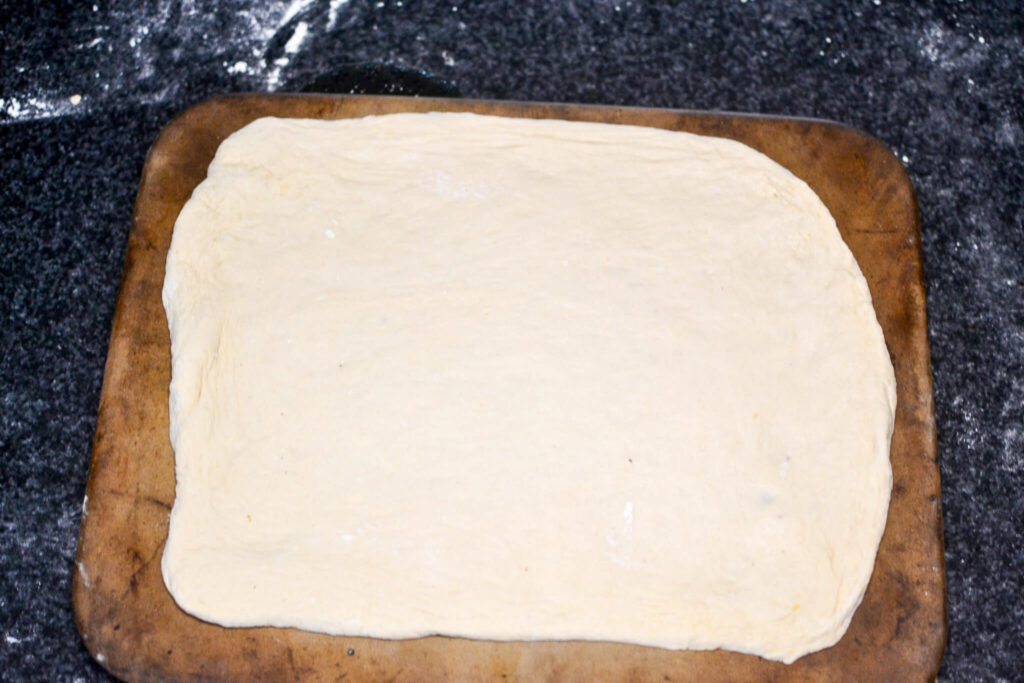
Once the stone is preheated, carefully transfer your rolled-out dough onto it. Using a pizza peel or an inverted baking sheet can help with the transfer.
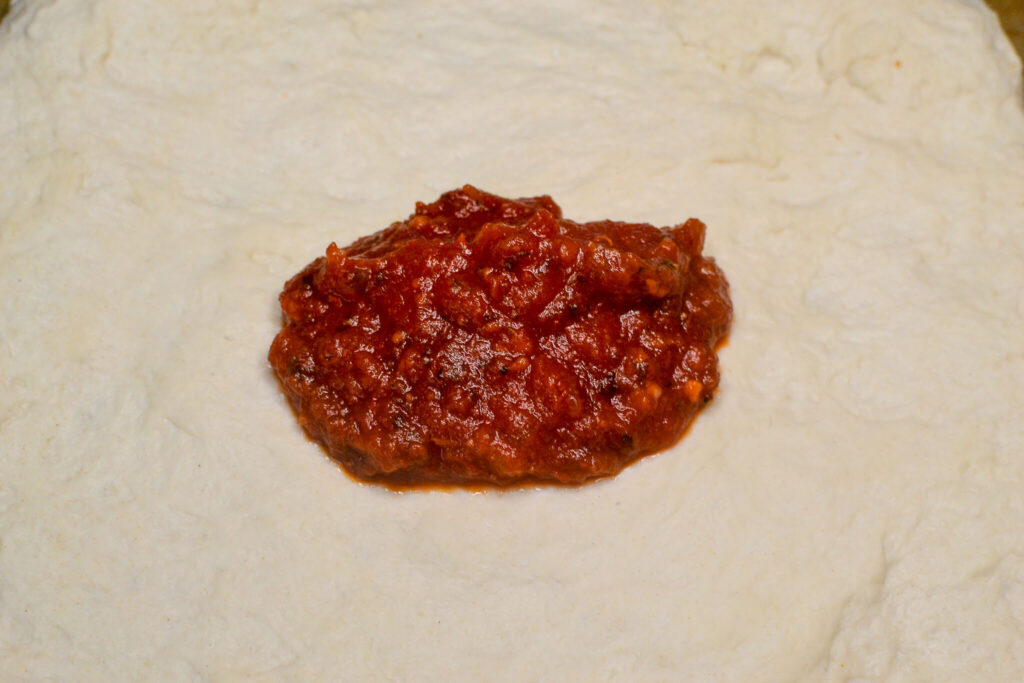
Use a ladle or large spoon to spread your homemade tomato sauce evenly over the rolled-out dough, leaving about an inch around the edges for the crust.
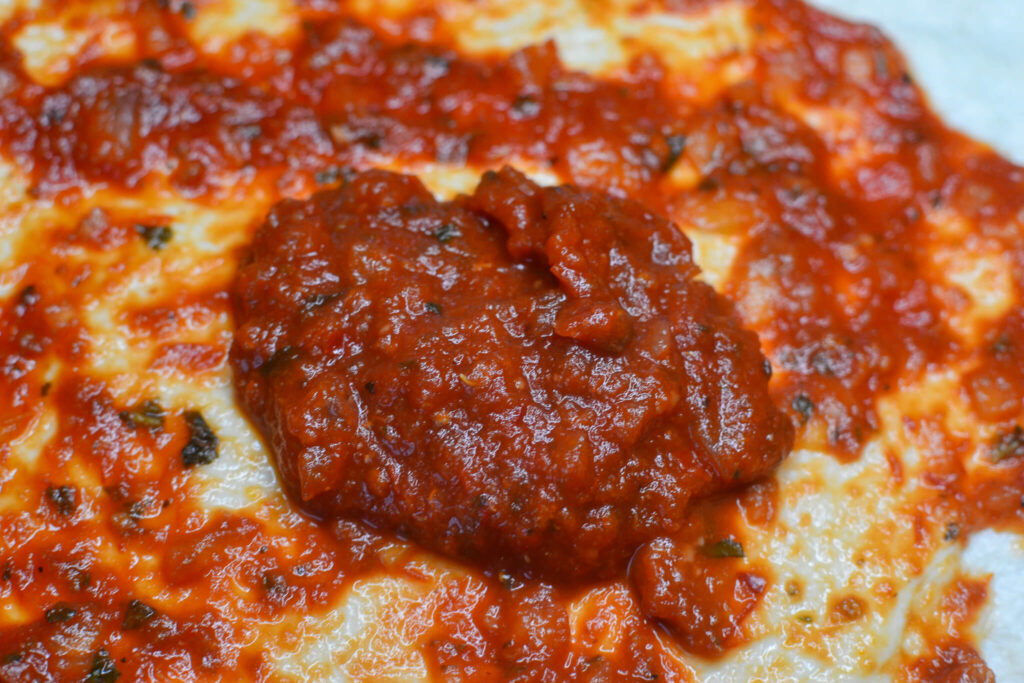
Ensure you have a good coverage of sauce, but not too much to make the pizza soggy. If you find that the sauce is a bit sparse, feel free to add a bit more for a richer flavor.
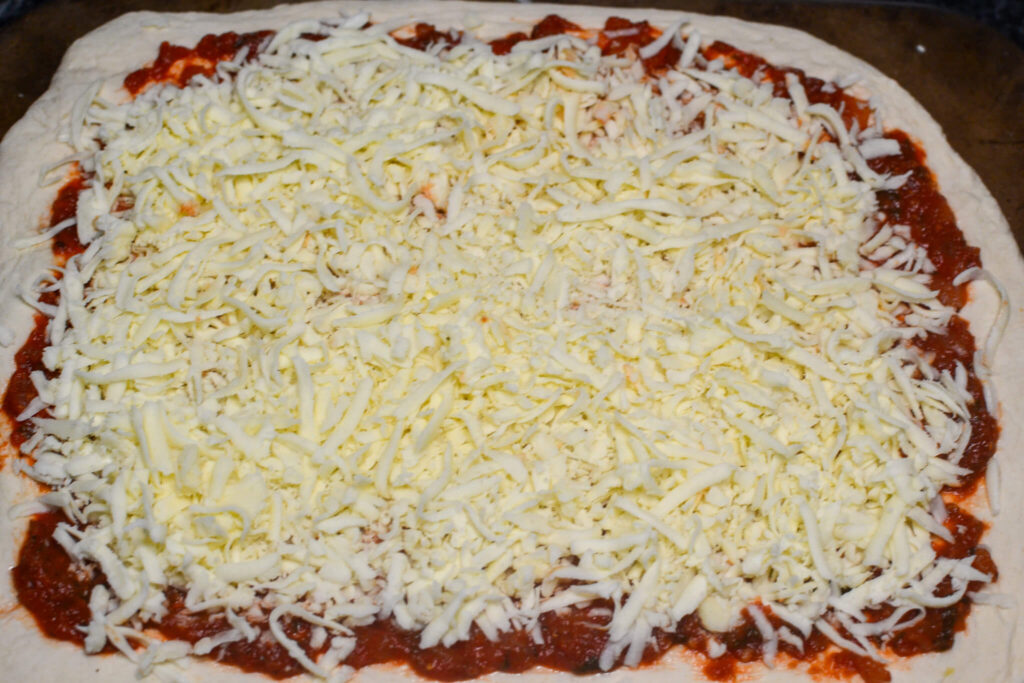
Layer on freshly shaved mozzarella cheese. The cheese should cover the sauce evenly, providing a gooey, melty texture that’s essential for a great pizza. You can adjust the amount of cheese to your preference, but remember that it will spread as it melts.
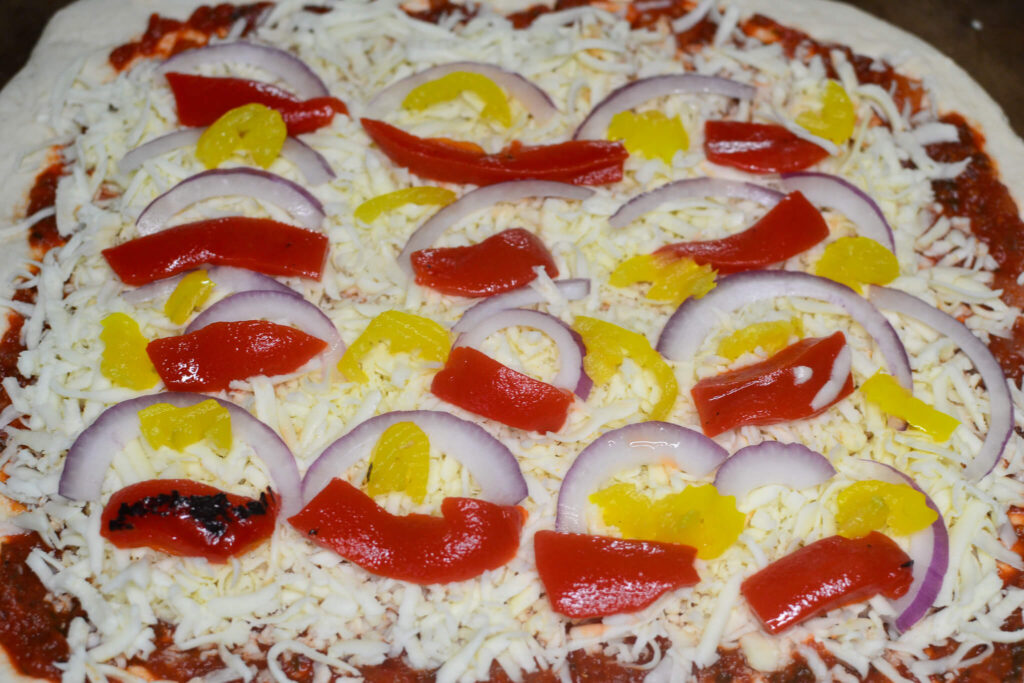
While these toppings pair well with capicola for the pizza, they also enhance the overall flavor profile with their distinct characteristics. Scatter slices of red onion, roasted red peppers, and banana peppers across the pizza. These vegetables add a burst of color, flavor, and texture that complement the savory and slightly spicy capicola.
The red onions provide a slight sweetness that balances the saltiness of the capicola, adding a subtle layer of flavor that melds beautifully as the pizza bakes. The roasted red peppers bring a smoky depth that enriches each bite, offering a complex taste that elevates the overall experience. Additionally, the banana peppers introduce a tangy kick, their mild heat and acidity cutting through the richness of the cheese and meat, creating a harmonious blend of flavors.
Together, these toppings not only enhance the visual appeal of the pizza but also contribute to a well-rounded and satisfying eating experience, making each slice vibrant and flavorful.
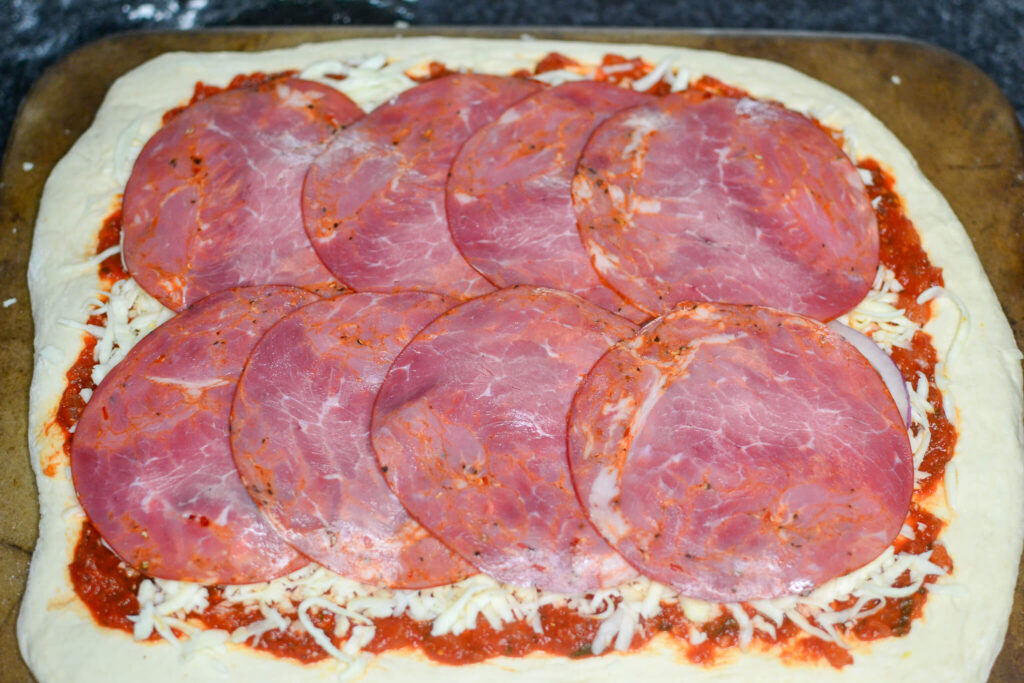
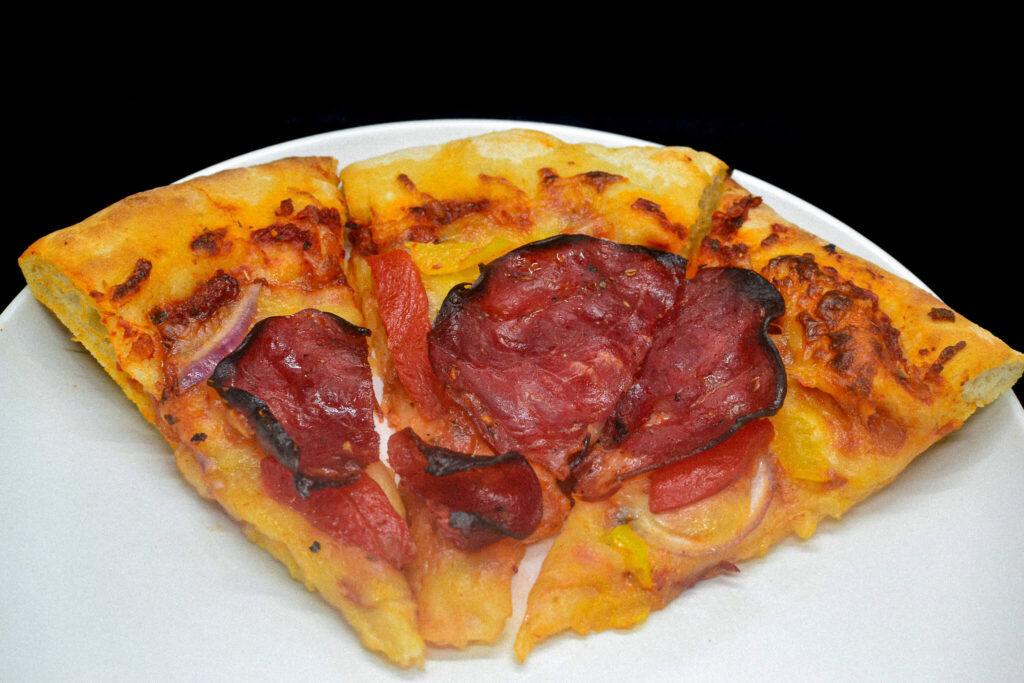
Arrange thin slices of capicola evenly over the top. Capicola, with its rich, slightly spicy flavor, is the star of this pizza and pairs wonderfully with the other toppings. Ensure each slice of pizza will get some capicola for a consistent taste in every bite. You might also consider slightly overlapping the capicola slices to ensure even coverage and a balanced flavor in every bite.
I just used Margarita Capicola.
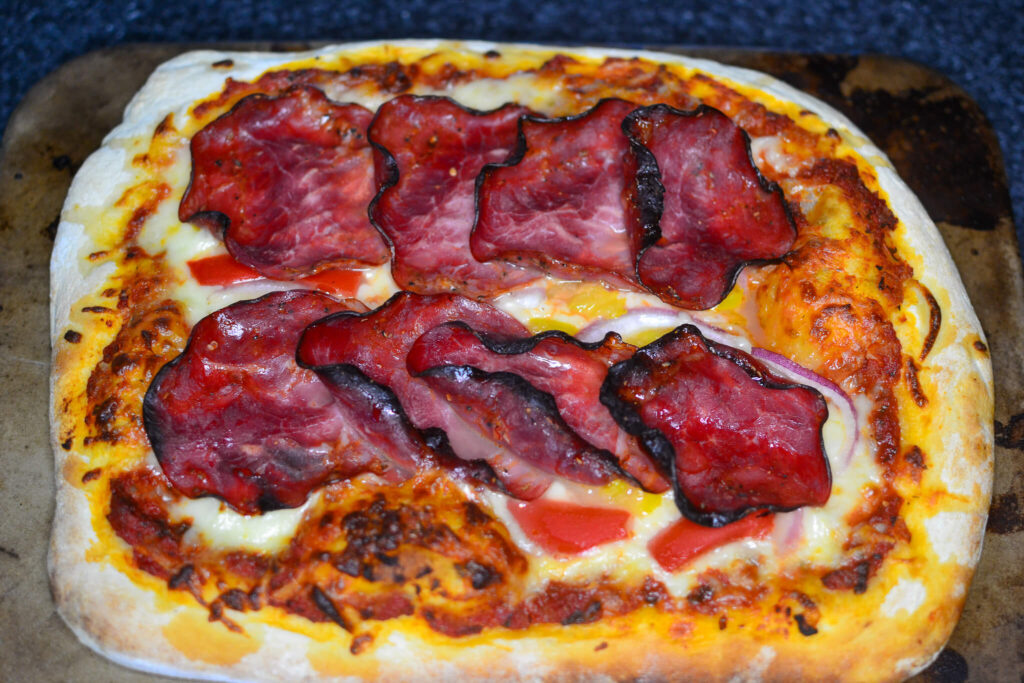
Place your topped pizza in the preheated oven and bake for 10-15 minutes. Keep an eye on the pizza as it bakes to ensure it doesn’t overcook. The crust should be golden and crisp, and the cheese should be bubbly and slightly browned.
After about 10 minutes, start checking the pizza. The crust should be firm and slightly puffed up around the edges, with a nice golden color. The cheese should be melted and bubbly, with some browned spots indicating it’s perfectly cooked.
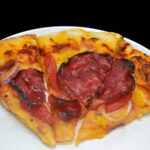
Use a sharp pizza cutter or a large knife to slice your pizza into desired portions. Serve it hot and enjoy the combination of crispy crust, gooey cheese, and flavorful toppings.
Whether you’re sharing it with friends and family or savoring it alone, each bite of your homemade capicola pizza is sure to be a delight. The rich sauce, creamy cheese, vibrant vegetables, and savory capicola create a harmonious blend of flavors that’s hard to resist.
Enjoy!