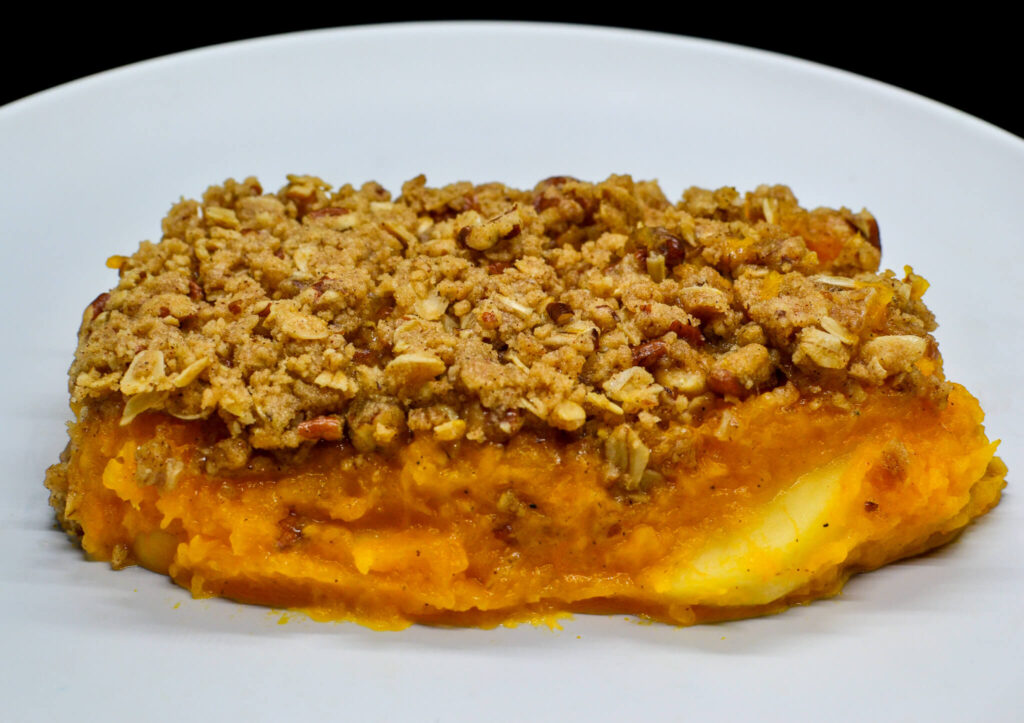
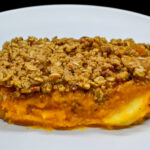
PrintButternut Squash and Apple Casserole
Butternut Squash and Apple Casserole is a delightful side dish that expertly combines the sweet flavors of butternut squash and apples. Infused with a mix of fall spices and topped with a crunchy, nutty layer, this casserole is a favorite during the cooler months and holiday gatherings.
Course Side Dish
Cuisine American
Keyword Apples, Buttnut Squash
Prep Time 20 minutes minutes
Cook Time 45 minutes minutes
Total Time 1 hour hour 5 minutes minutes
Servings 6 people
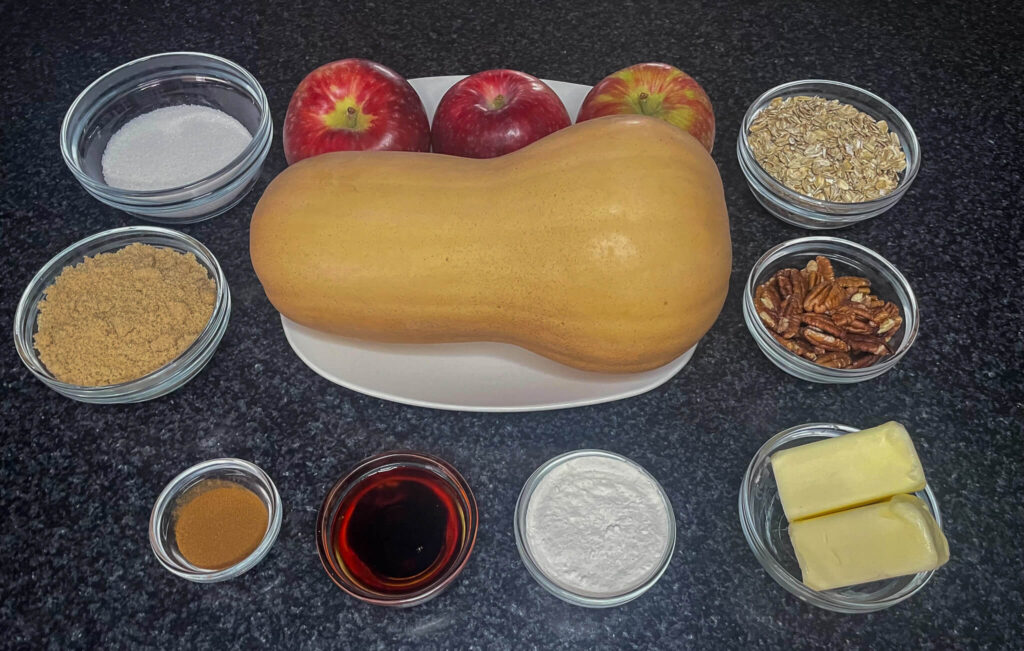
- 1 large Butternut Squash
- 3 Apples
- 4 Garlic Cloves
- 1 stick Butter
- 1/4 cup Granulated Sugar
- 1/2 cup Brown Sugar
- 1 cup Rolled Oats
- 1/2 cup Pecans
- 1/4 cup Maple Syrup
- 1 tsp Cinnamon
- 1/2 tsp Nutmeg
- 1/4 tsp Salt
Prep & Cook Butternut Squash
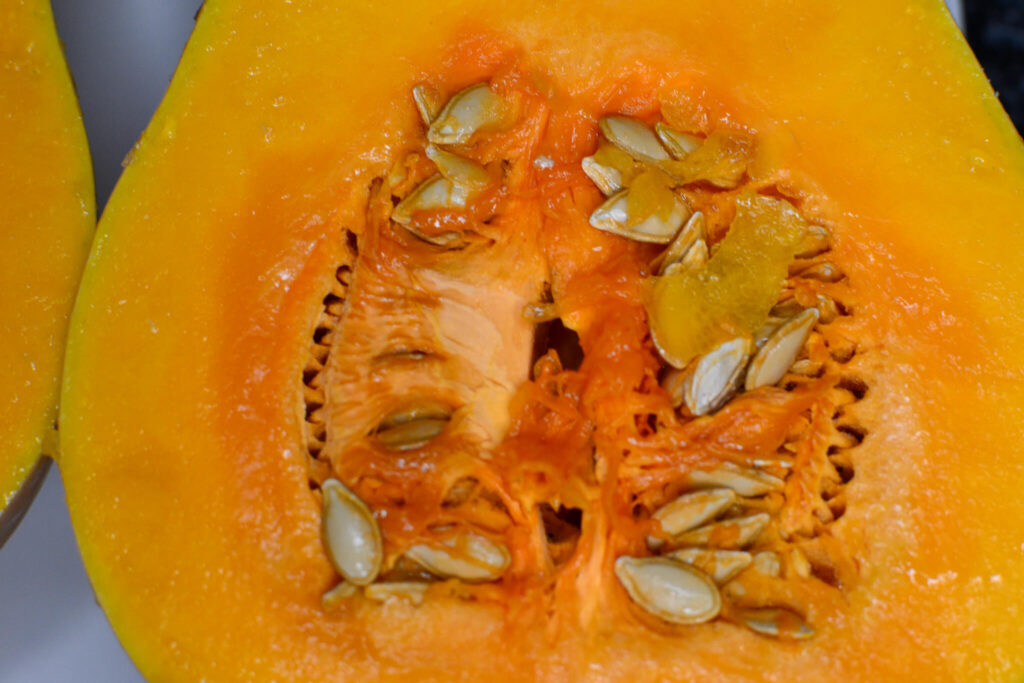
Select a firm butternut squash with a solid beige color, free from bruises or soft spots. Place it on a sturdy cutting board and carefully slice it in half lengthwise using a sharp chef’s knife.
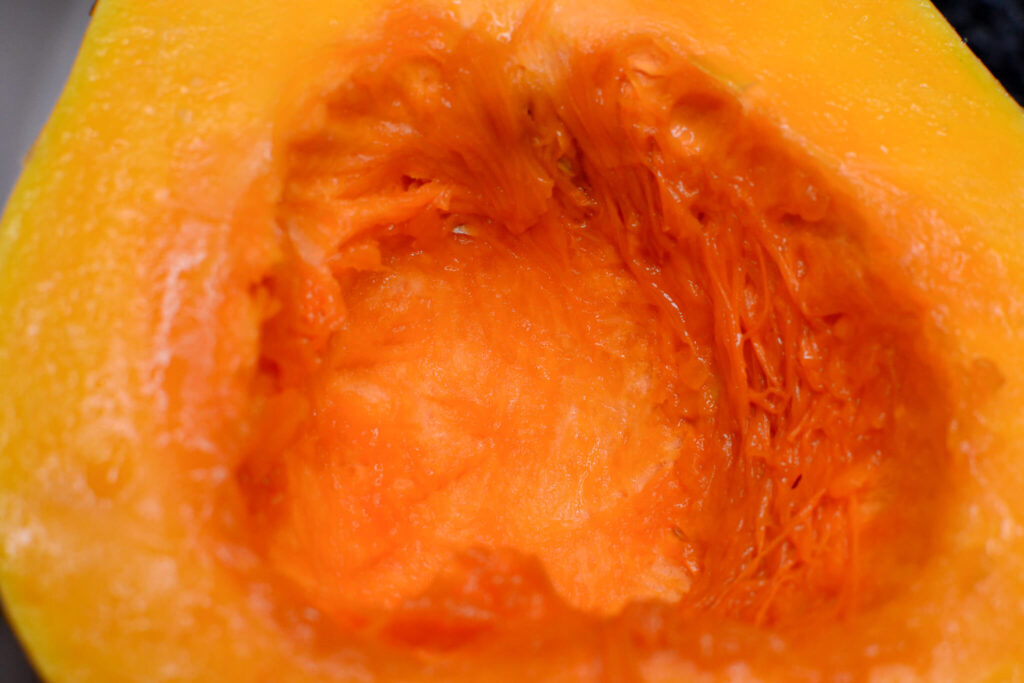
Scoop out the seeds and stringy pulp from each half using a spoon, leaving smooth, clean cavities.
Set your oven to 375°F (190°C).
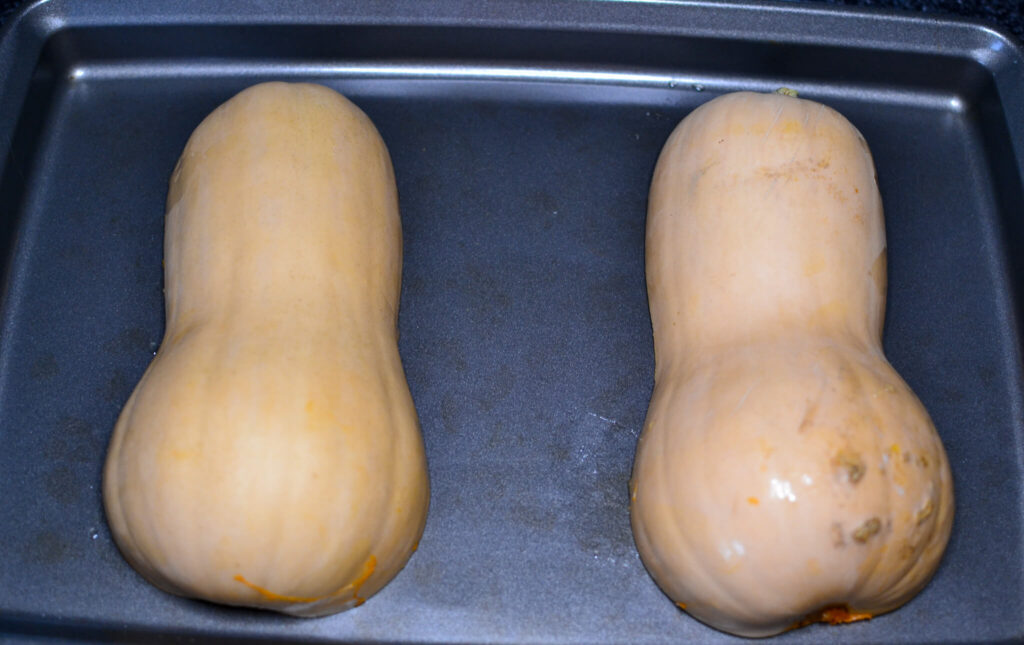
Arrange the squash halves, cut side down, on a parchment paper-lined baking sheet. Drizzle with olive oil to help with caramelization.
Bake in the preheated oven for about 45 minutes to 1 hour, or until the flesh is tender and easily pierced with a fork. Allow the roasted squash to cool for 25 minutes.
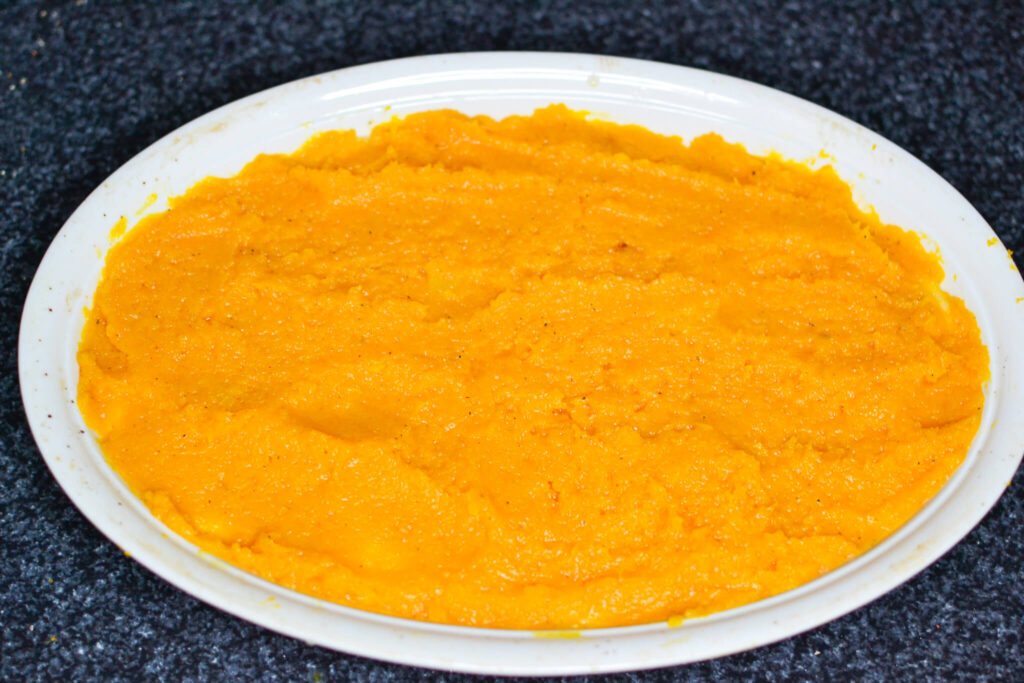
Once cooled, scoop the roasted squash into a large mixing bowl.
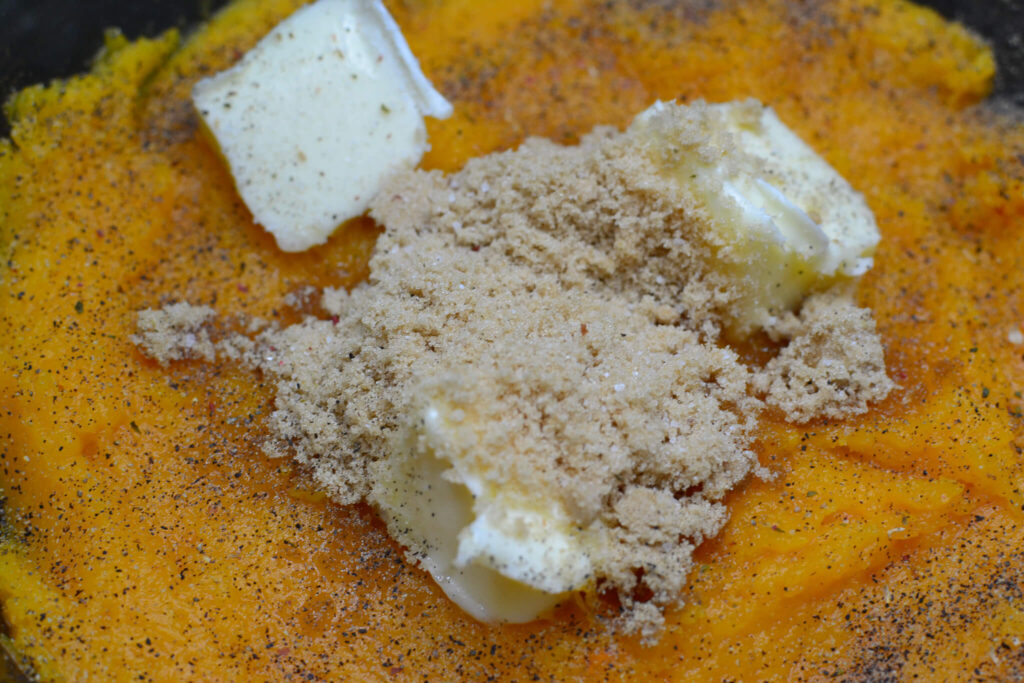
Add the melted butter, 1/4 cup granulated sugar, and 1/2 cup brown sugar to the squash. Stir until the butter and sugars are well incorporated.
Sprinkle in 1/4 tsp salt, 1 tsp cinnamon, and 1/2 tsp nutmeg. Gently mix to ensure even distribution of spices.
Let the seasoned squash mixture sit to allow flavors to meld.
Prep & Cook Apples
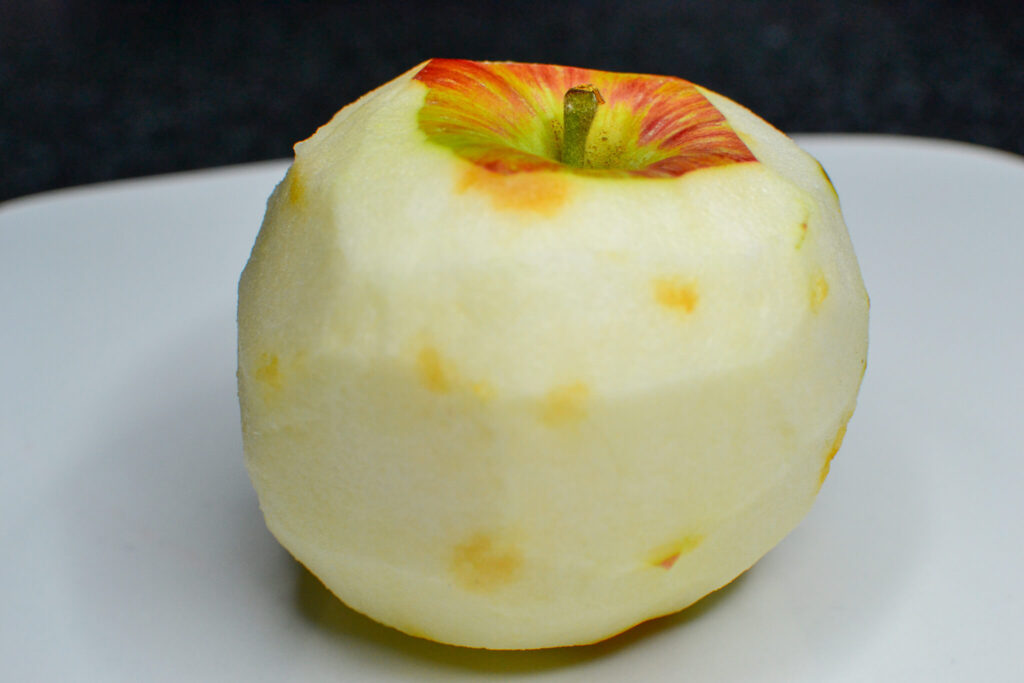
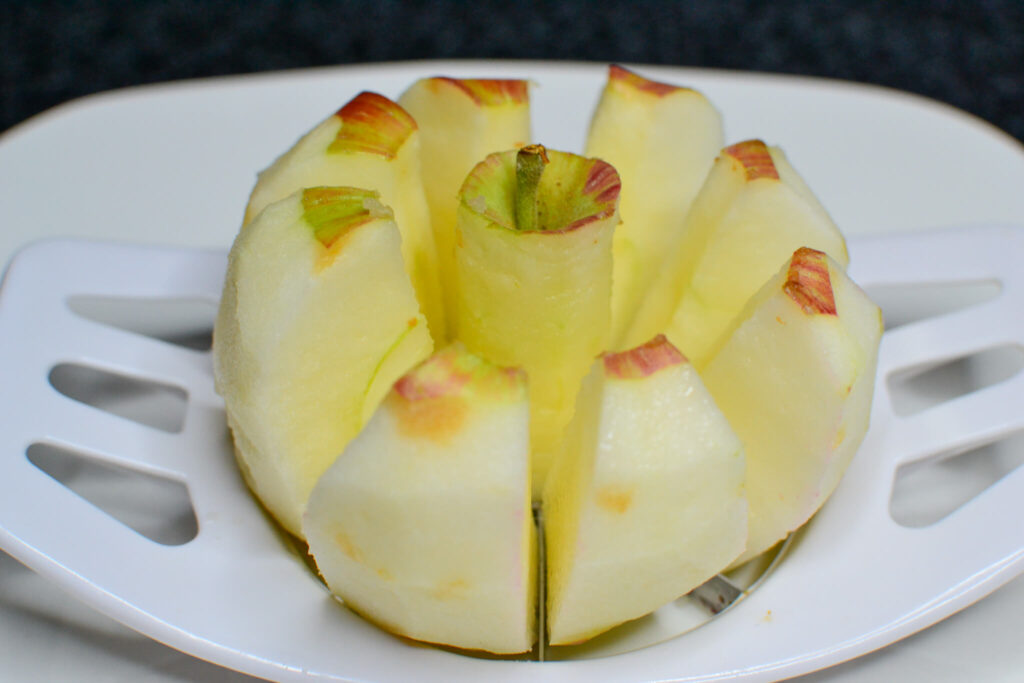
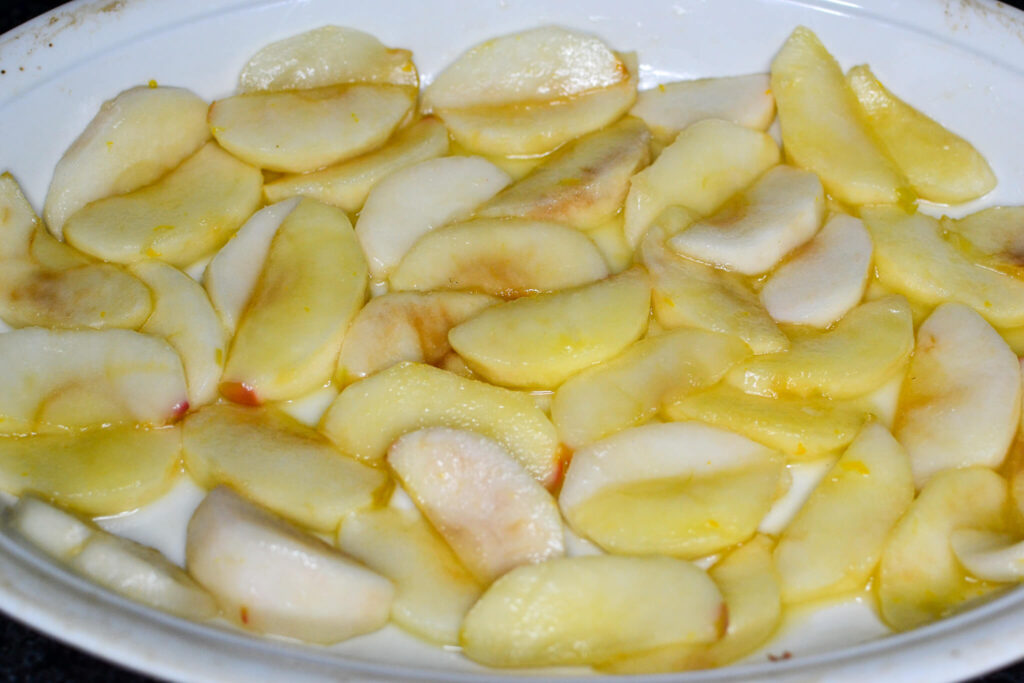
Choose firm, crisp apples like Honeycrisp or Granny Smith. Peel them, then slice into even wedges.
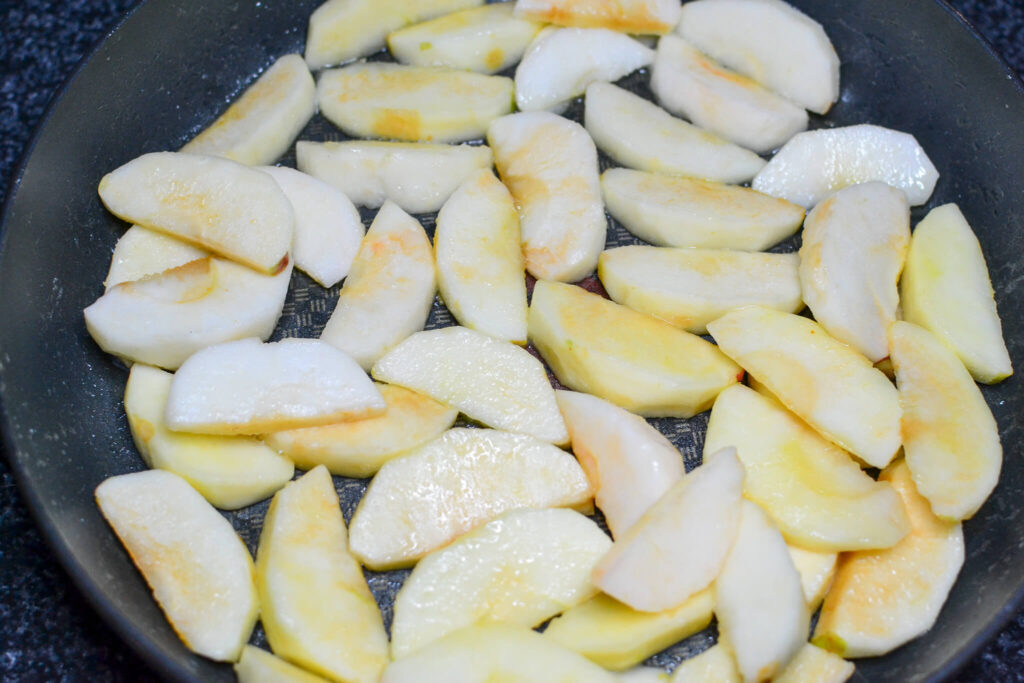
In a large frying pan, melt a generous amount of butter over medium heat. Add the sliced apples, spreading them out evenly.
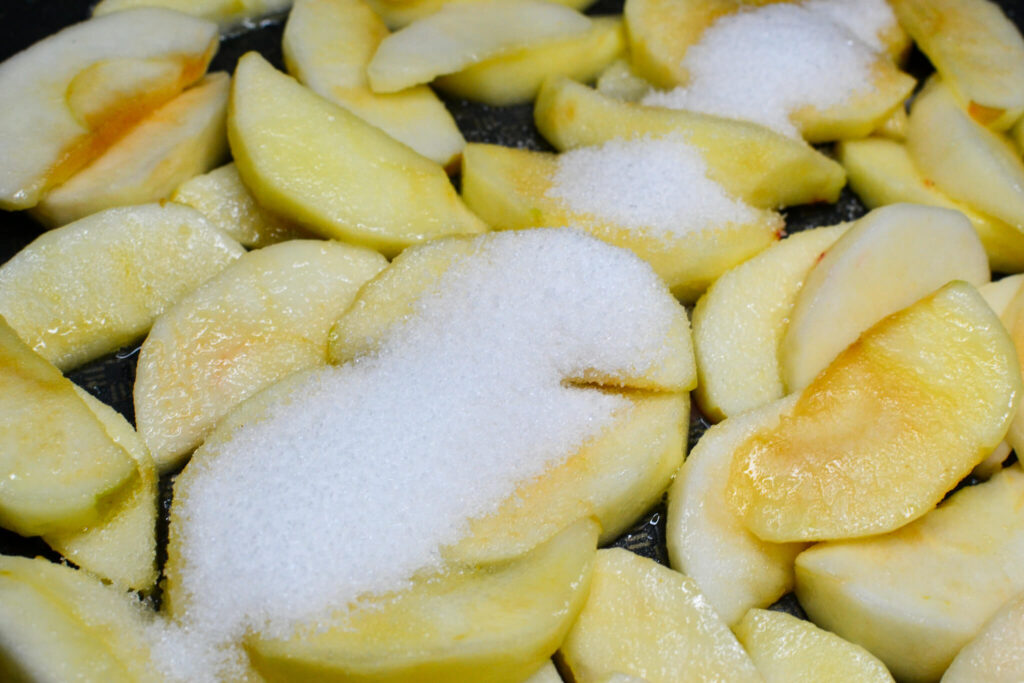
Sprinkle 1/4 cup granulated sugar over the apples to help caramelize them.
Sauté the apples, stirring gently but often, until they turn light brown and the sugar dissolves, about 5-7 minutes. The apples should be tender but still hold their shape.
Remove the apples from the heat and let them cool slightly.
Make Topping
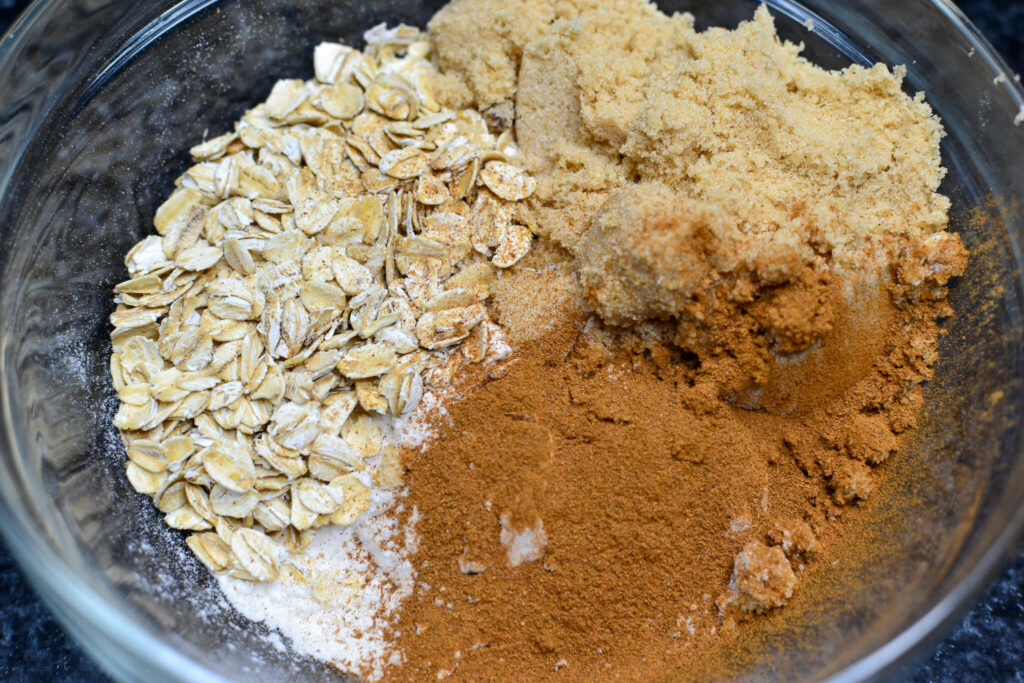
In a medium bowl, mix 1 cup rolled oats, 1/4 cup granulated sugar, 1/2 cup brown sugar, and 1 tsp cinnamon.
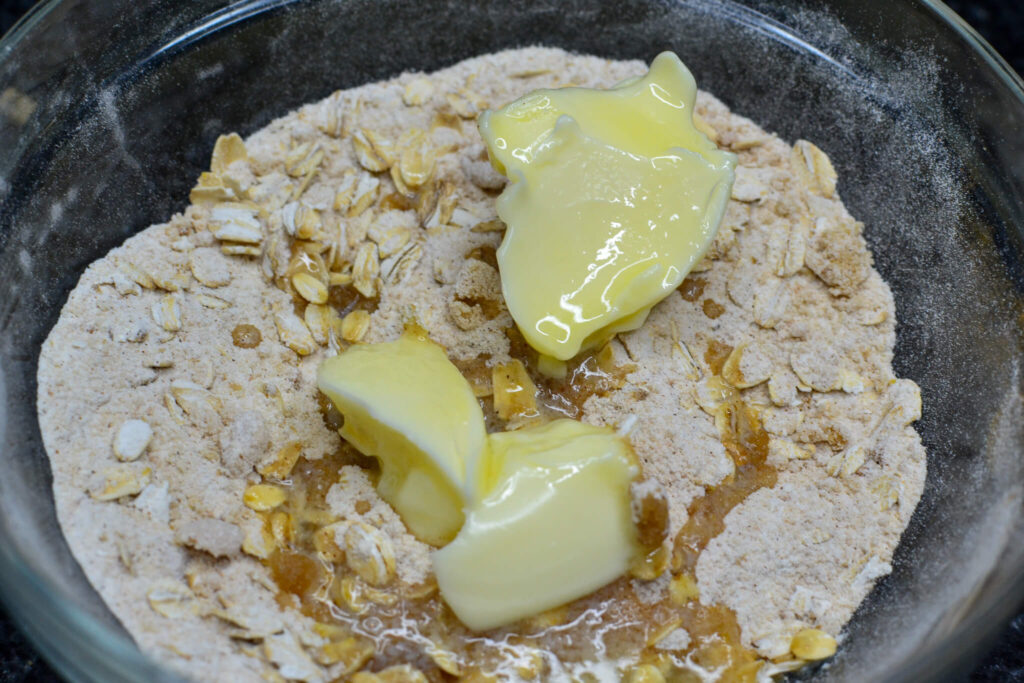
Incorporate 1/2 cup melted butter into the oat mixture using your fingers or a pastry cutter until the mixture resembles coarse crumbs.
Stir in 1/2 cup chopped pecans and 1/4 cup maple syrup until everything is evenly coated and crumbly.
Reserve the topping mixture for layering on the casserole.
Assemble
Lightly grease a large baking dish to prevent sticking.
Spread the caramelized apples evenly at the bottom of the dish.
Top with the seasoned butternut squash mixture, ensuring it covers the apples completely.
Evenly sprinkle the oat, sugar, pecan, and maple syrup topping over the squash layer.
Bake
Place the assembled casserole in the preheated oven and bake for 30 minutes, or until the topping is golden brown and crunchy.
Remove from the oven and let the casserole cool for a few minutes before serving.
Serve
For an extra touch, you can garnish with a sprinkle of additional chopped pecans or a drizzle of maple syrup.
Serve warm as a delightful side dish during your favorite fall meals or holiday gatherings.