Breakfast Poutine
Poutine...For Breakfast

What Is Breakfast Poutine?
Breakfast poutine is a variation of the traditional Canadian dish poutine, consisting of French fries, sausage, bacon, cheese curds, and hollandaise sauce.
Ingredients For Breakfast Poutine
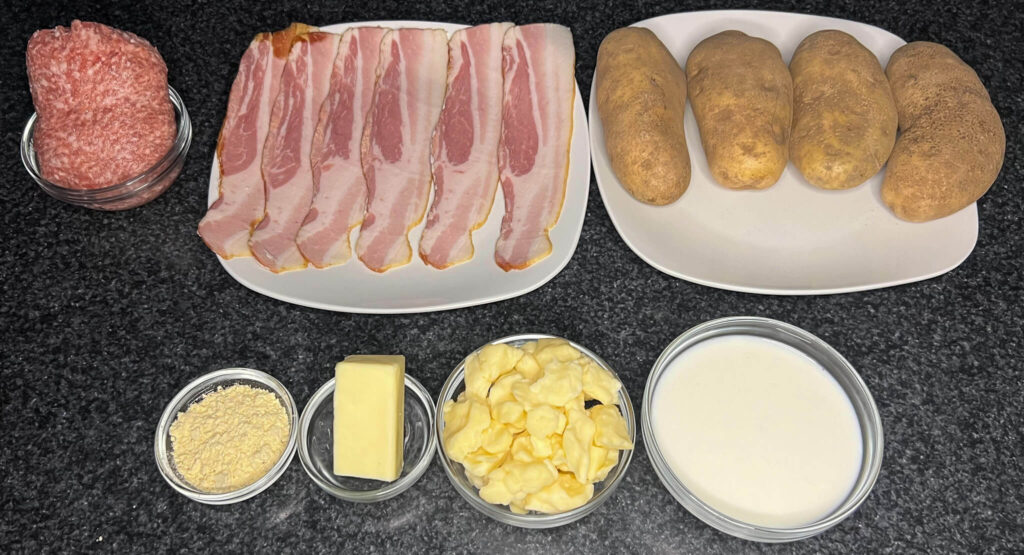

Produce
2 Russet Potatoes
1 Sweet Onion
Refrigerated
3-5 Eggs
1.5 Sticks of Butter
5 oz Cheese Curds

Meat
1 Pound Pork Breakfast Sausage
6-8 Slices of Bacon

Spices
1 Tsp Garlic Powder
1 Tsp Onion Powder
1 Tsp Salt
1 Tsp Pepper
1 Tsp Paprika
1 Tsp Thyme
How To Make Breakfast Poutine
Step 1
Prep & Cut Potatoes
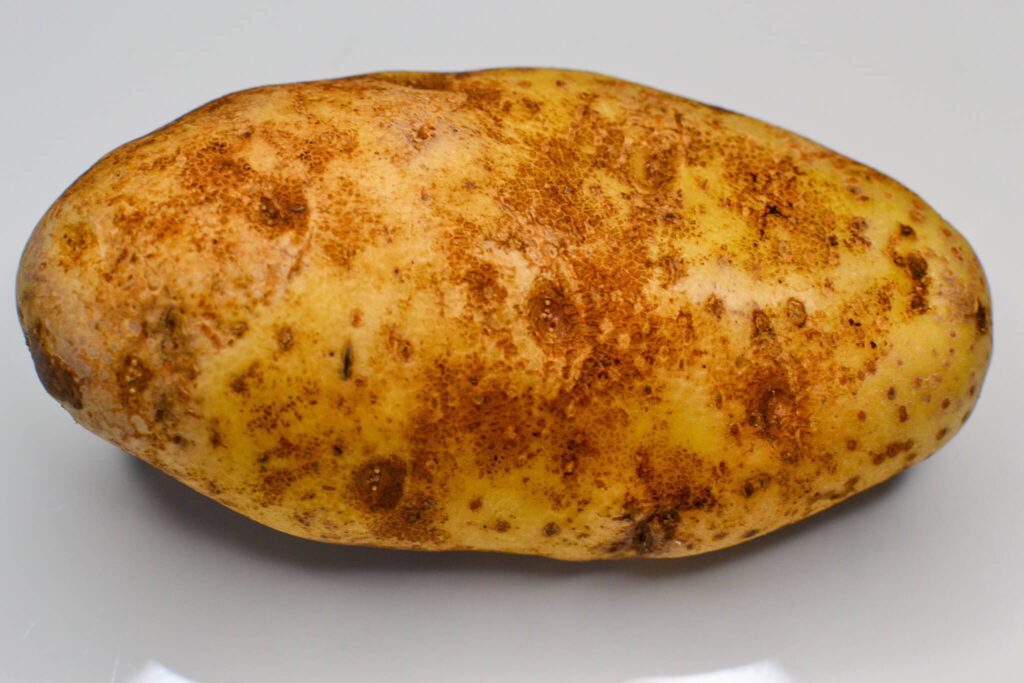
Start with a russet potato. This type of potato is ideal for making French fries because it’s starchy, which helps in getting that desired crispy exterior and fluffy inside. First, wash the potato thoroughly under running water to remove any dirt or debris. There’s no need to peel it unless you prefer your fries without skins. However, leaving the skin on can add texture and a rustic feel to your fries. Once cleaned, dry the potato with a clean towel.
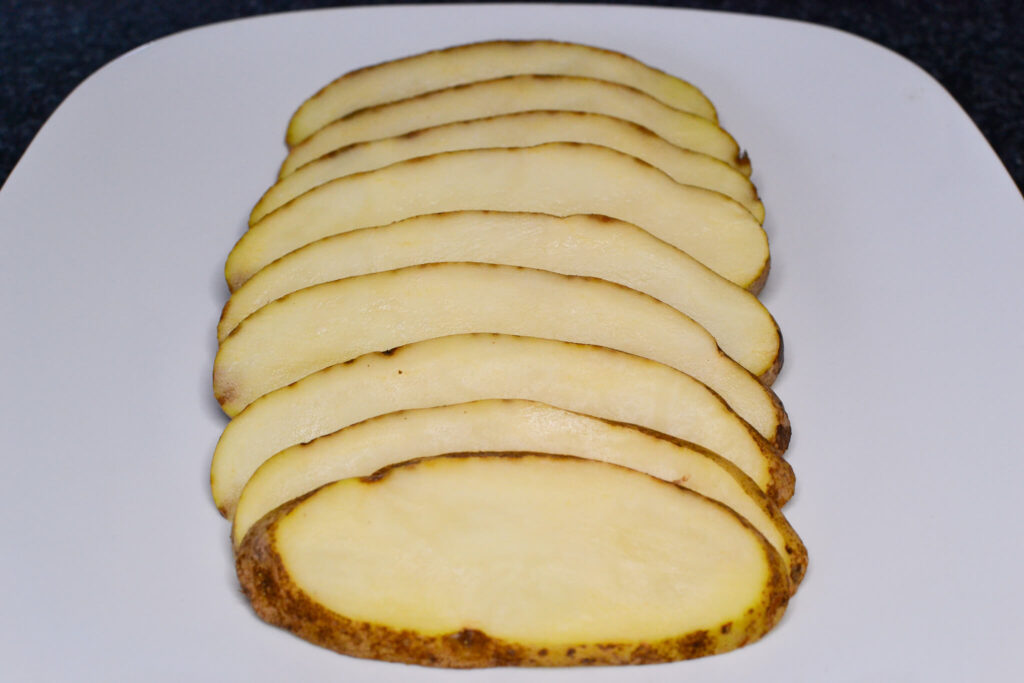
Next, you’ll want to cut the potato into thin slices. Place the potato on a cutting board and, using a sharp knife, slice it lengthwise into approximately 1/4-inch thick slabs. Be very careful during this step to keep your fingers away from the blade. If you find the potato rolling or hard to grip, you can cut a small slice off the bottom to create a stable base. This process is crucial because the thickness of your slices will determine how your fries cook. Too thick, and they might be soggy inside; too thin, and they could end up too crispy or even burnt.
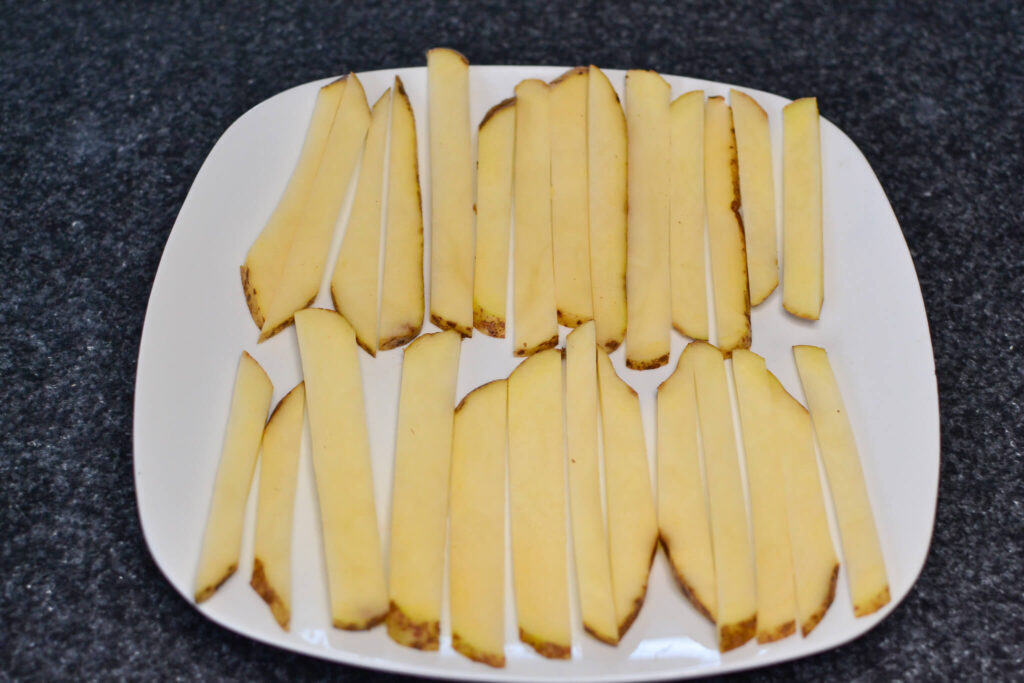
Once you have your thin slices, it’s time to turn them into fries. Take each slice and cut it lengthwise into 1/4-inch thick sticks. Try to keep the size consistent so that they cook evenly. If you’re aiming for a specific style of fry, like shoestring or steak fries, adjust the thickness of your cuts accordingly. This step is where your fries really start to take shape, so take your time to get them just how you like them.
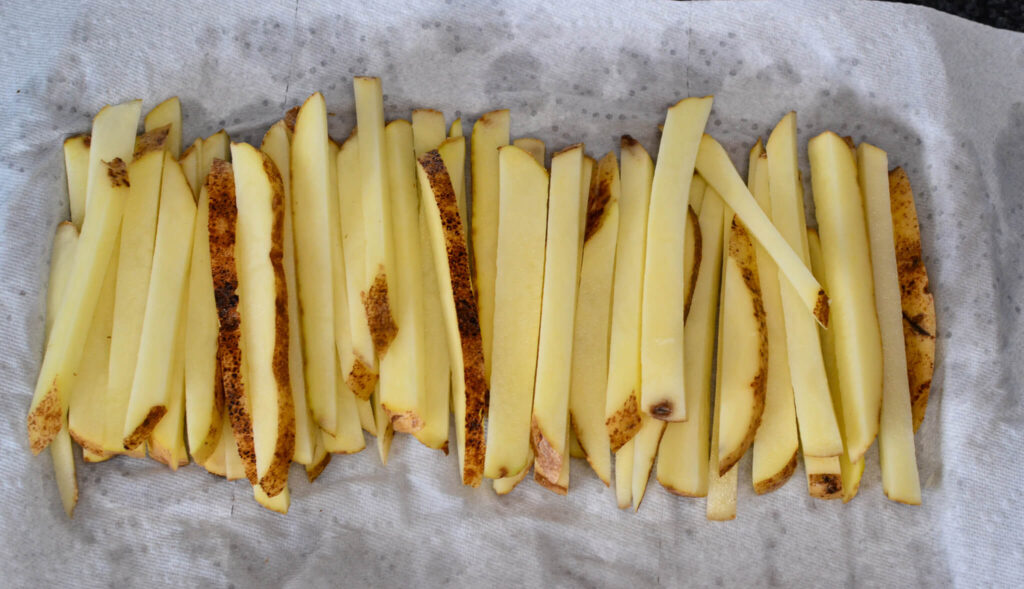
After slicing, it’s important to dry the fries before cooking. Lay out a couple of paper towels and spread your fries out in a single layer. Then, pat them down with another paper towel. Removing the excess moisture is key to achieving a crispy texture because water causes oil to splatter and can steam the fries instead of frying them. This step also helps the seasoning stick to the fries better.
Another benefit of soaking potatoes in cold water is that it can help to prevent discoloration. When potatoes are cut, they can oxidize and turn brown, which can be unappetizing. Soaking the potatoes in water can help to prevent this discoloration and keep the potatoes looking fresh and appetizing.
While the potatoes are taking a cold bath, time to cook your meat.
Step 2
Cook Your Meat
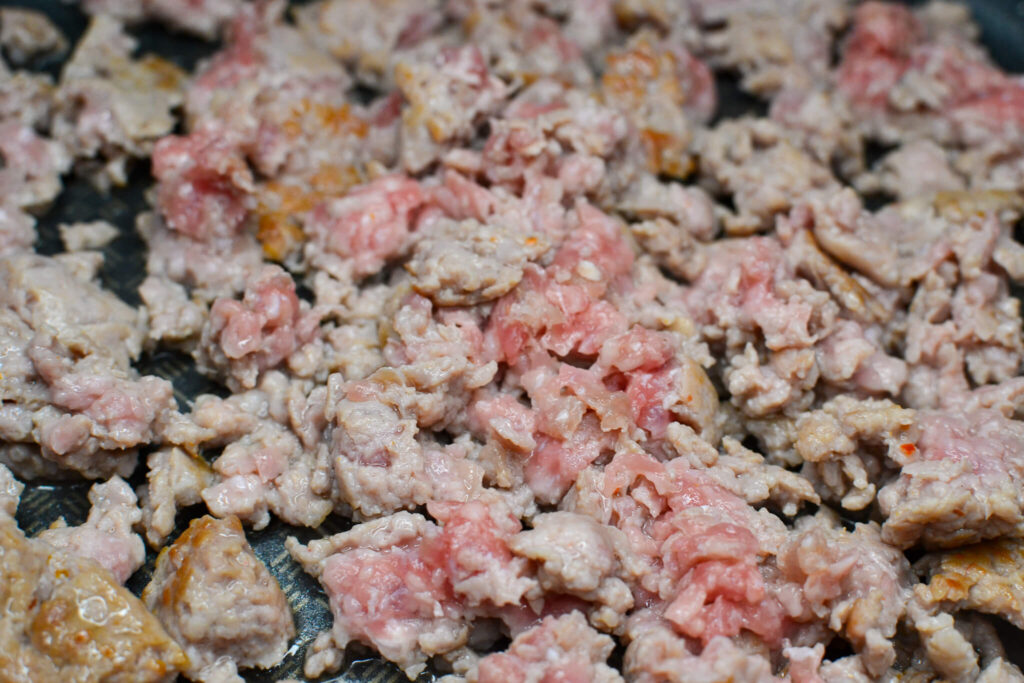
Breakfast sausage is a type of sausage that is commonly eaten for breakfast in many parts of the world. It is typically made from ground pork that is seasoned with a blend of spices, such as salt, pepper, sage, and thyme. Other ingredients, such as sugar, paprika, or red pepper flakes, may also be added to the seasoning mix to enhance the flavor.
Breakfast sausage can be found in several forms, including links, patties, and ground meat. It can be purchased pre-cooked or raw, and can be cooked using a variety of methods such as grilling, frying, baking, or broiling.
In the United States, breakfast sausage is a popular component of a traditional American breakfast, often served alongside eggs, pancakes, or breakfast potatoes. It can also be used as a filling for breakfast sandwiches or as a topping for pizza.
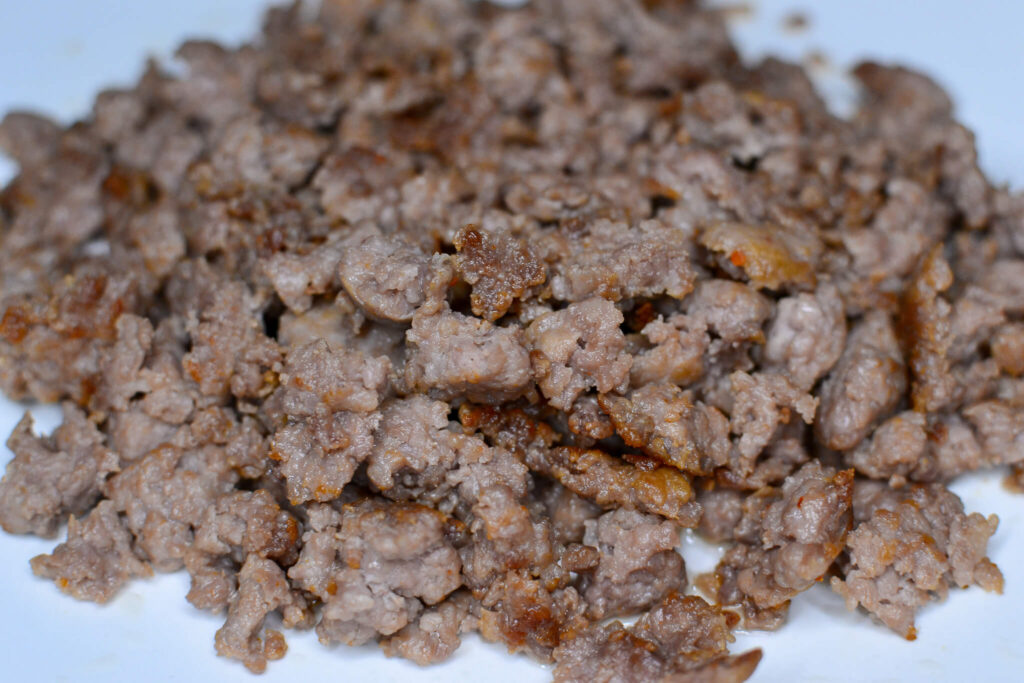
The cooking time for ground breakfast sausage on the skillet can vary depending on the heat setting, the thickness of the sausage, and the desired level of doneness. However, as a general guideline, it usually takes around 8-10 minutes to fully cook ground breakfast sausage on a skillet over medium-high heat.
Before cooking, preheat your oven to 375 degrees so you can bake your bacon as soon as this is done.
Cook the breakfast sausage and set aside.
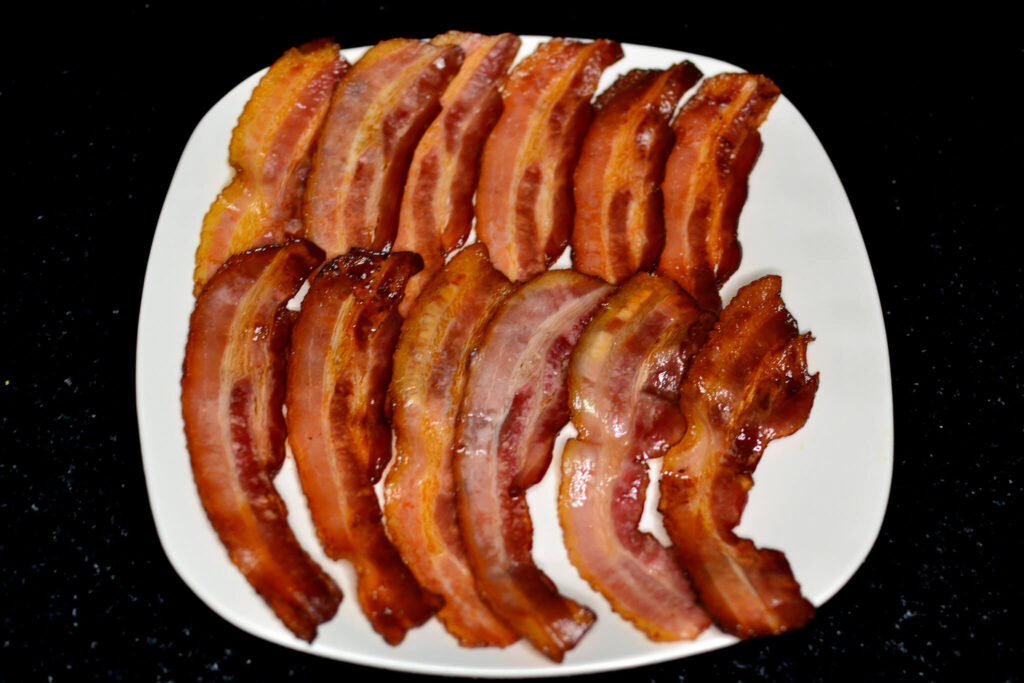
Bake your bacon for about 10-15 minutes or until cooked to your liking, then set aside with your sausage as you cook your potatoes.
Step 3
Cook Your Potatoes
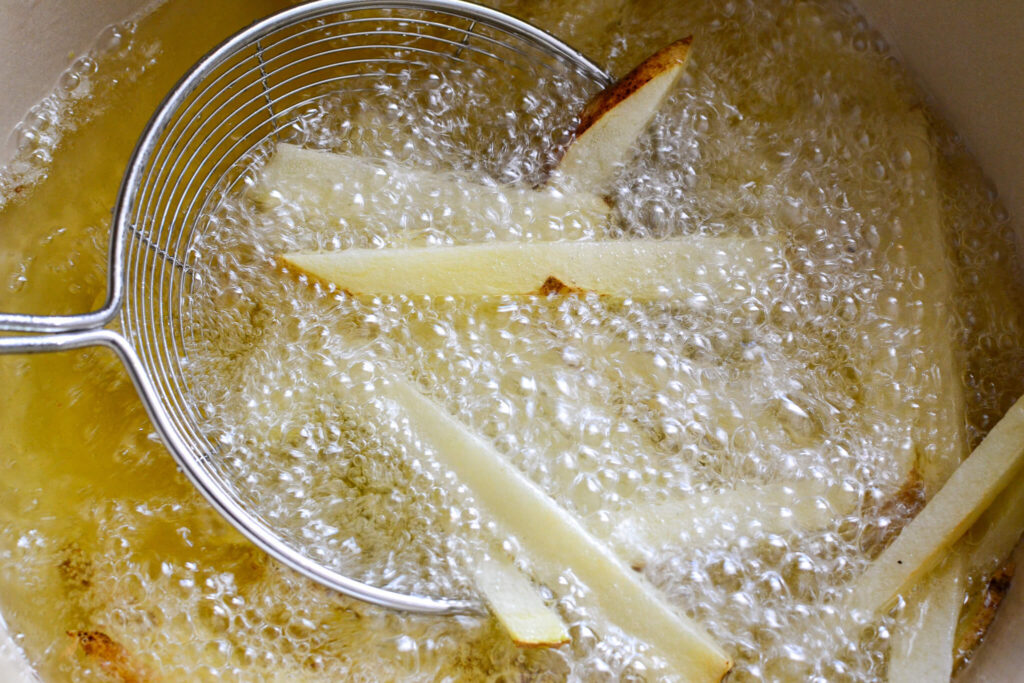
Blanch frying is the first phase of cooking your fries and is essential for a soft interior. To blanch fry, heat oil in a deep fryer or a large, deep pan to about 300°F (150°C). Carefully add your potato sticks in batches to avoid overcrowding, which can lead to uneven cooking. Fry them for about 4-5 minutes or until they are soft but not browned. This low-temperature fry cooks the potato through without giving it color or a crispy texture. It’s like pre-cooking the fries to ensure they’re fully cooked inside before we crisp them up.
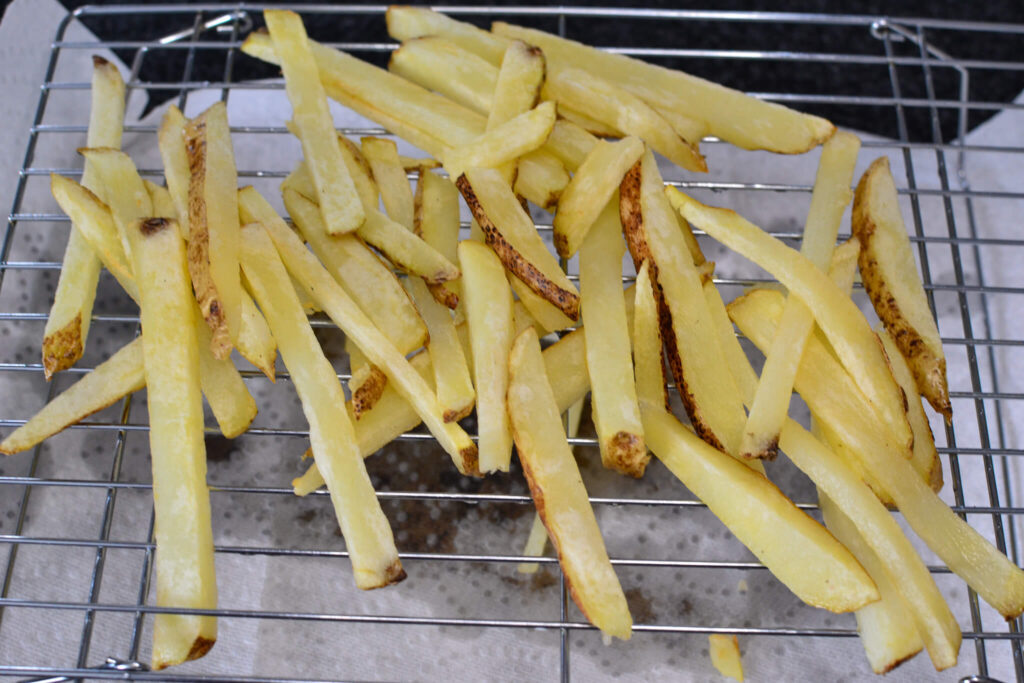
Once you’ve blanched the fries, remove them from the oil using a slotted spoon or frying basket and let them drain on a rack or paper towels. This step is crucial to remove excess oil and prepare the fries for their final fry. Allowing them to cool and dry prevents them from becoming too oily and helps achieve a crisper finish in the next frying step. Let them cool and dry completely, which can take about 10-15 minutes. This is a good time to ensure your oil heats up to the higher temperature needed for the second fry.
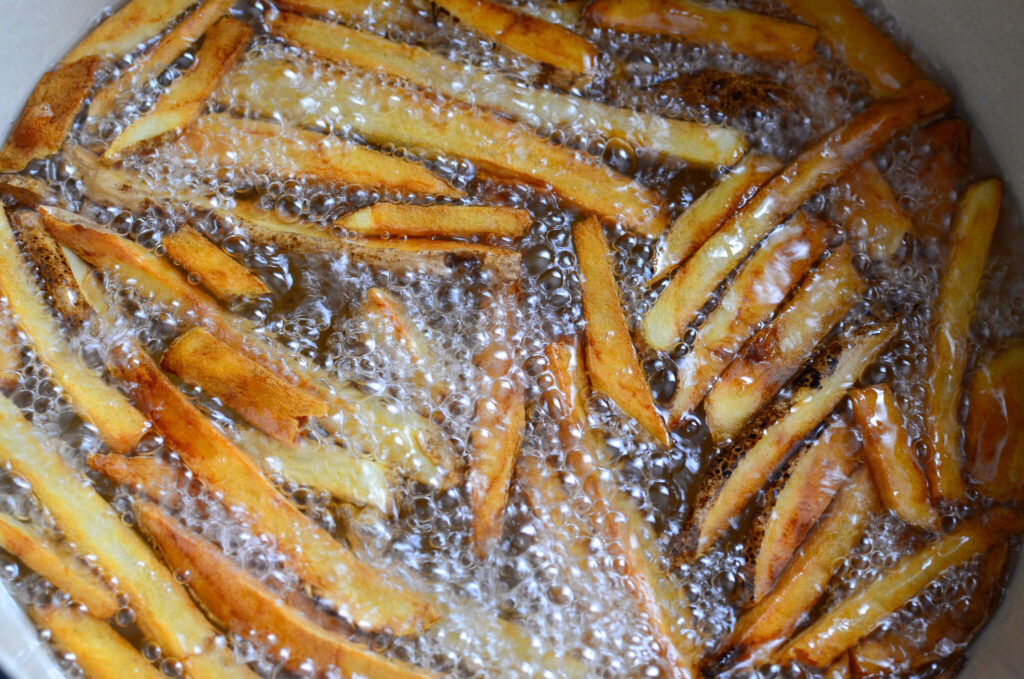
For the second frying, increase the oil temperature to around 375°F (190°C). This higher temperature will crisp up the exterior of the fries without overcooking the inside. Fry the potatoes in batches again, this time for about 3-5 minutes or until they are golden and crispy. The exact time will depend on the thickness of your fries and the type of potato used. This step transforms the blanched fries into the golden, crispy delights everyone loves.

After achieving that golden crispiness, remove the fries from the oil and let them drain again on a rack or fresh paper towels. This helps to get rid of any remaining oil, ensuring your fries aren’t greasy but perfectly crisp. Just a few moments here will do—no need to let them cool completely this time, as you’ll want to season them while they’re still warm to ensure the seasoning sticks well.
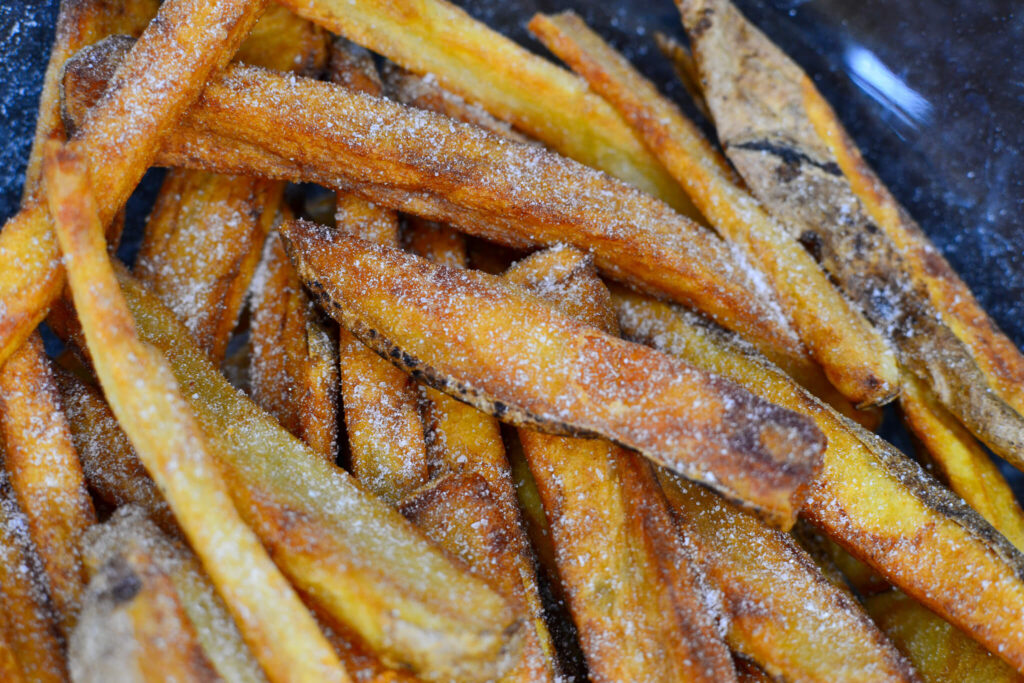
Transfer the hot, crispy fries to a large bowl. While they’re still warm, sprinkle them with sea salt or your choice of seasoning. Toss them gently to ensure an even coating of salt. The warmth of the fries will help the salt stick, enhancing their flavor.
Step 4
Make Hollandaise Sauce
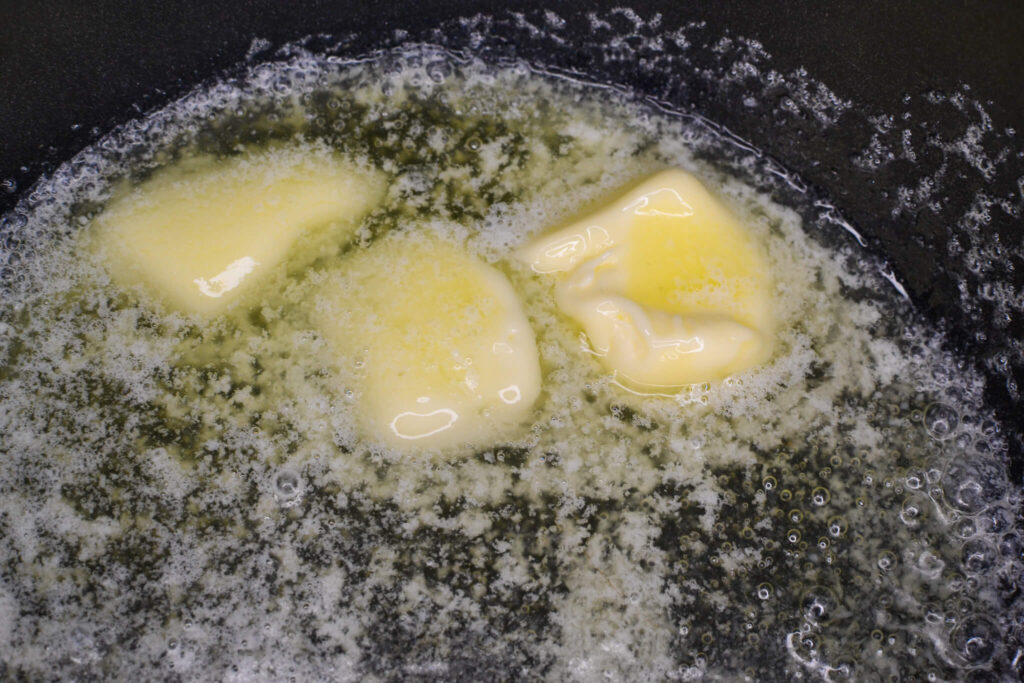
First, you need to melt the butter. Take a small saucepan and add the amount of butter specified on the Knorr packet instructions. Heat the saucepan over a low to medium flame. You’ll want to melt the butter slowly to avoid burning it. Keep stirring the butter as it melts to ensure it heats evenly. This process should take a few minutes. Once the butter is completely melted and has a smooth, liquid consistency, you’re ready for the next step. Melting the butter properly is key because it forms the base of your hollandaise sauce, adding richness and flavor.
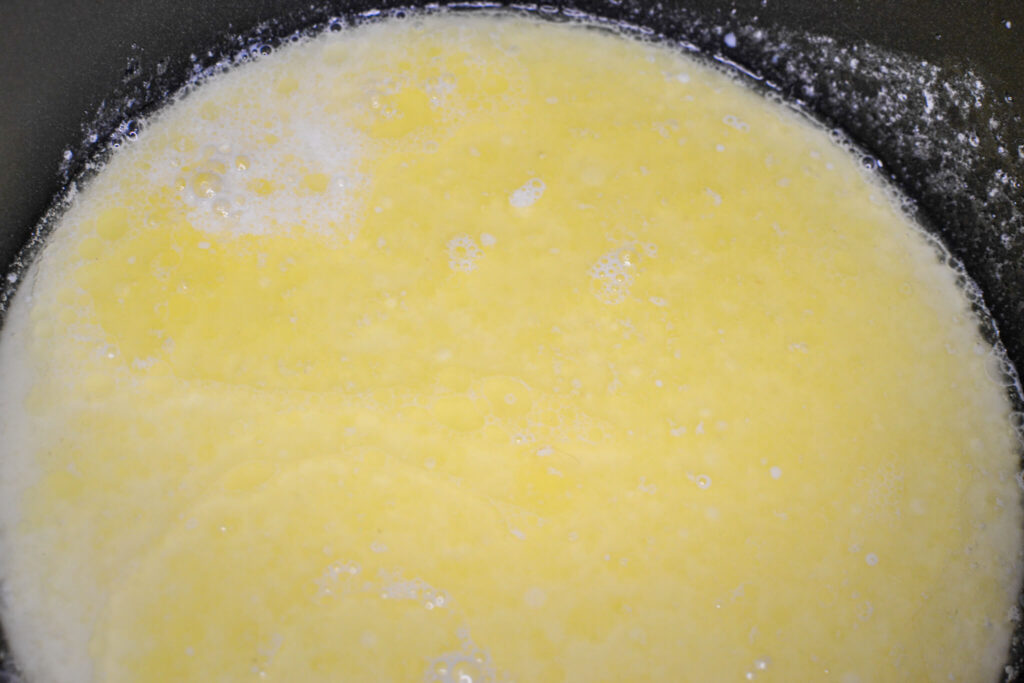
After the butter has melted, it’s time to add milk to the saucepan. Slowly pour in the amount of milk recommended on the packet while stirring continuously. This gradual addition and constant stirring help prevent lumps from forming in your sauce. The milk helps to create a creamy texture, diluting the richness of the butter just enough to balance the sauce. Keep the heat low to medium, ensuring the mixture does not come to a boil. Boiling might cause the sauce to separate or curdle, which you want to avoid.
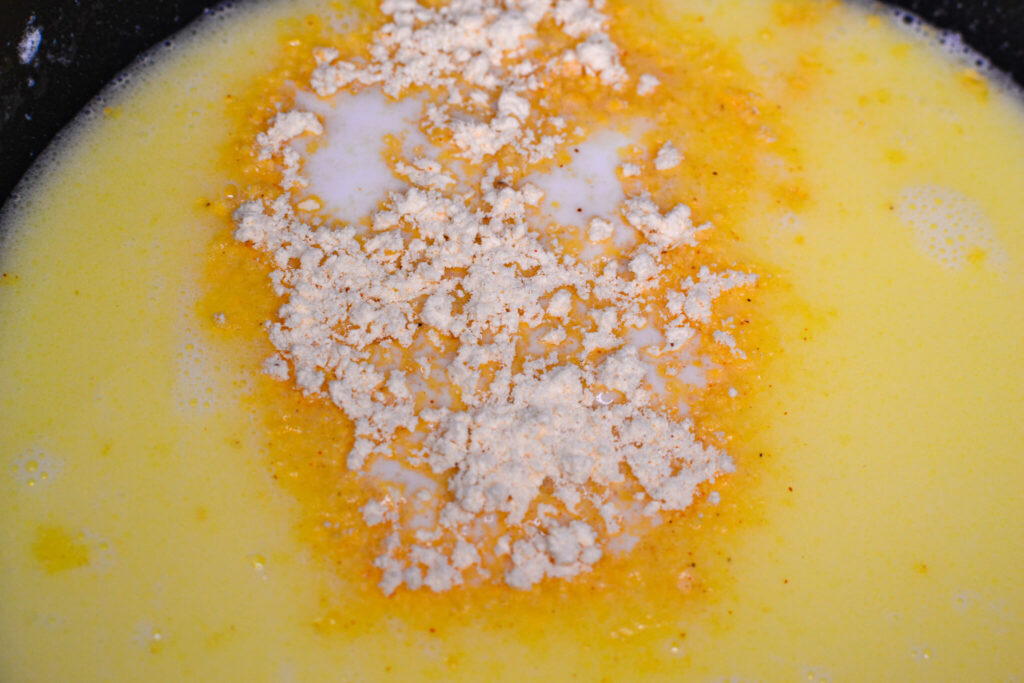
Once the milk is well incorporated with the melted butter, it’s time to add the Knorr hollandaise sauce seasoning from the packet. Open the packet and evenly sprinkle the seasoning into the saucepan, continuing to stir as you do so. The seasoning packet contains all the necessary spices and thickening agents needed to achieve that classic hollandaise flavor and texture without the need for additional ingredients. Keep stirring the mixture for a few minutes as it thickens. You’ll notice the sauce becoming smoother and gaining the characteristic yellow hue of a traditional hollandaise.
Cook the sauce over low heat, stirring constantly, until it reaches your desired thickness. This usually takes a few minutes. Be attentive to not let the sauce boil, as high heat can cause the sauce to split. Once the sauce has thickened to your liking, remove it from the heat. Your hollandaise sauce is now ready to pour over your breakfast/French fry mixture.
Step 5
Enjoy Your Breakfast Poutine!

Begin by laying out a generous serving of breakfast potatoes on a plate as the base of your poutine. Next, scatter crispy bacon and savory sausage pieces over the potatoes, adding both texture and depth to the dish. Sprinkle a good amount of cheese curds on top; as they warm, they’ll begin to melt, creating gooey pockets of cheese throughout.
Now, pour the freshly made hollandaise sauce over the entire dish, allowing it to cascade over the layers and infuse the meal with its creamy, tangy goodness. For a finishing touch and a dash of color, sprinkle some optional chives over the top. The chives not only add a mild oniony flavor but also provide a beautiful visual contrast to the golden and creamy hues of the poutine.
Remember, while this breakfast poutine is incredibly tempting and satisfying, it’s a dish that comes with a high indulgence factor. Save it for those moments when you’re looking to treat yourself to something extra special. And when you do, savor every bite!
Enjoy!

The Martian

Inspiration
Mark Watney’s Potatoes

More About Breakfast Poutine
Poutine is a dish that has its roots in Quebec, Canada. It is believed to have been created in the late 1950s or early 1960s by a restaurant owner named Fernand Lachance in the small town of Warwick, Quebec. The exact story of how the dish came to be is not entirely clear, but it is said that Lachance was asked by a group of truck drivers to add cheese curds to their French fries. Lachance decided to add gravy to the mix, and thus poutine was born.
The dish quickly became popular in Quebec and spread throughout Canada. It is now considered a quintessential Canadian food and is enjoyed by people all over the world. Poutine has even been featured on menus at high-end restaurants, with chefs adding their own twists to the classic dish.
Consider this delightful twist on this dish is a unique way to indulge in a morning feast. Begin with a base of crispy tater tots, laying the groundwork for a luxurious blend of textures and flavors. Top these with perfectly fried eggs, each bite promising a mix of tender whites and rich, runny yolks. Drizzle generously with creamy sausage gravy, enveloping the dish in its warm, comforting embrace. This version offers a sumptuous alternative to traditional breakfast fare, blending familiar ingredients in an unexpectedly delightful way.
Given its lavish composition, this type of poutine is a treat to be reserved for those special moments of indulgence. It’s a celebration on a plate, perfect for when you wish to spoil yourself with something truly extraordinary. Dive into this dish when you feel like embracing the joy of a decadent morning meal, and make sure to relish every flavorful bite.

